How To
Installing The Most Challenging Insert - Cushcore eMTB
Installing Inserts
Unless you've had some experience (and a lot of experience is better) installing tubeless tires can be a colossal butt ache. Once you add an insert to the equation it can seem impossible. Even the first steps can have you cursing and spitting without a little guidance. All is not lost however and once you get to know the process, virtually anyone can do it.
Inserts make this task nastier because they fill up the bed inside of the rim, making it more difficult to push the tire bead into the inner channel of the rim during installation, an essential part of the process. It's also something extra to install and wrestle with.
What makes these particular noodles a little more difficult is their girth and volume. Cushcore's eMTB inserts extend out from the rim slightly more than Cushcore Pro meaning there is more to grapple with. But again, fear not brave rider! If I can do it, you can do it.
Knowing your sequence of actions in advance can be helpful, so you know what to do once you reach each milestone.
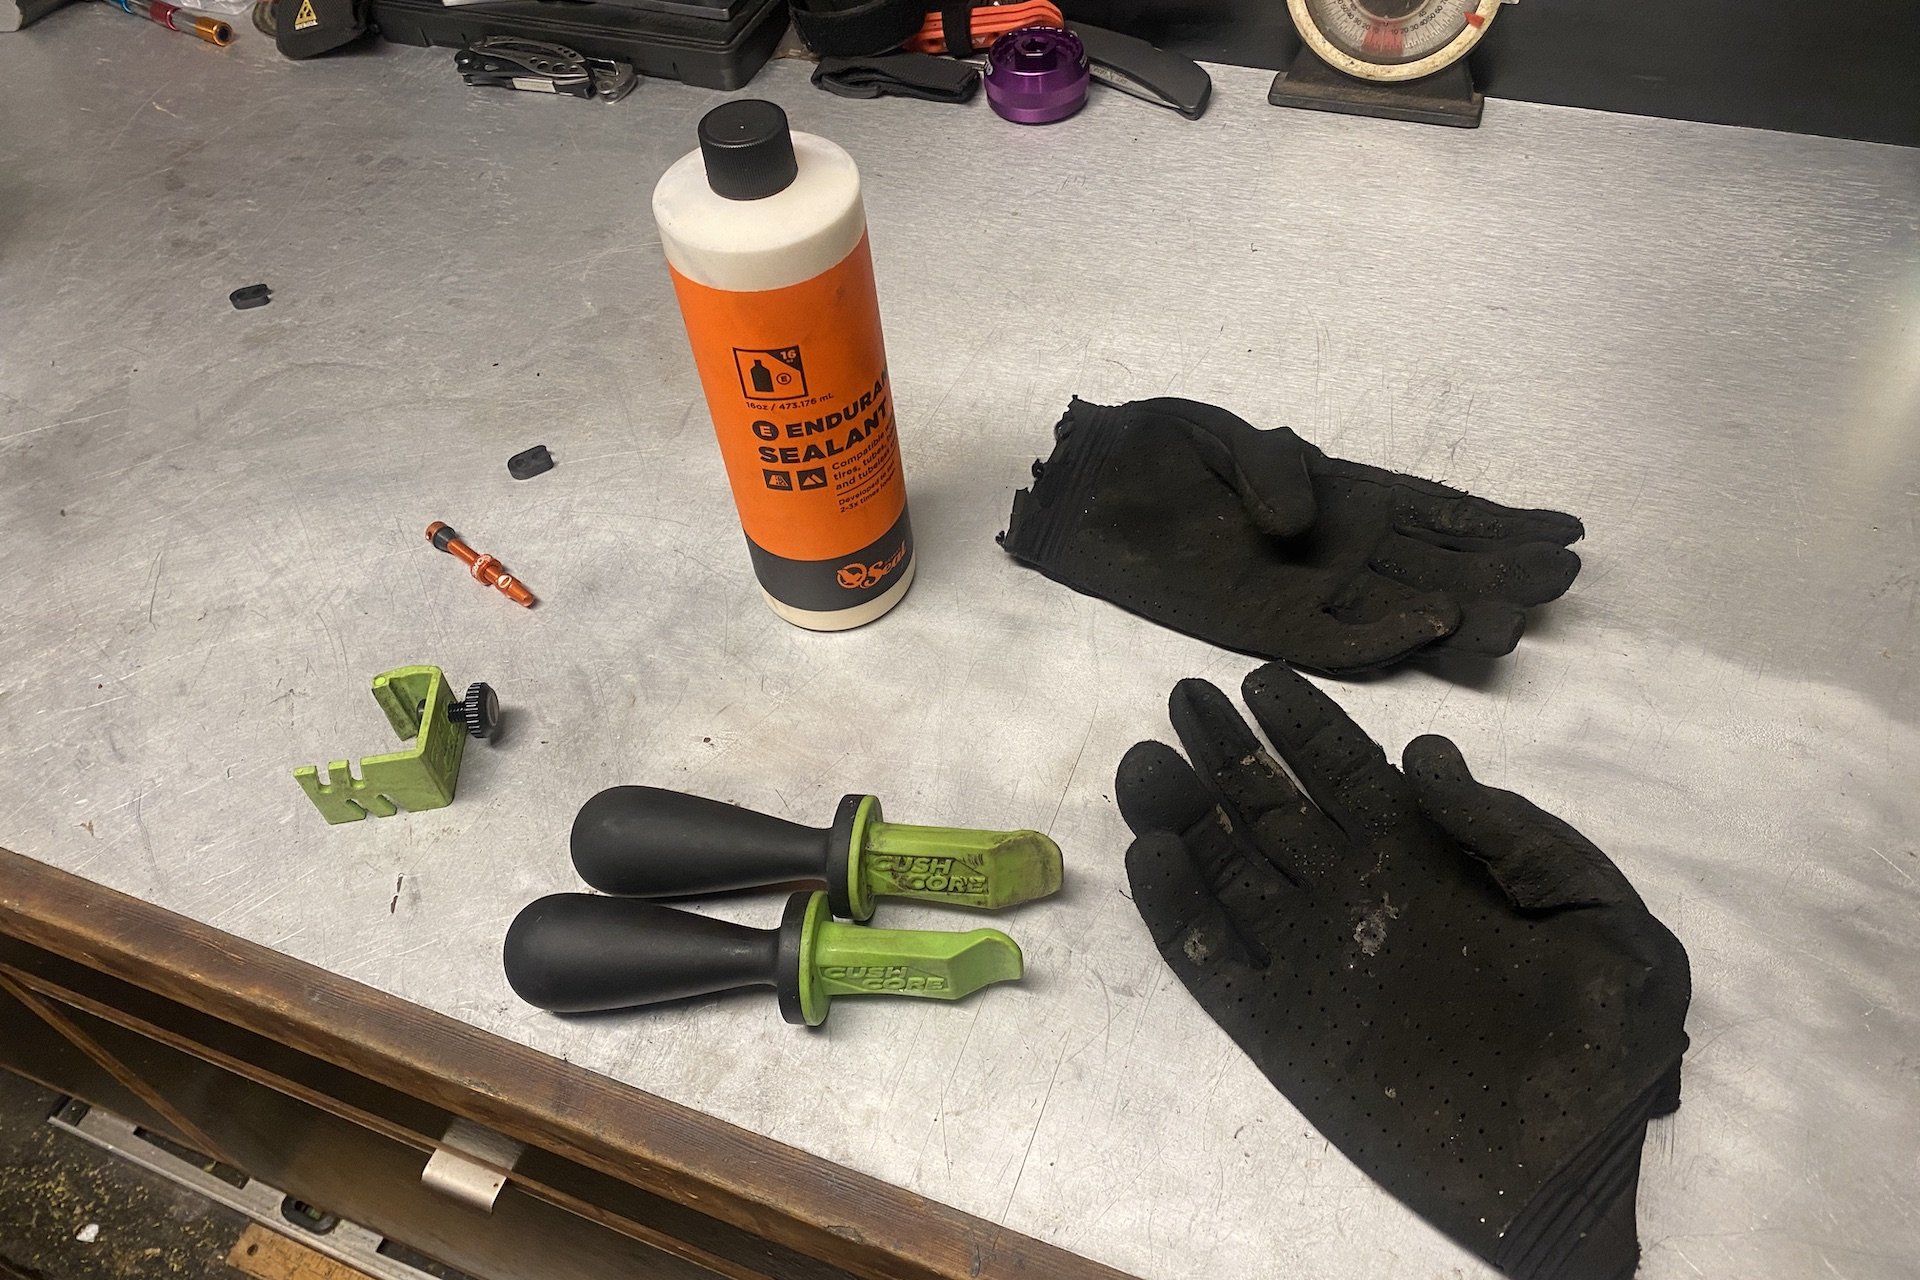
Having the right tools is an essential part of this process. It's not necessary to have a dedicate presta valve removal tool but it helps. I've used a lot of tire levers over the years and Cushcore's Bead Dropper is my favourite. I also occasionally use their Bead Bro tool. As far as sealant goes, I generally use whatever I happen to have around. Gloves give your hands protection and added strength.
General tips
Most of these apply to any tubeless install but they are even more important on challenging combinations.
Wear Gloves
Gloves protect your hands but also allow you to apply more force and have better grip. I use riding gloves that are worn or have been taken out of regular service for any reason, but anything that isn't too thick will work. This makes a big difference when you are grappling your bead into place.
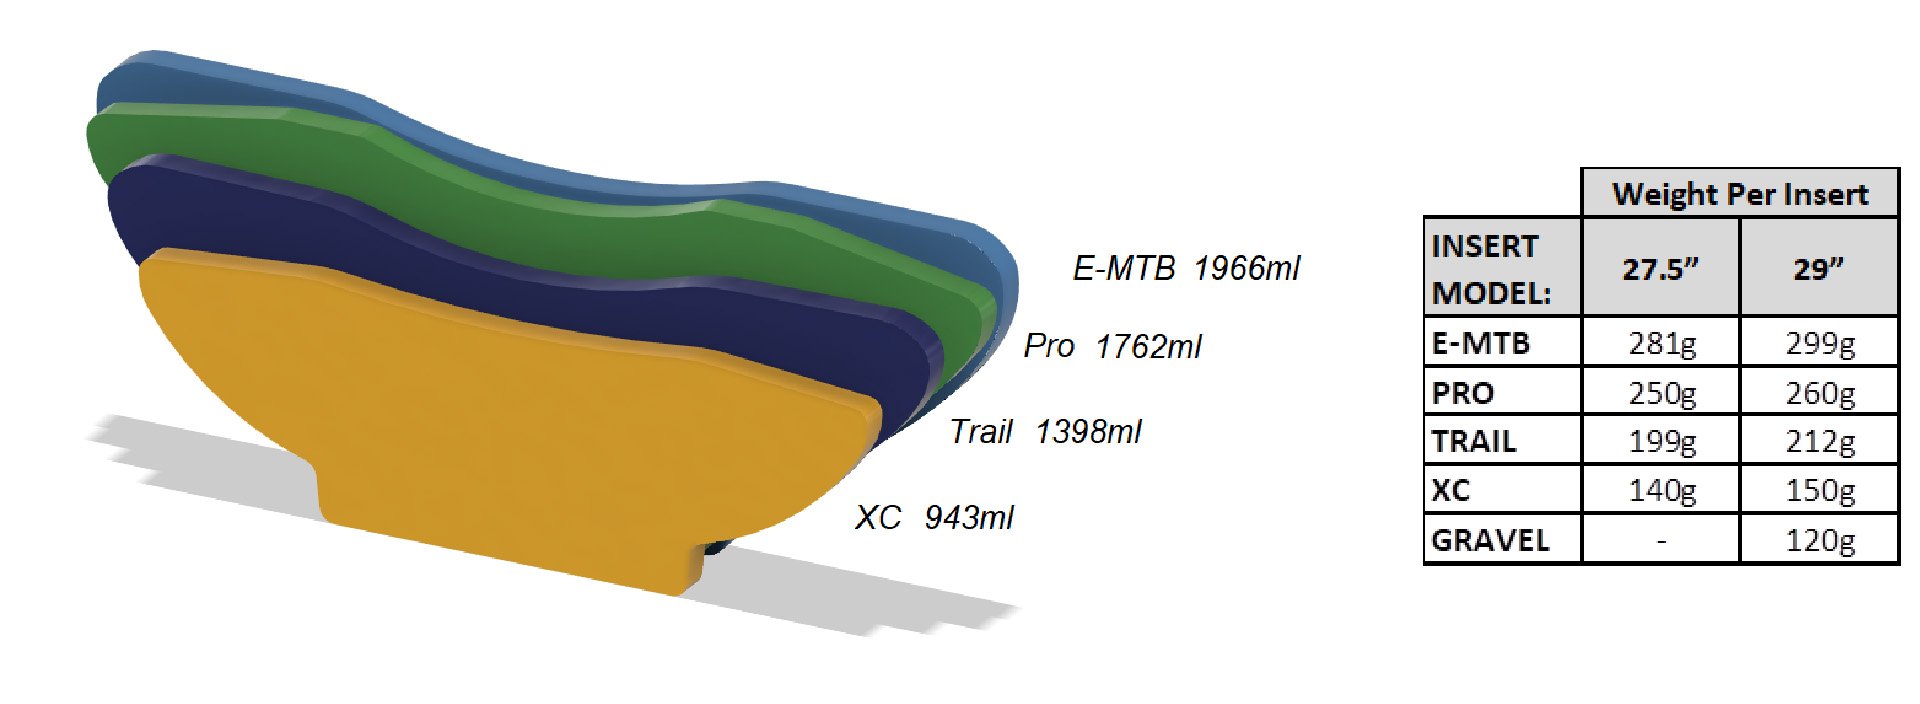
Cushcore eMTB isn't much heavier than Pro (15%) and the difference in volume is even less at 12%. There are a few other differences however.
Patience is a Virgin*
Progress can be slow and tricky to notice, especially when you are pushing the bead from the end that is already seated toward the open end. It often feels like nothing is happening because the movement is small. Sticking with the plan, and performing certain actions several times, will get you over the line.
*points to anyone who knows where that quote is from
Having a clean and tidy work area is helpful. Or at least that's what I've heard since mine has been a disaster until recently On the rare occasions when things are sorted, every task goes more smoothly.
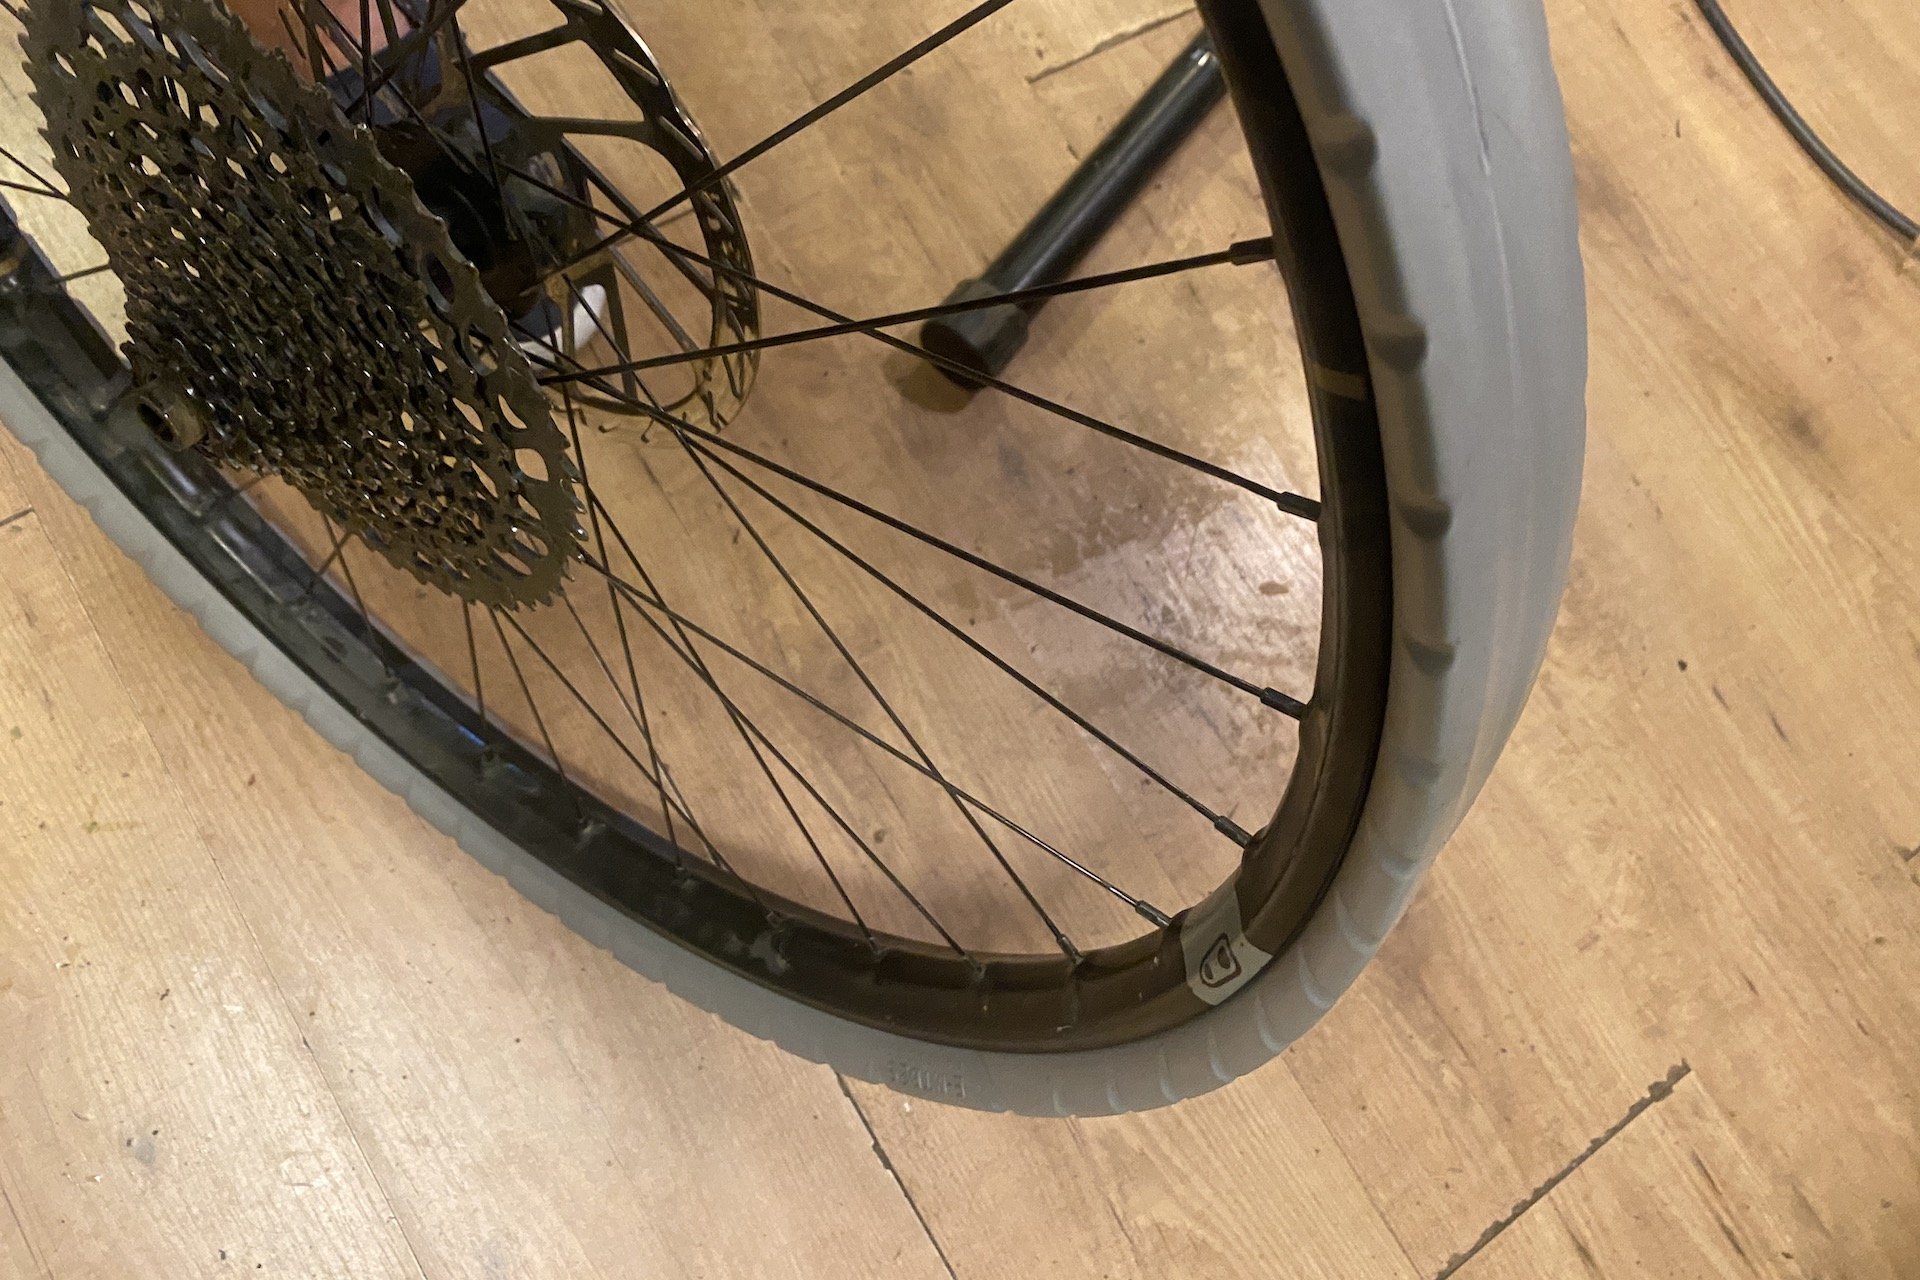
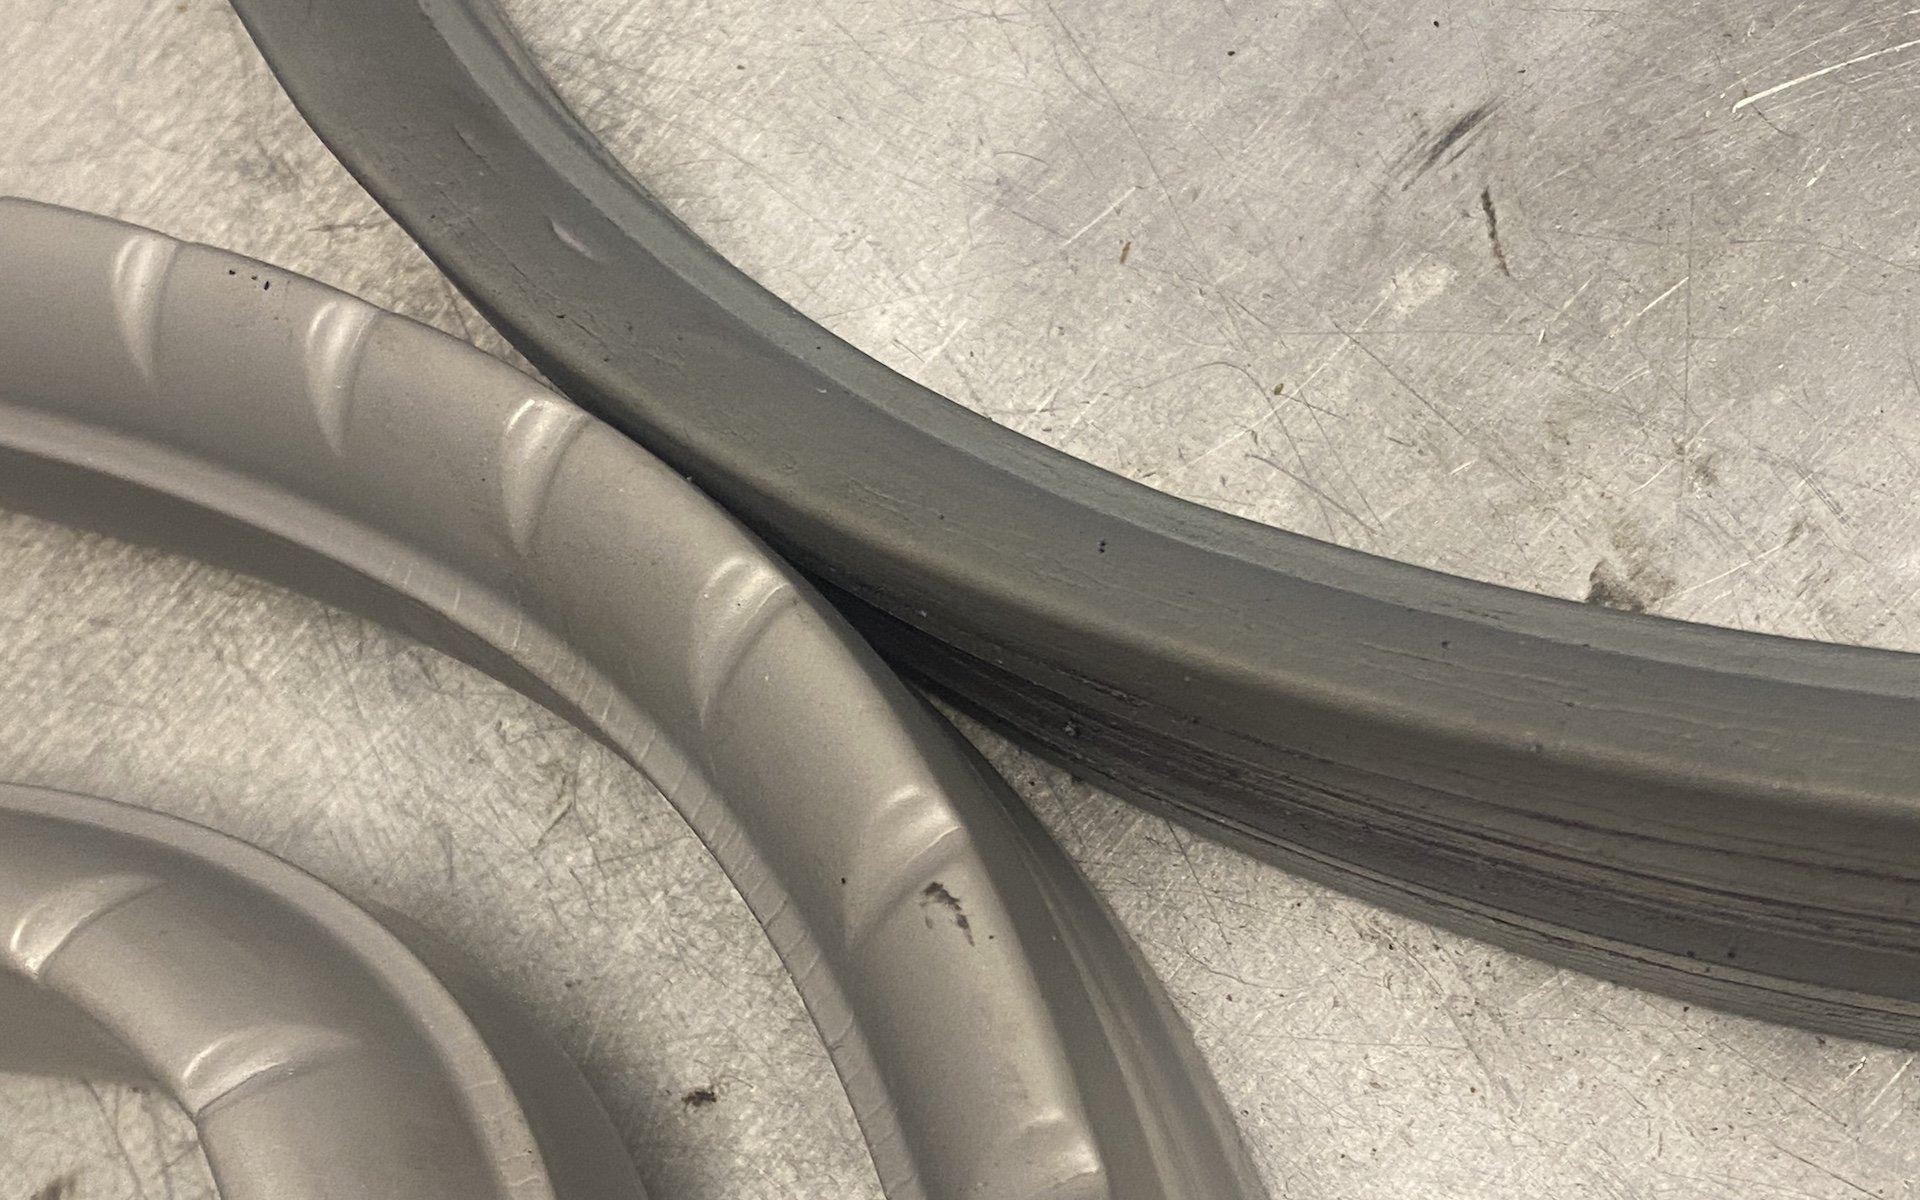
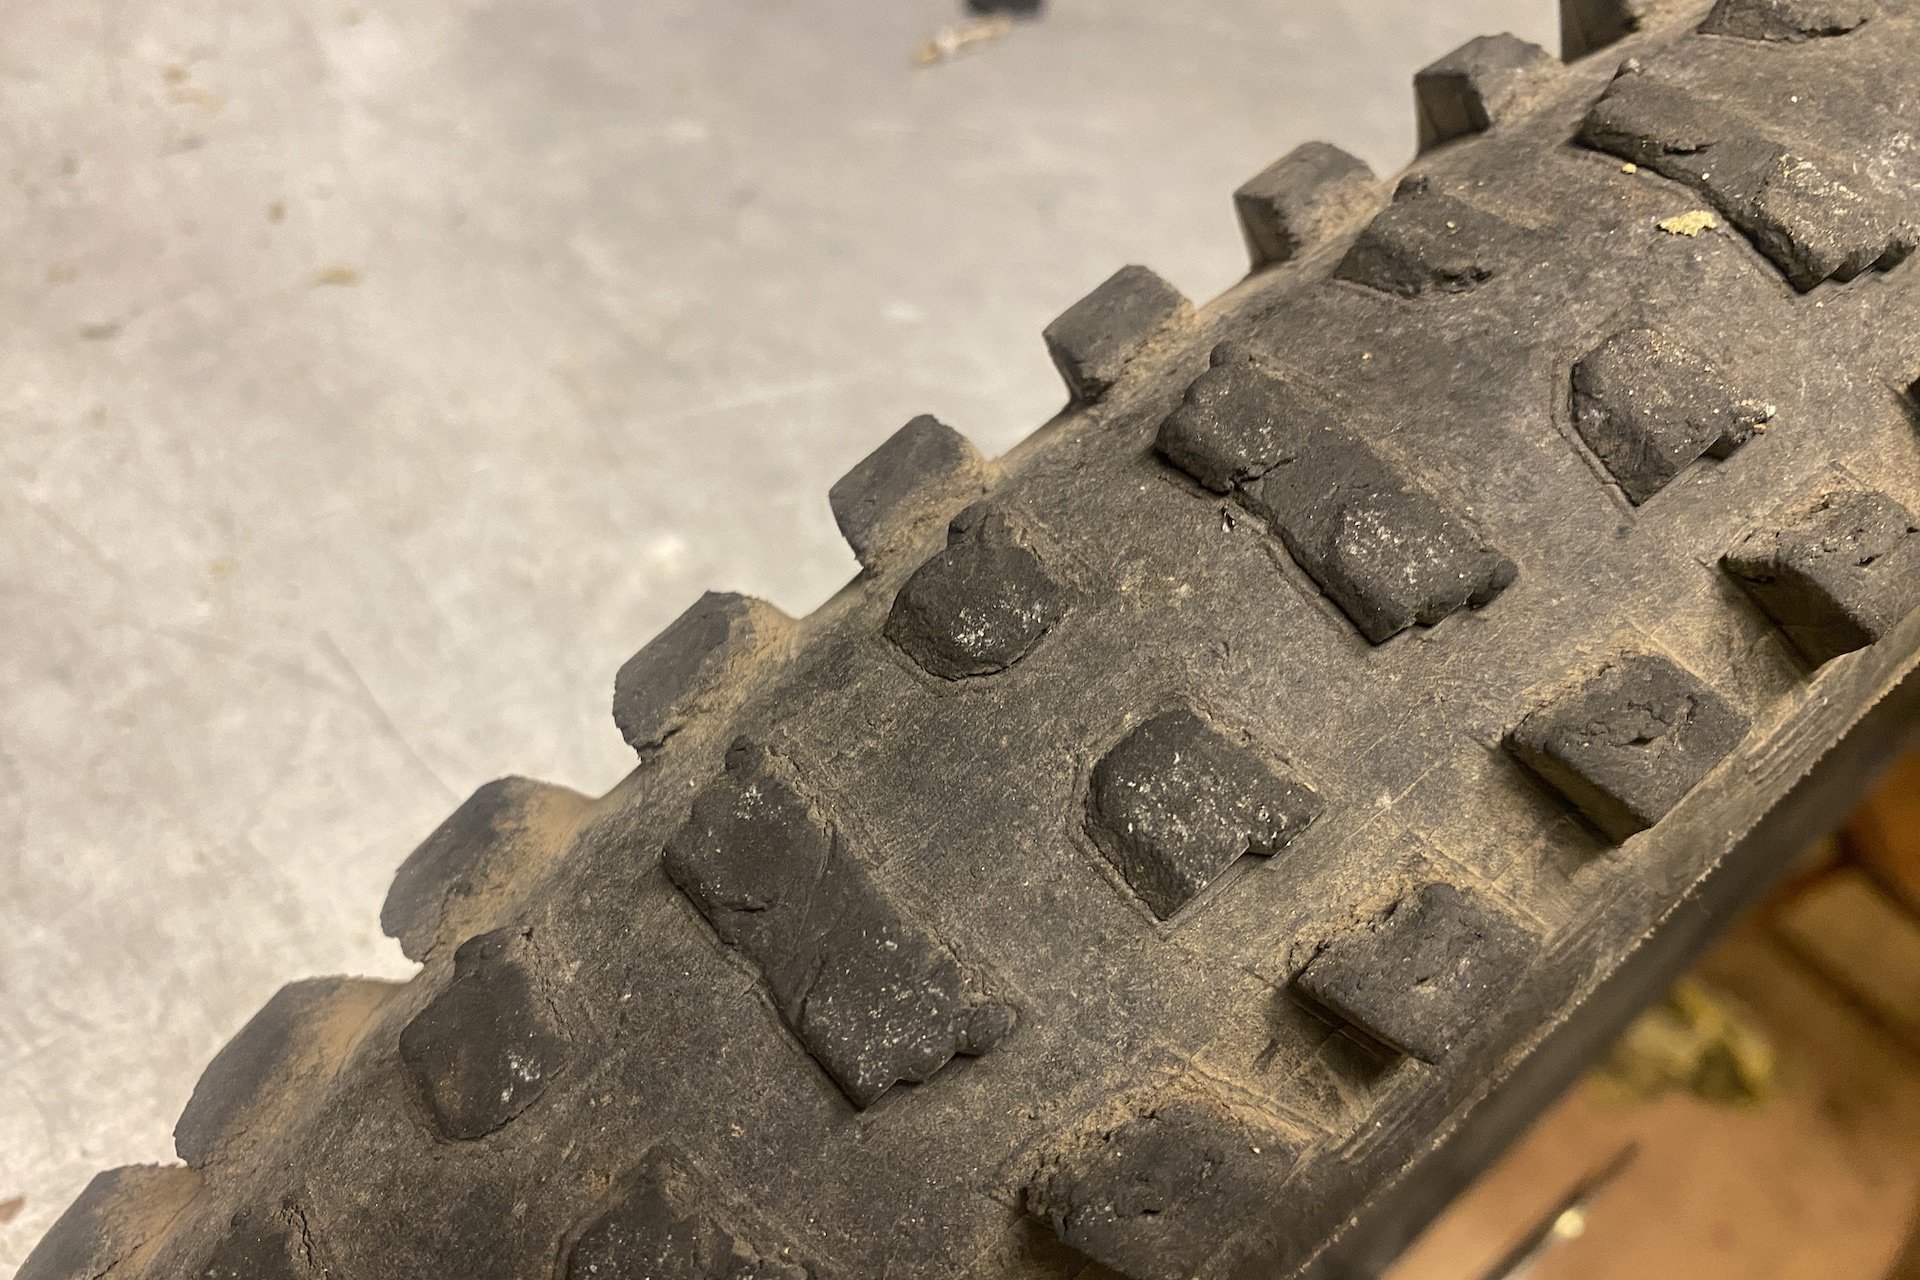
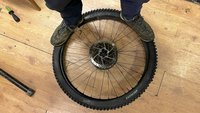
The insert fitted onto the rim before the tire. There are other approaches but this was the best way forward for the combination of new Specialized Butchers and Crankbrothers Synthesis rims.
Garbage
Using a garbage can as a stand to push against apparently makes the job much easier. I have a buddy who keeps one on hand just for this purpose. I don't do that because my shop is already overstuffed with crap but he tells me it works great.
Bead Dropper and Bead Bro
Cushcore's Bead Dropper tool is the most effective tire lever I've used and it doubles to do its primary function; dropping the bead into the rim channel to ease installation or removal. I keep two on hand but one is enough in most situations. Unfortunately they aren't practical to carry around with you on a ride for most people because of their large (dual purpose!) handle. Their other innovative tool is the Bead Bro. At the final stage of any tubeless install you will find a short section of tire bead that is reluctant to mount. It usually takes two hands on one side to get the force to get it into position, or maybe even a tire lever. Unfortunately, while you are working on one side, the other one often slips off. The Bead Bro locks the other end of the bead in place giving you a third hand. You can pick up both tools together for 30 USD and they are great even if you don't use inserts.
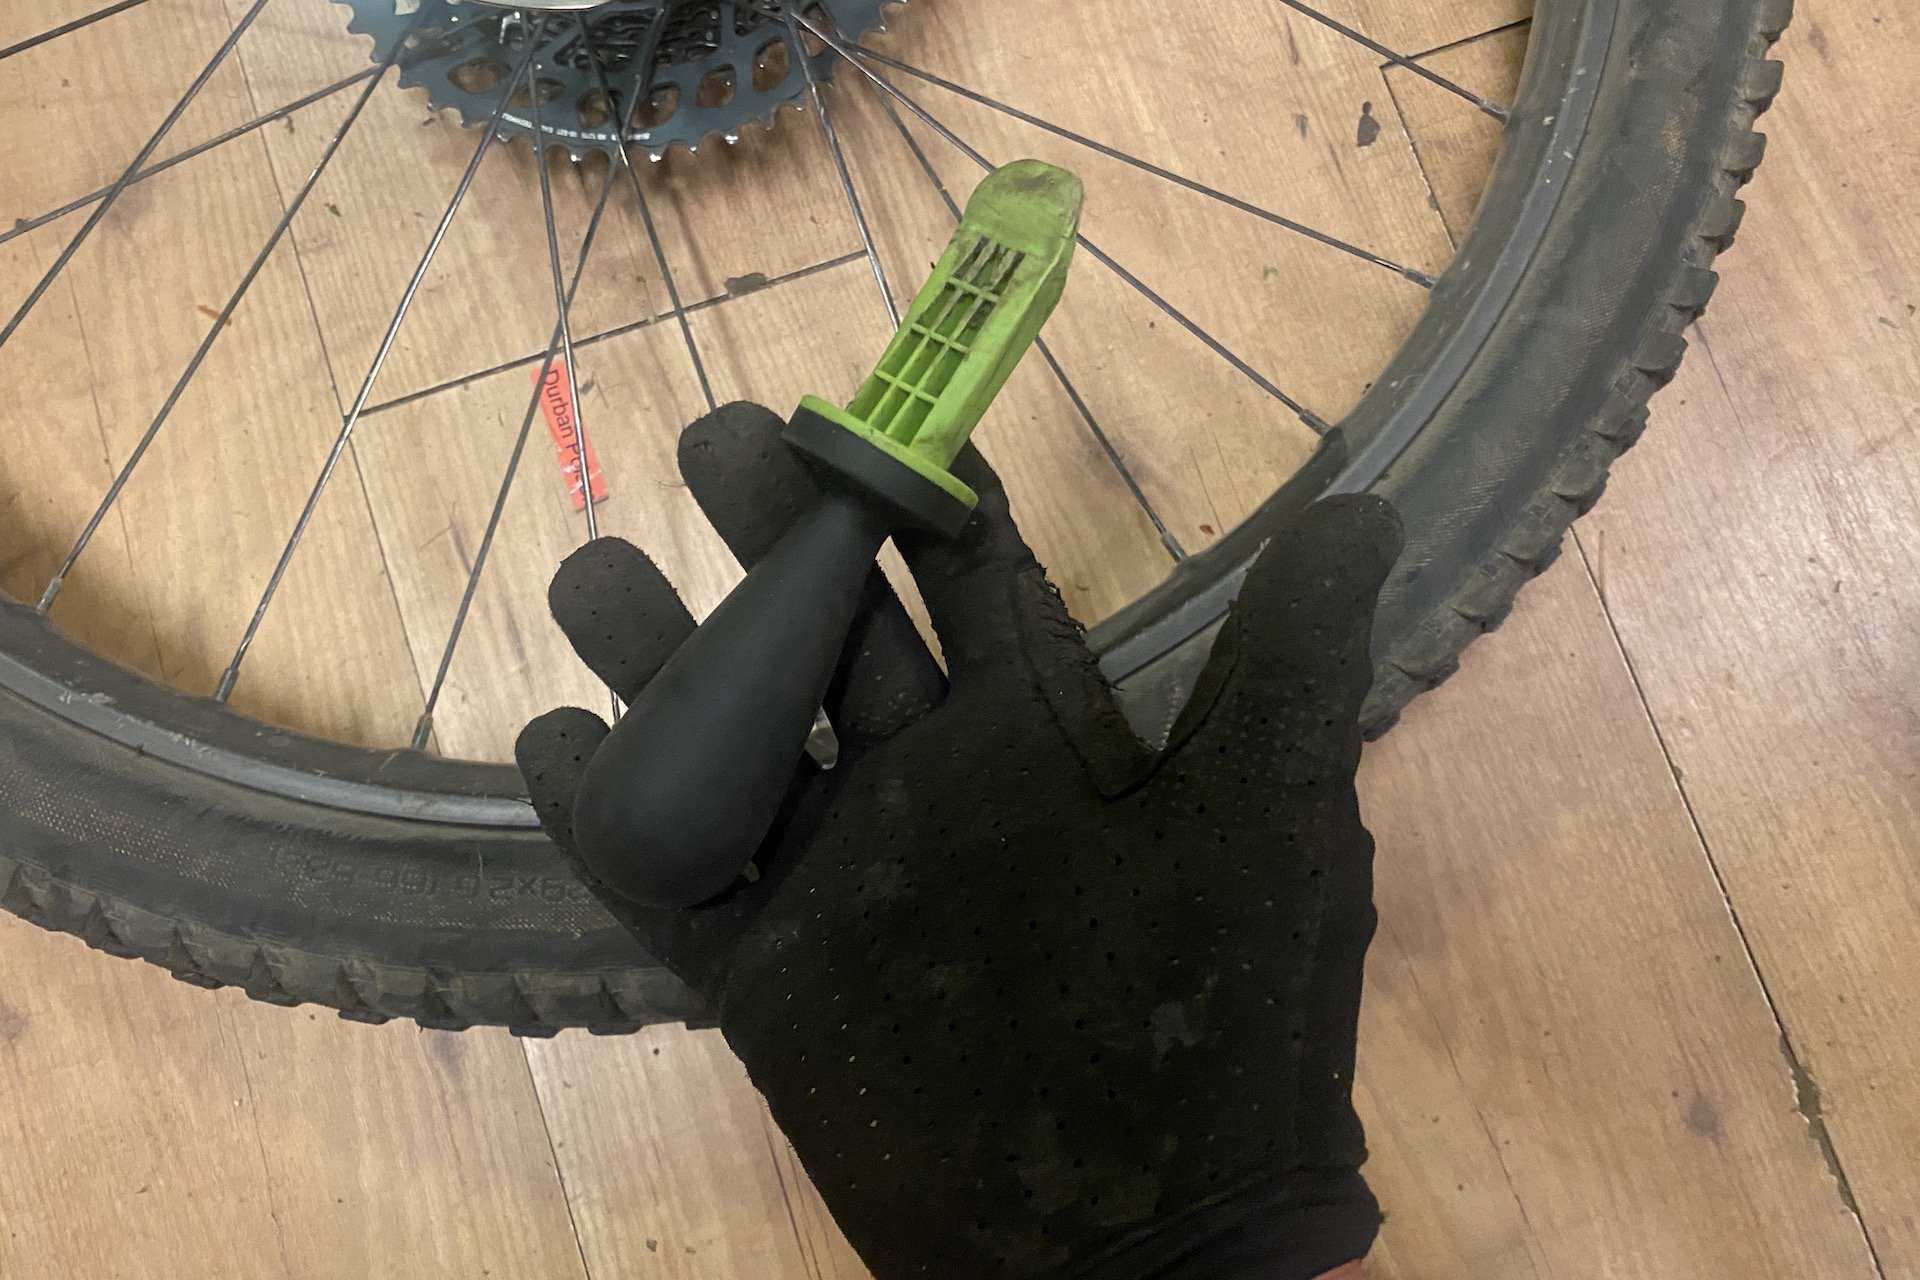
The trusty Bead Dropper. I like to have two on hand.
Lube
There are some specific bead lubes you can buy, but I find that tire sealant (particularly those that make some effort to be non toxic) works just fine. This can be used on the insert, to help place it on the rim and to help the tire slide over, and applied to both the tire bead and the inside of the sidewall of the rim for the final steps. If you don't wear gloves, you'll need to try to keep your hands clean because any sort of bead lube could compromise your grip.
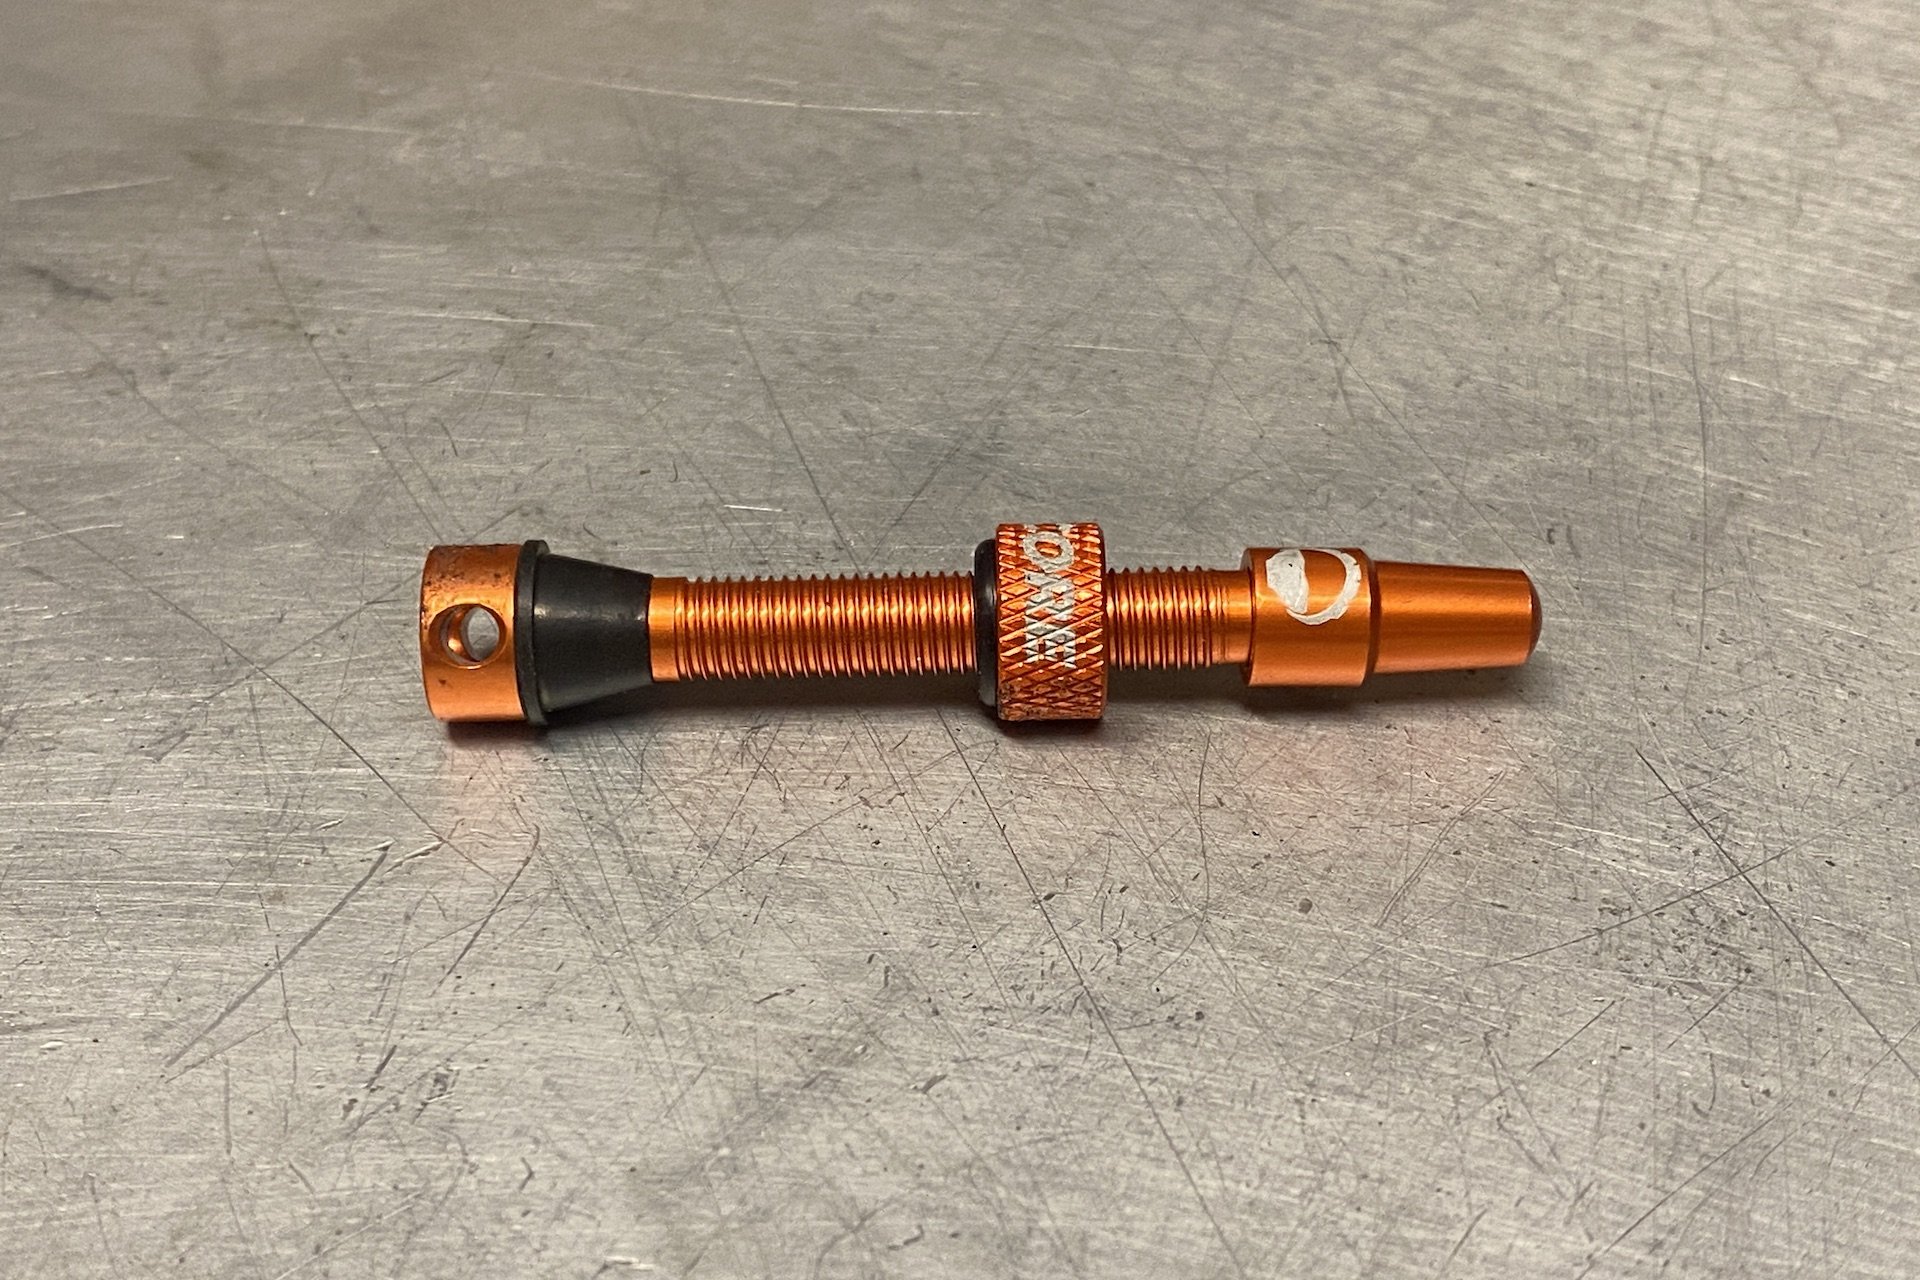
If you are using Cushcore or another high volume insert that rests against the rim bed, having a dedicate valve is useful. You can also modify most valves to do the job.
Remove the existing tire (with or without insert)
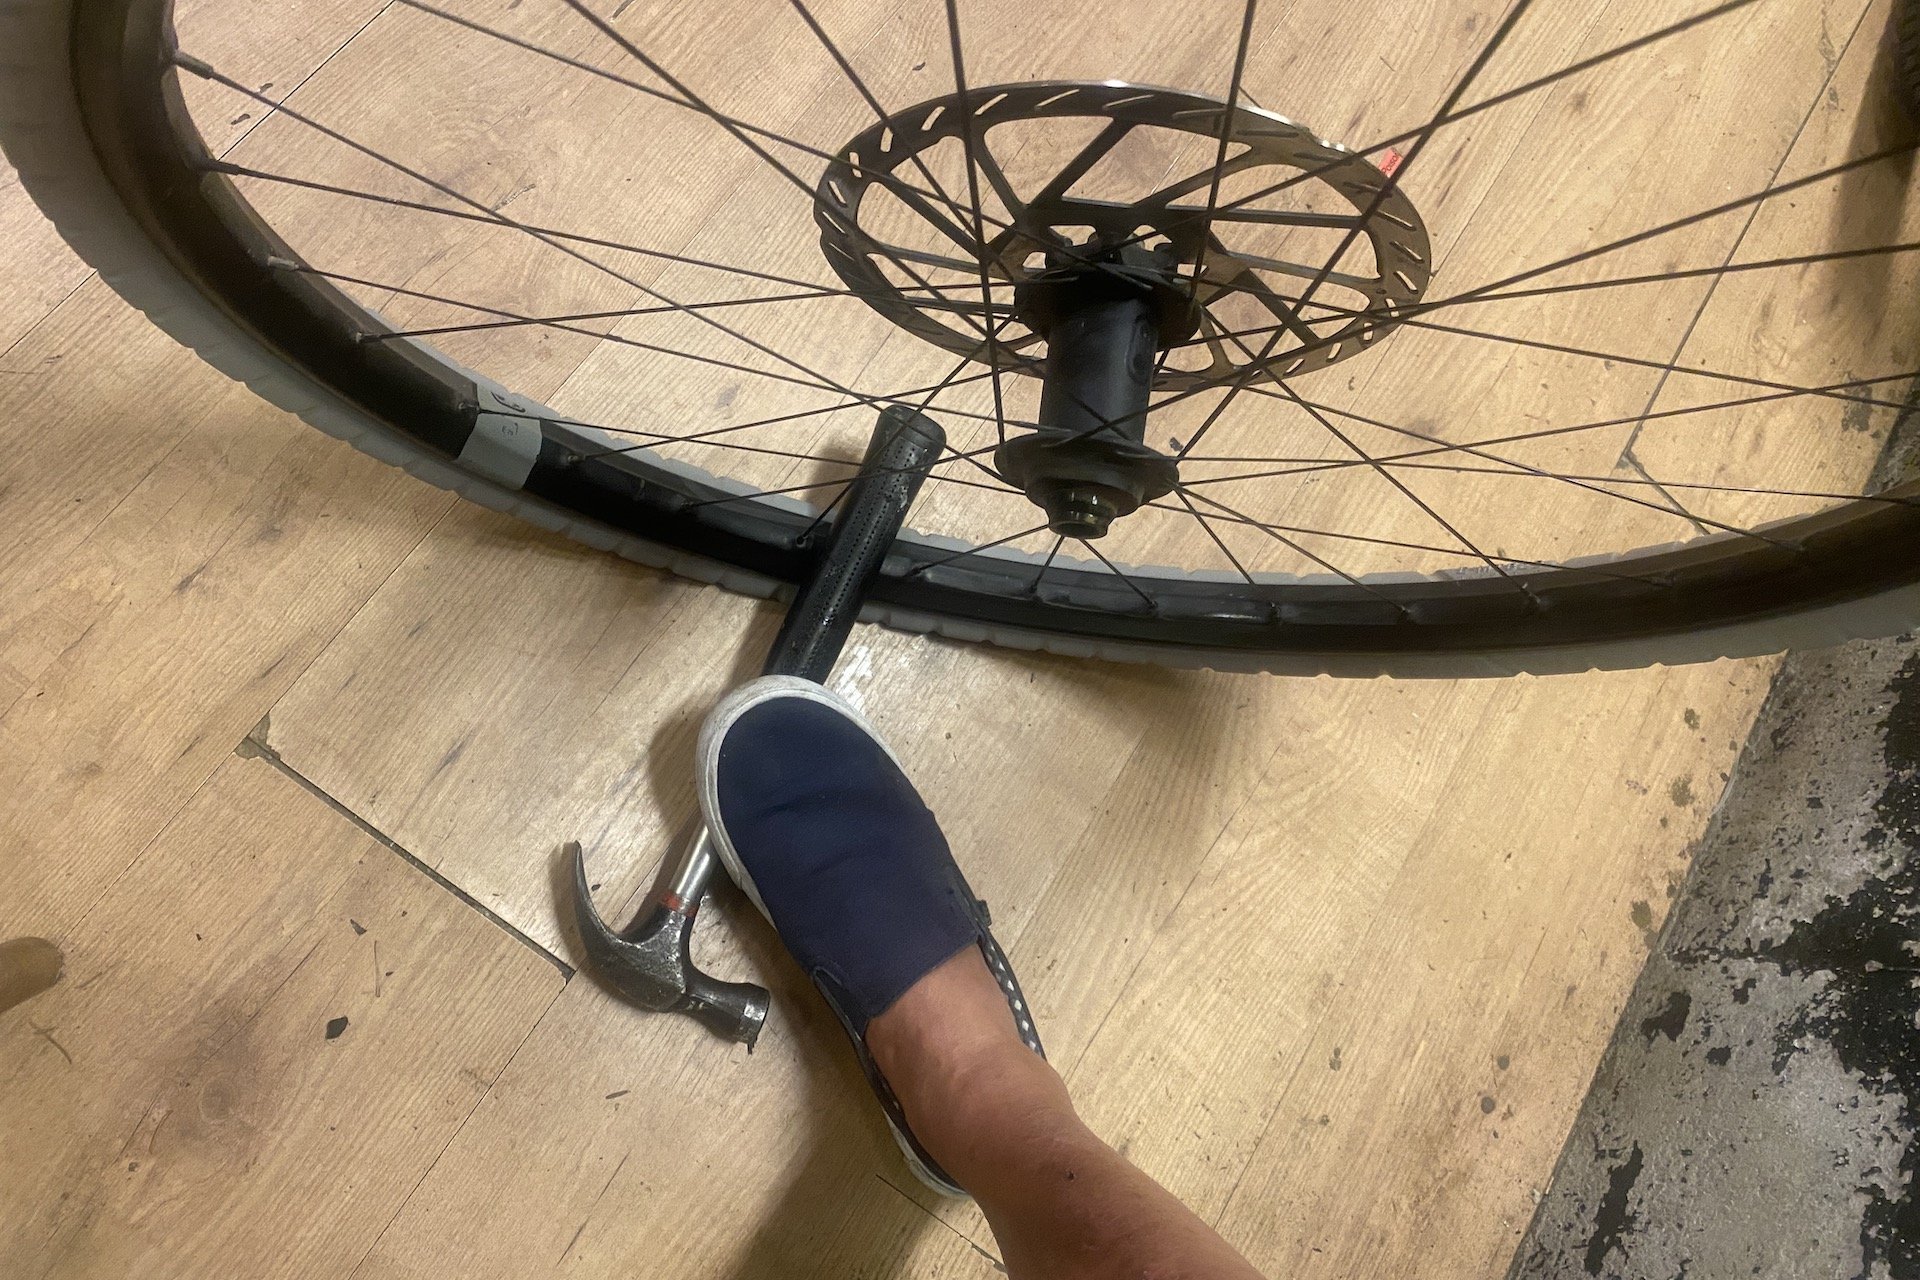
The key to removing a tire is to break the bead all the way around the tire. The aforementioned Bead Dropper works great for this. I get the best results when I turn the tool backwards, so the hook is facing away from the rim. Starting across from the valve, and with the wheel on the floor or on a garbage can, push firmly into the edge of the bead with the tool. This may take a couple of tries if your bead is particularly locked with sealant. Keep moving around in the same area until it eventually drops or try a different spot if it's stubborn.
Once you have it off in one spot move away from that position in one direction and then the other, pushing the bead off a couple more times all the way around the rim. Or, if the tire isn't very tight, once you've broken 10 or 12 cm off you may already be able to slide the tool in under the bead and sweep the rest of the bead off. Otherwise drop the entire bead and you may even need to push it again into the channel of the rim for more slack. At this point it should come off easily using any decent tire levers.
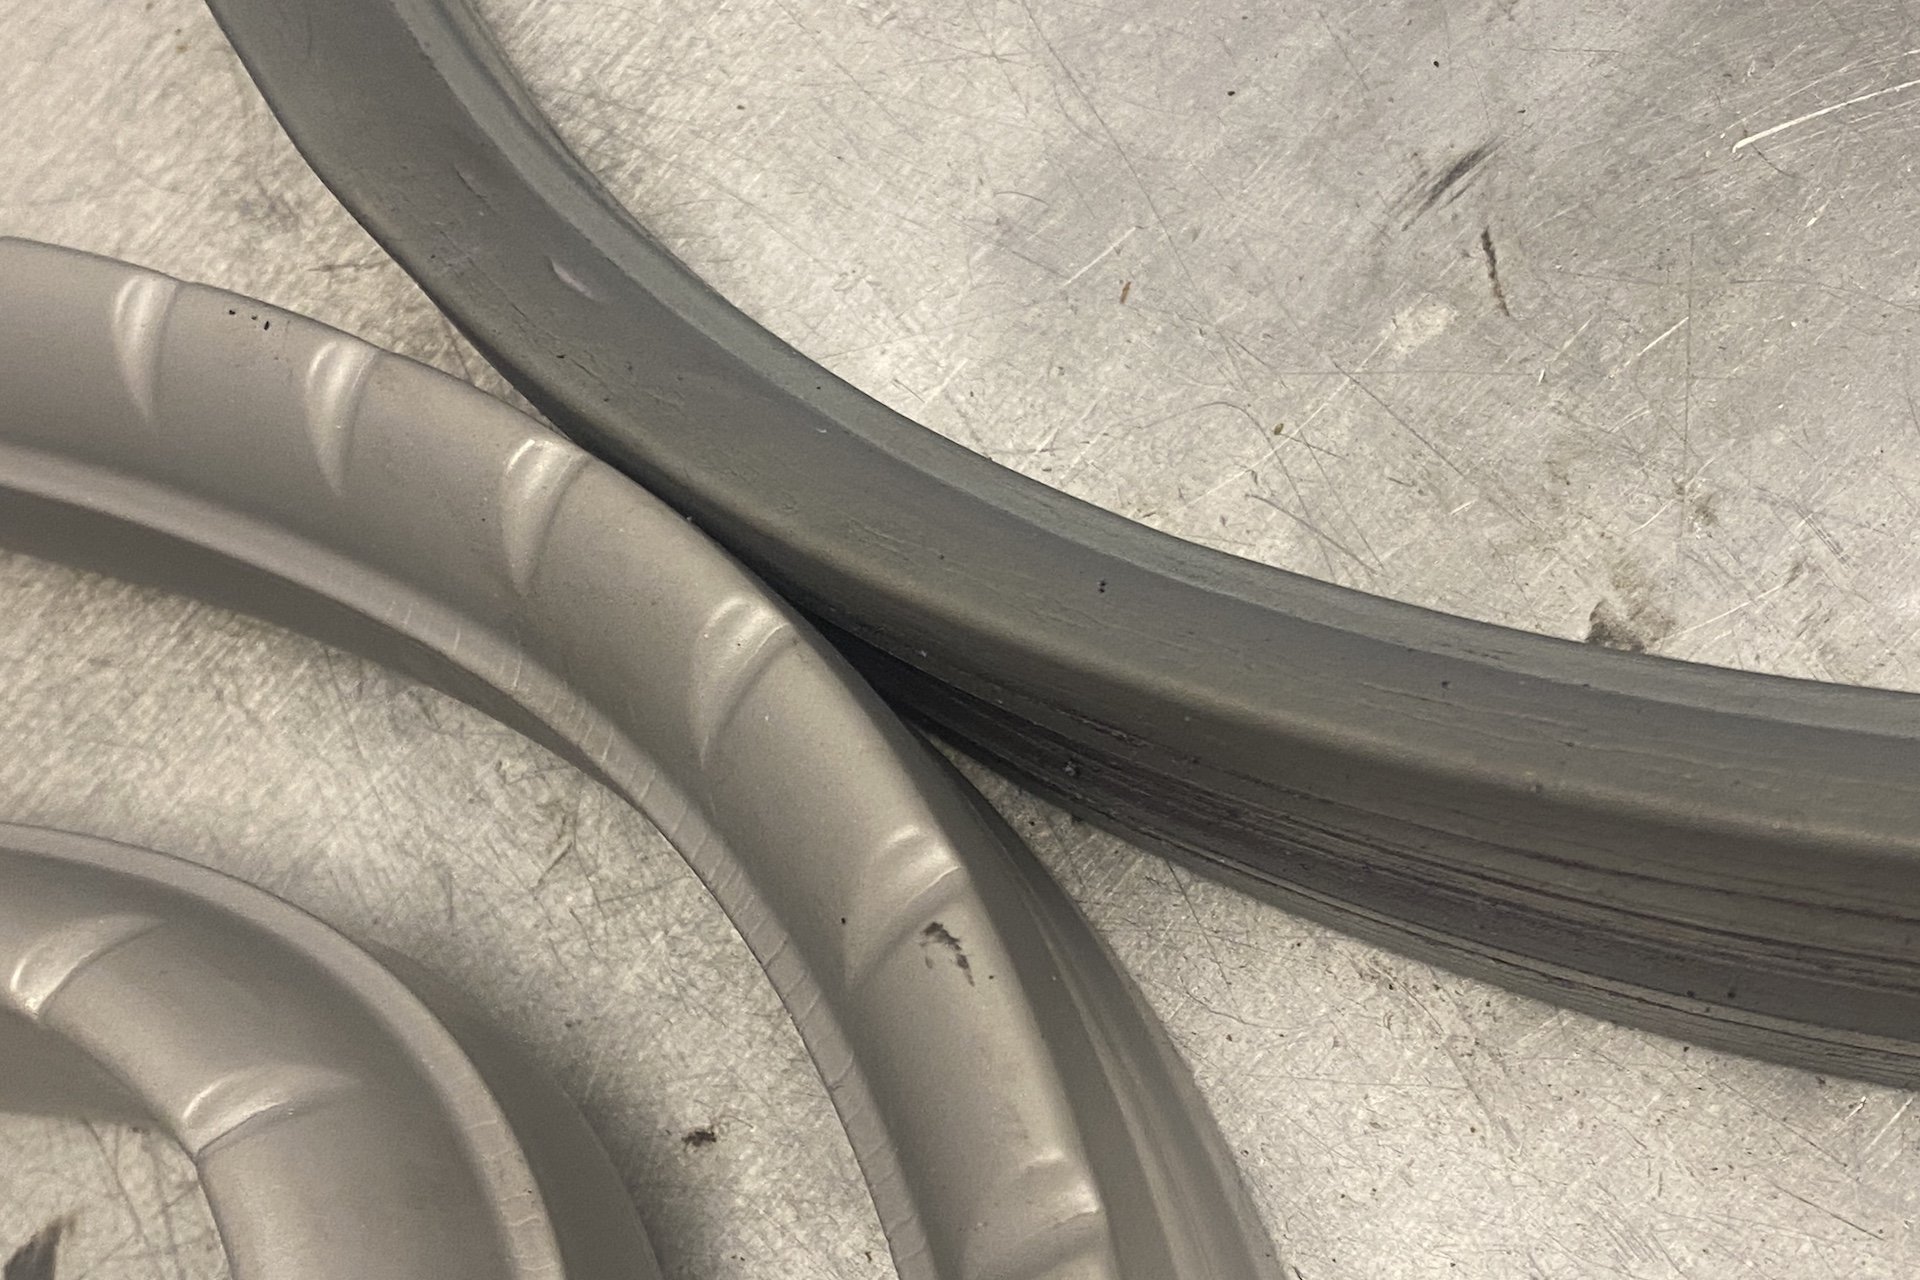
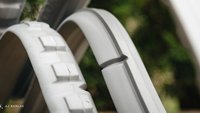
Cushcore eMTB is slightly larger and slightly heavier (300g on my scale) than Cushcore Pro but lighter than a lot of tubes.
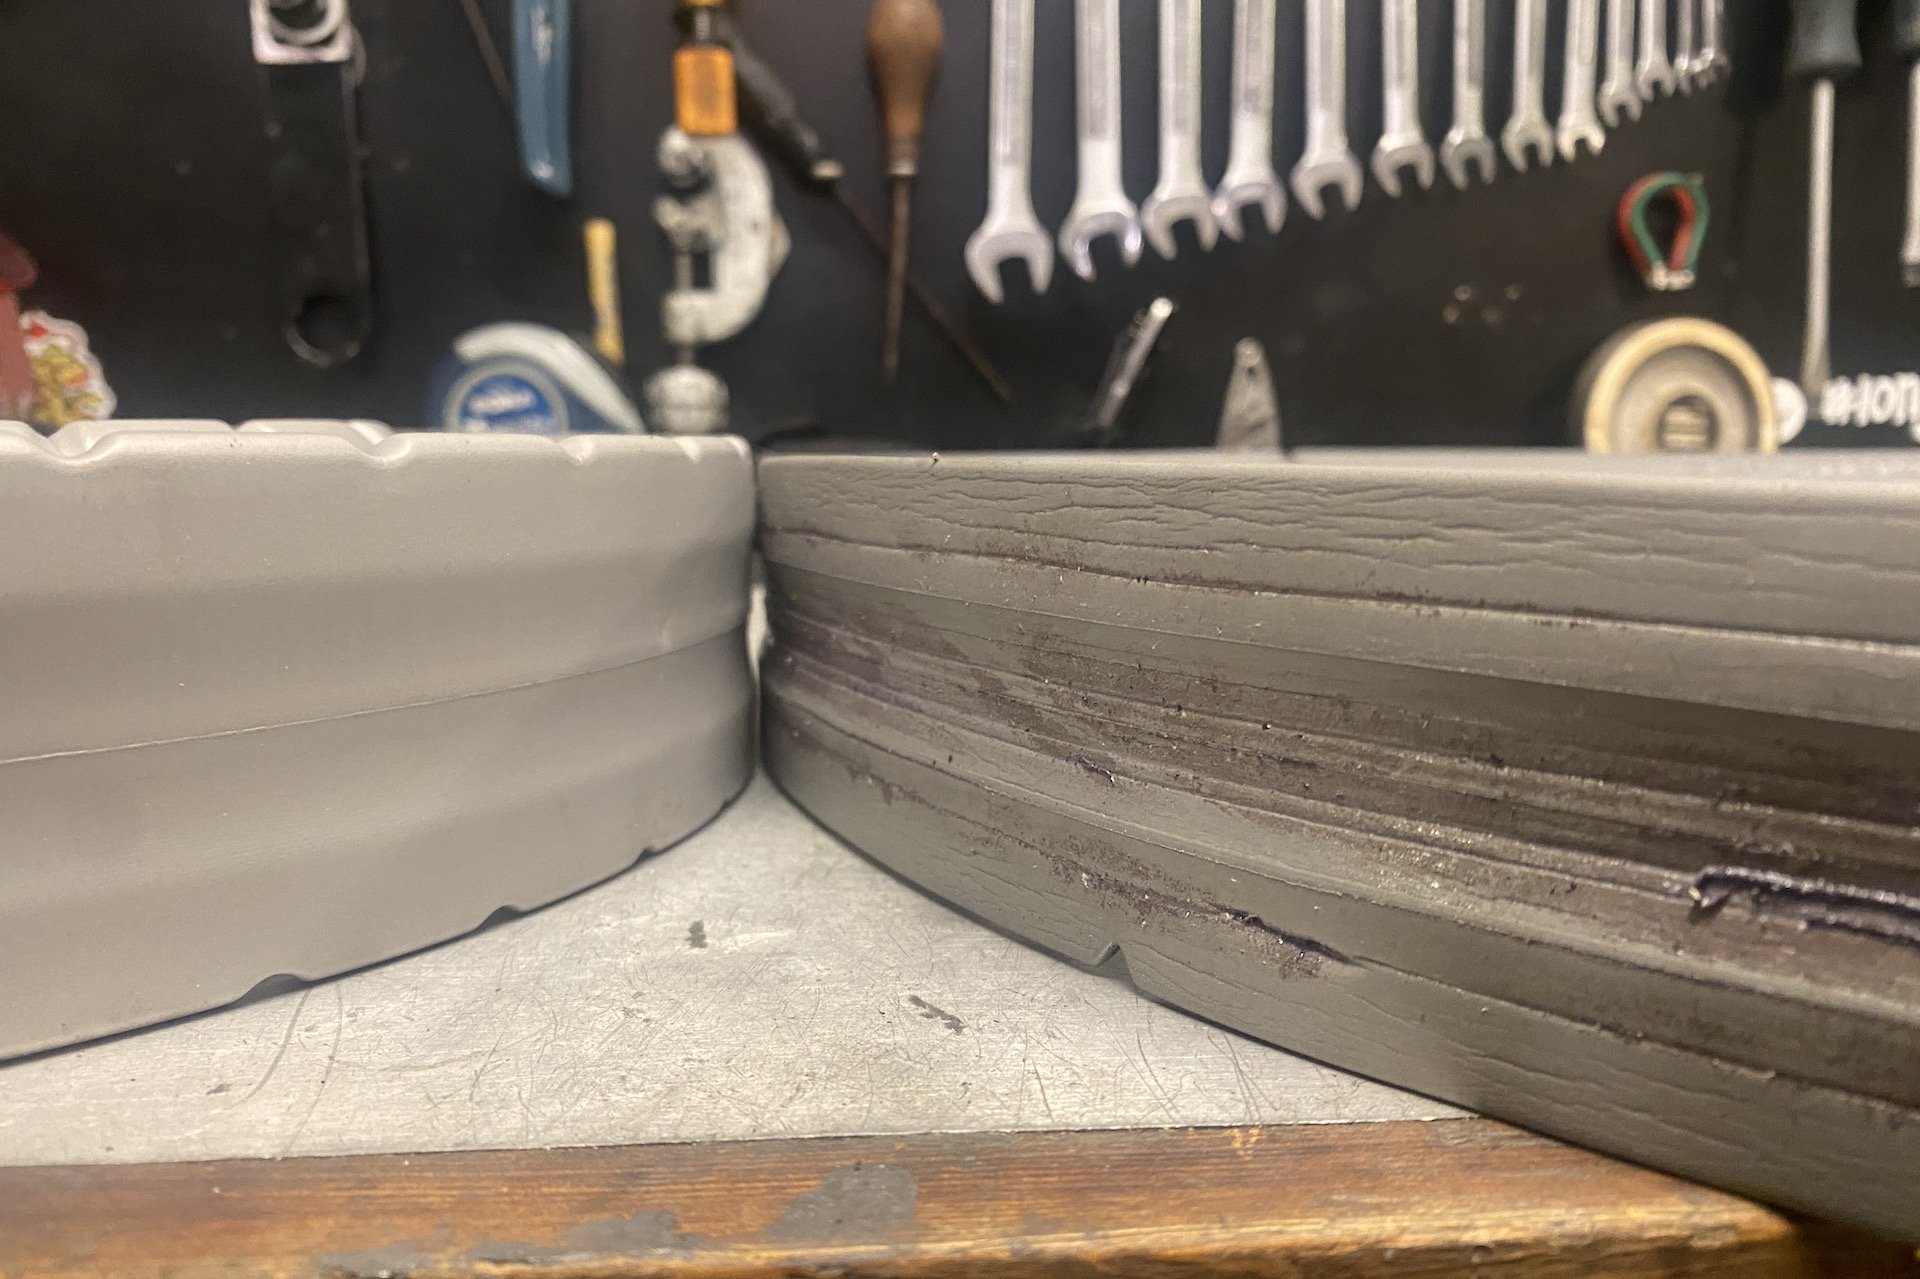
As you can see, there isn't a dramatic difference between eMTB (left) and Pro.
Prepare Tire
I've heard it's helpful to leave your tire out in the sun to soften it up for 5 or 10 minutes but I was installing on a rainy day so that wasn't an option. Just opening it up from the folded position for as long as possible helps ease the tire into its final shape to help the install.
Inspect Valve and Rim Tape
Always have a careful look at your rim tape at this point, after cleaning off the old sealant and any other debris you find. There are few things more devastating to a home mechanic than to have installed and aired up your tire and added sealant, only to discover that your rim tape is shit. Make sure there are no bubbles, gaps, or tears and that the tape extends across the entire rim bed. If you have regular valves you'll want to either modify them or use CushCore valves, which allow air to flow horizontally. Most valves will be plugged by the insert because their port is in the bottom. I've had success by using a hacksaw and cutting a cross in the bottom of inserts with aluminum bases. I've also had moderate success with rubber-based valves, but the air flow is never perfect in those cases.
Also - valves can get so gummed up with sealant that they need to be tossed. Most can be saved but discovering this earlier is vastly better than once you've got everything back together.
My previous tire, a Specialized Butcher T9 Gravity, wore very well but it was clearly done. I liked them enough to sign up again but fresh tires made the swap more challenging.
Prepare Cushcore
Every Cushcore I have ever installed has benefitted from a stretch before you wrestle it over the rim. On subsequent installs this likely won't be the case but when they are new, you can't stretch them too much (as long as you don't break them?). I do this by pinning the bottom of the insert to the floor with my foot against a hammer and then pulling up with my arms and pushing with my legs. You can also extend your bent knees into the gap so the top end is over your thighs and then extend your legs gently. I do this several times in each position and then rotate five or six times. This makes life much easier.
If you don't use the garbage can method, pinning the rim to the floor with something like a soft-handled hammer works great.
Install the Cushcore
With Cushcore Pro or Trail or XC, it's possible to install the tire first, inflate to seat the beads, and then remove one side before pushing in the insert. I tried this with Cush eMTB but the size of the insert made that seem close to impossible so I went to the Cushcore first, tire second technique.
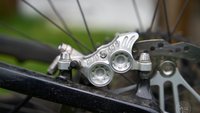
Cushcore eMTB has two recesses to give your valve some space, although I haven't noticed any issues without this in the past. This did came in handy installing it on a bike with Tyrewiz however.
After stretching, it's a bit like getting the first bead of a tire onto your rim, only you are just placing the insert into the bed of the rim so it is evenly positioned. As mentioned, I stand on a hammer with a rubber handle to pin the rim to the ground, once the bottom section is in place, so you can pull up on the insert to get it aligned. Work it from the bottom up, easing it into place. You might want to use a lever here but be careful not to damage the insert or the rim tape. It's not too hard to do it with your (gloved) hands though so I'd try to stick with that. With a little patience you'll get there.
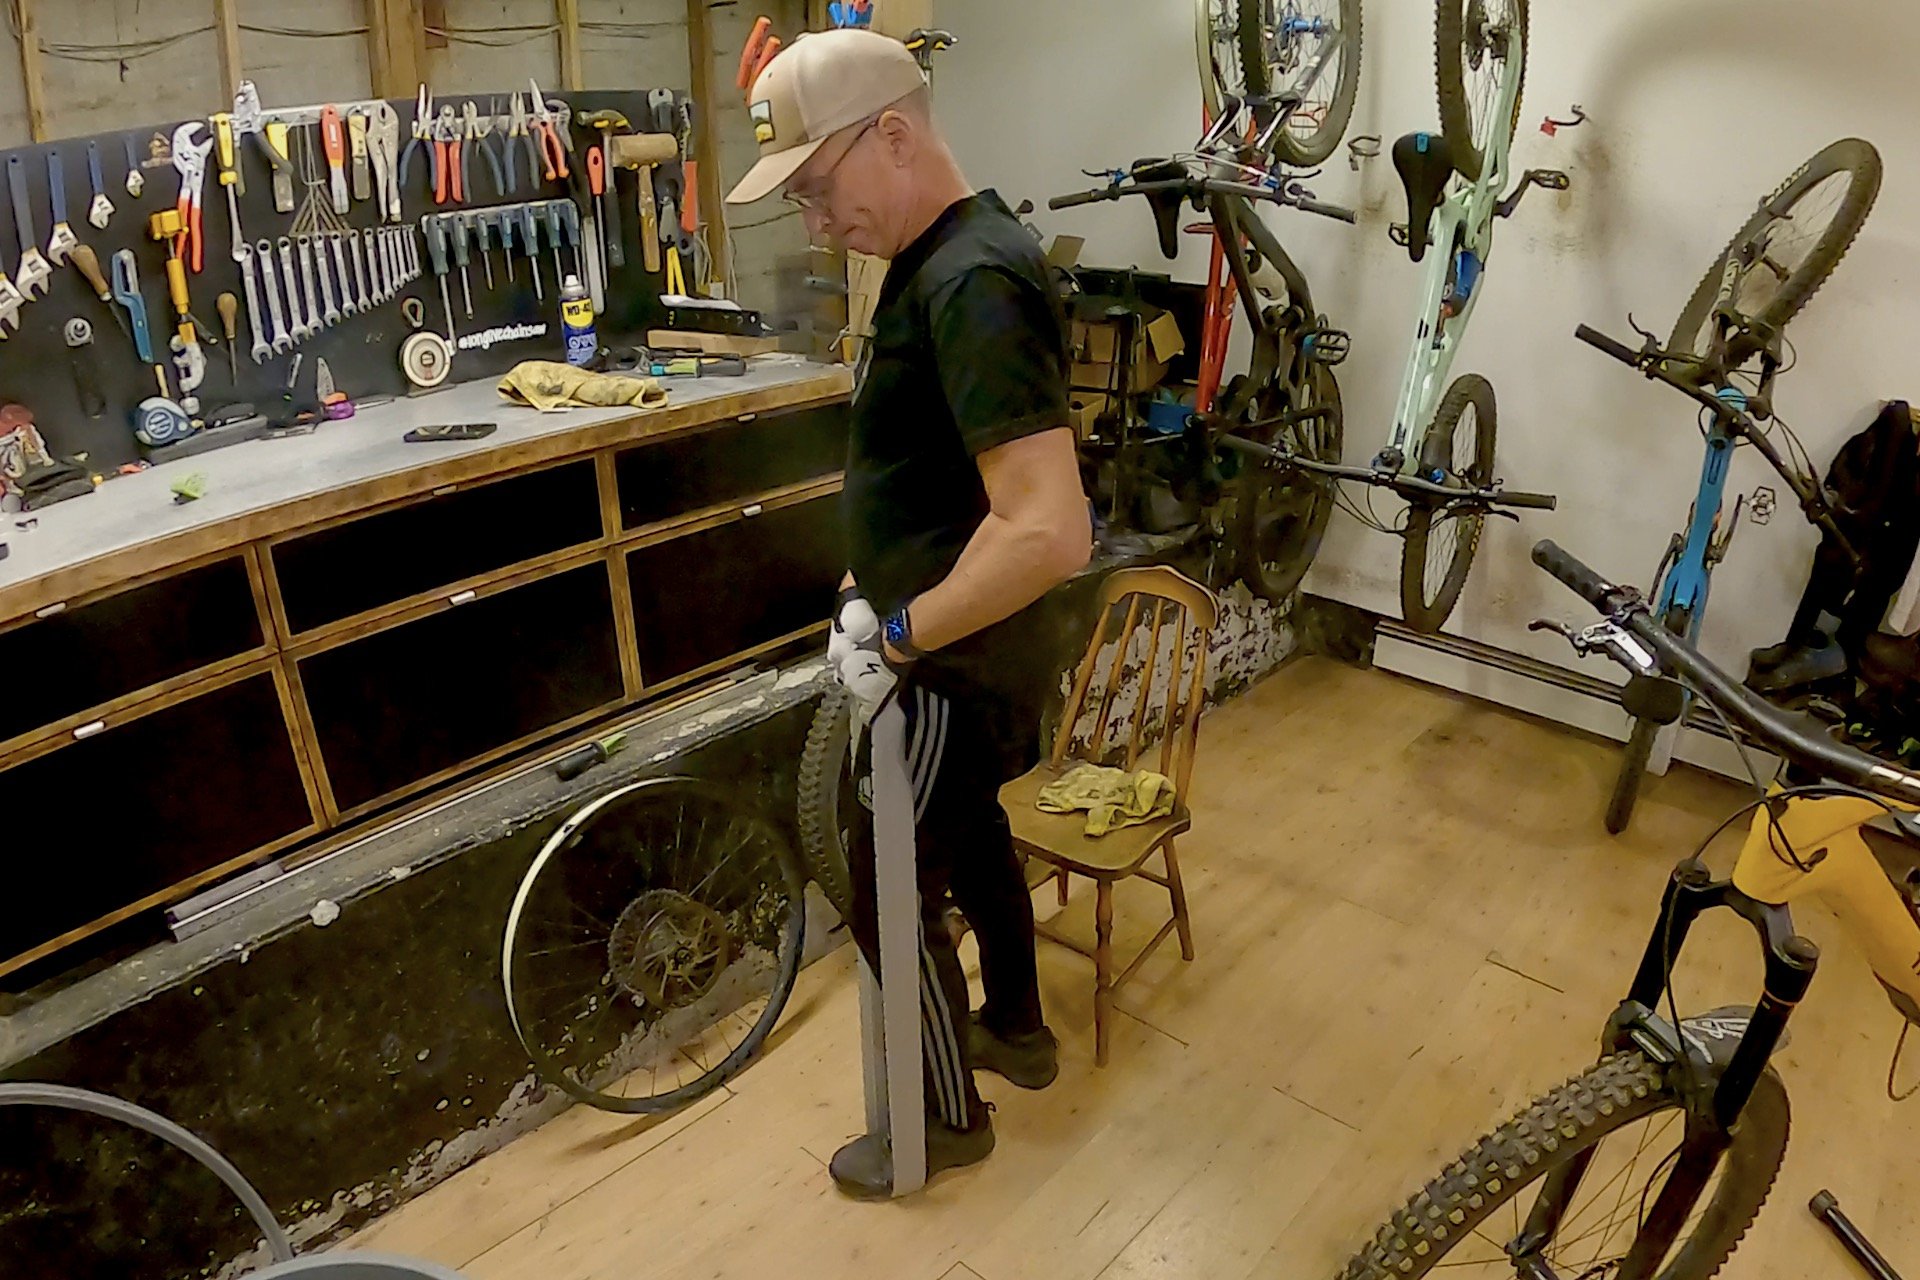
Stretching out the insert, at least if it's made by Cushcore, helps ease the first step of the process.
It feels like you've been in the middle of a small explosion when this happens. Because you have.
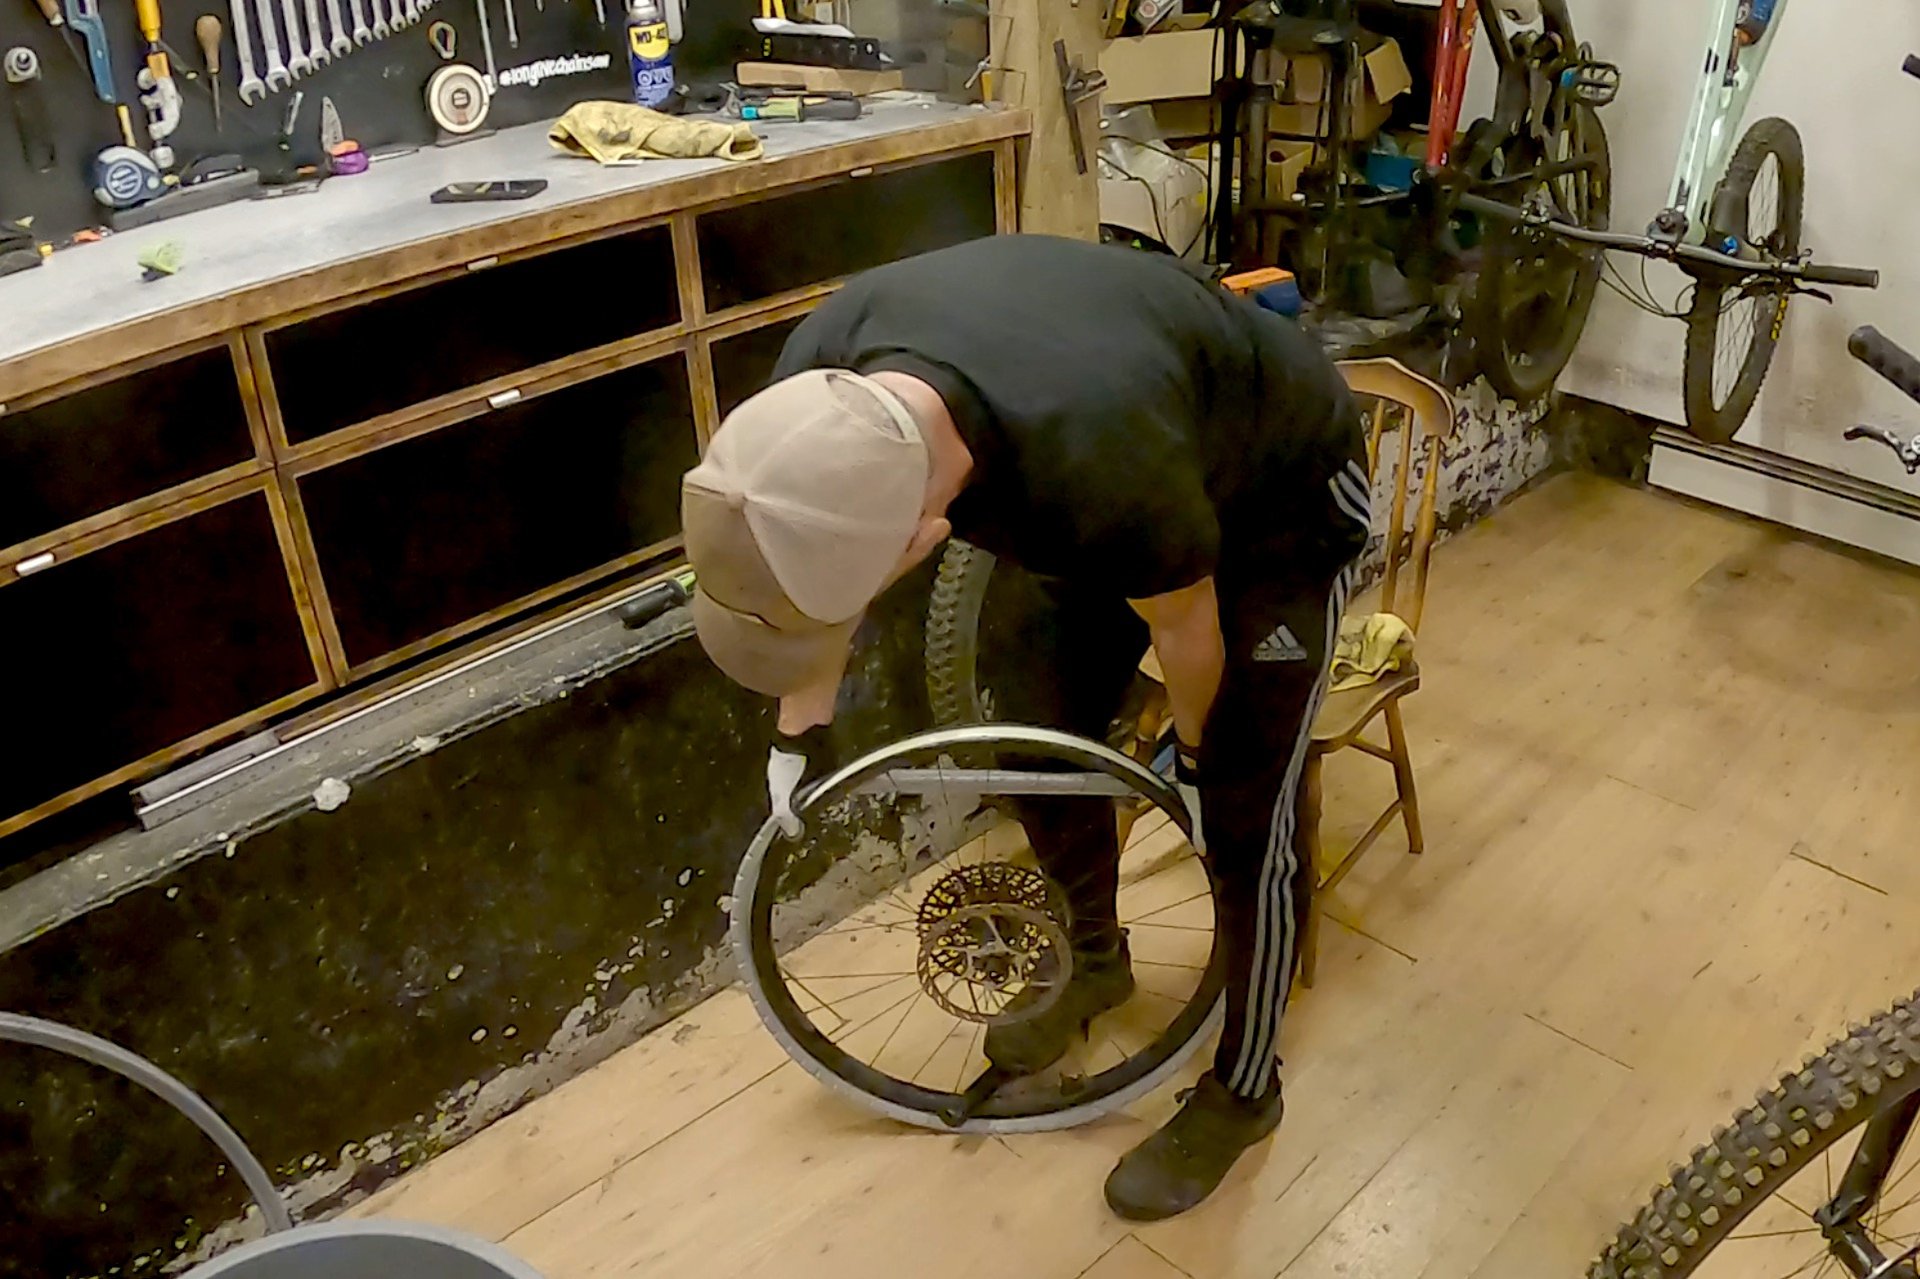
Even when it's stretched, this is a bit of a wrestling match.
Slip your Tire over your Cushcore
With my first wheel, which I installed beforehand as a trial, this went on pretty smoothly. I'm not sure what sort of magic I conjured but it just sort of slipped on. Maybe because it was a much warmer day? This time it took some massaging to make it happen but I got there eventually.
I also do this with the rim placed vertically facing me, after I have the bottom section installed. If the last section is sticky, I turn the wheel over and push the section that is in place down toward the last bit to gain some slack. It may feel like nothing is moving, but you'll be surprised how effective this is.
I think next time I might try to roll the pre-installed Cushcore part way off the rim, in one short section, to meet the tire and then push them on together.
Install the Tire
This is likely a task that many people list in the challenging column, but again, it's not that bad if you have a plan and you are patient. I wouldn't apply any bead lube yet because you want the first section of the tire bead to stay between the Cushcore and the rim.
I again perform this task with the wheel standing vertically, facing me and I usually sit on a chair.
STOP HERE!
This is the point where you should double check that you've got the tire going the right way and you've aligned the tires logos and lettering to your satisfaction. On the top of the wheel, you want the ramps on the knobs facing toward the front of the bike. Alternatively you can look for that one tiny embossed arrow.
Putting the tire over the insert isn't physically challenging but it can be a little frustrating.
And Continue...
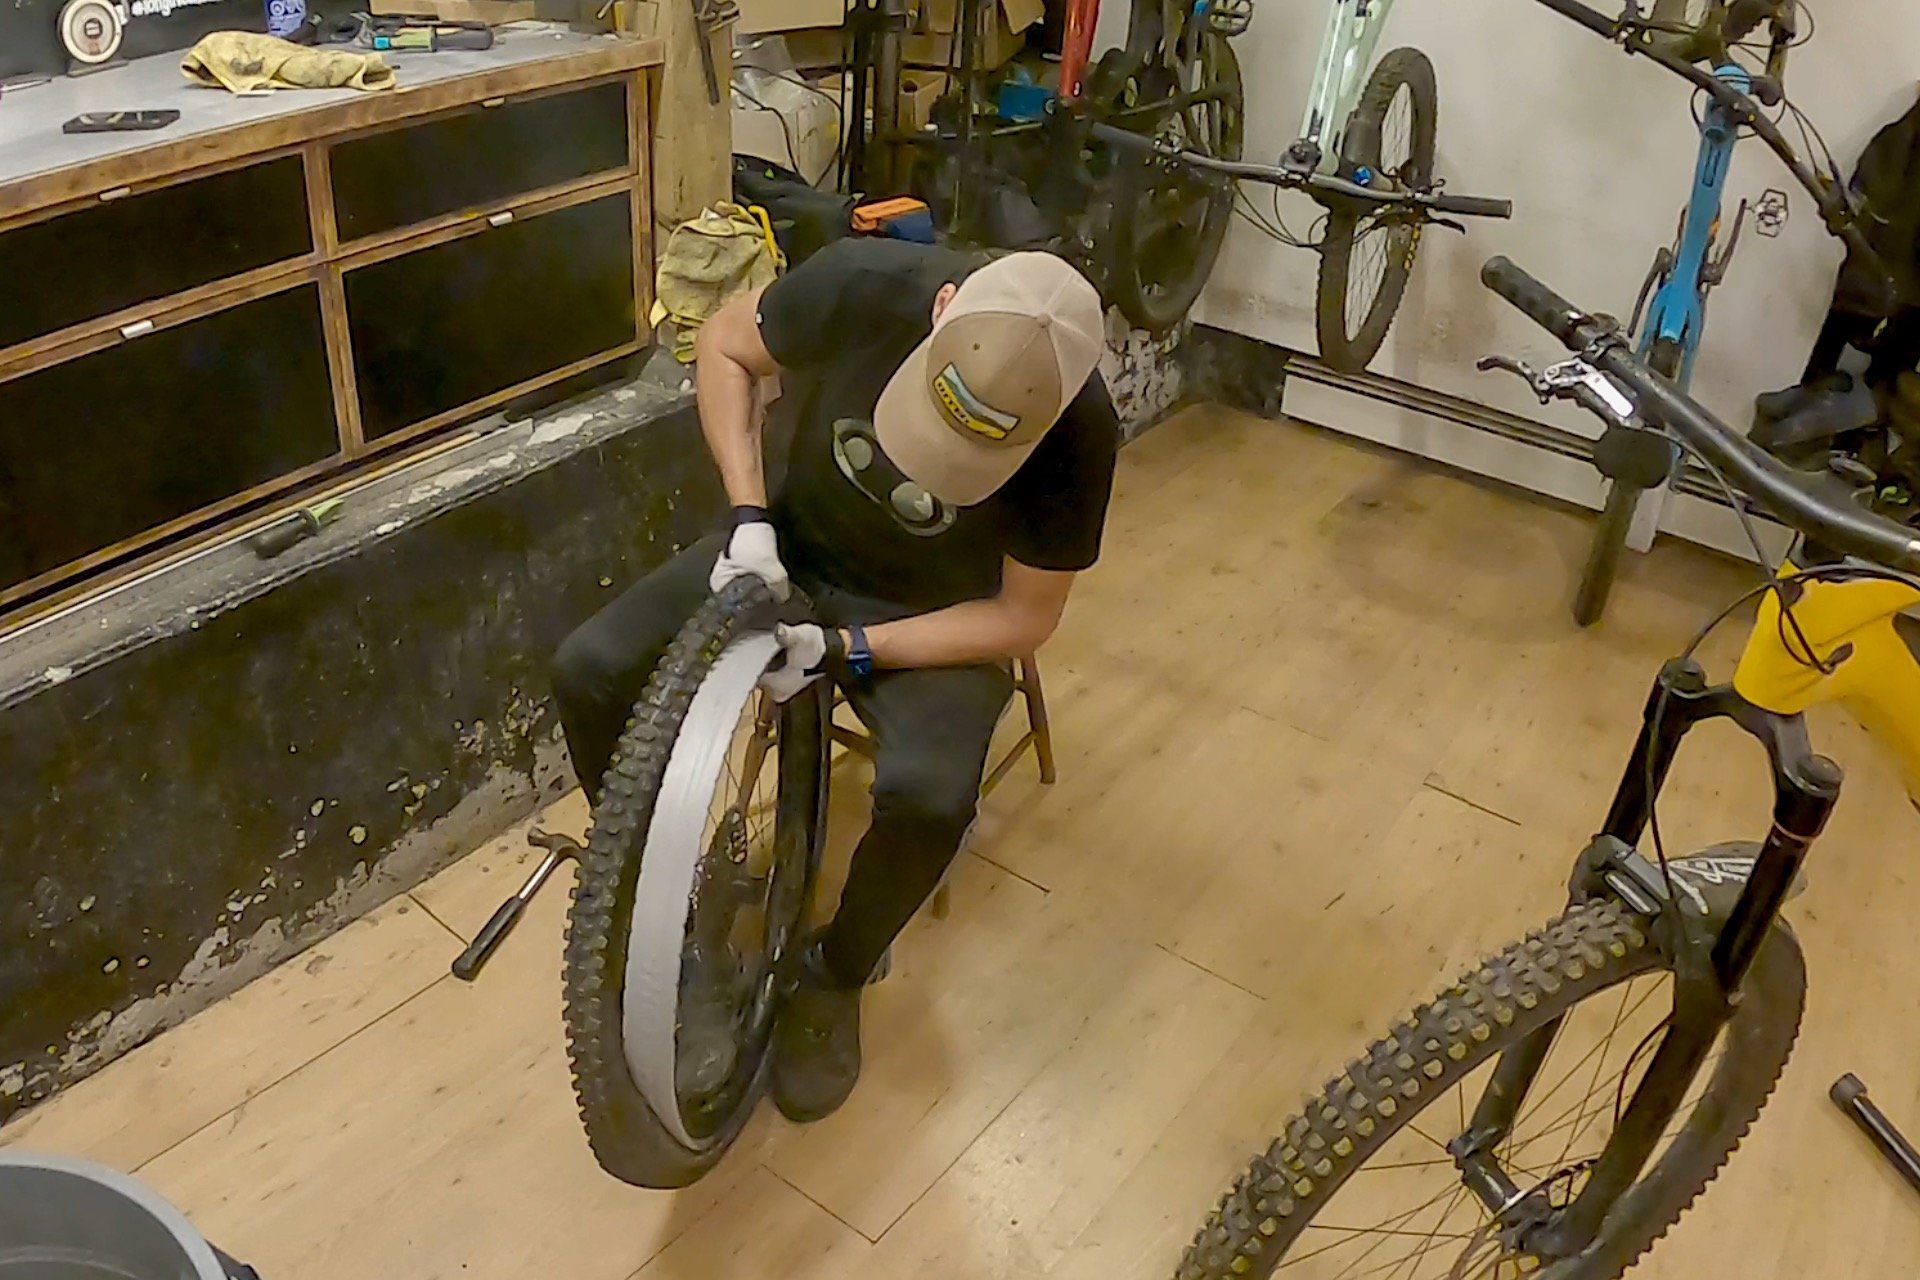
Now that that's sorted, with the valve at the bottom and lettering aligned, start at the top of the tire with the side that is furthest from you. Push the tire away from you and down so the tire bead is below the rim and the Cushcore. Then, with two gloved hands on the tire and your finger tips along the bead, pull up towards you, raising the edge of the insert, and roll the bead underneath.
Then, ideally in the same motion, push that first section into the rim bed with both hands. This may take a couple of tries before it stays. Once the first section is in, move your hands a little further apart and repeat this process. Now is good time to apply the bead lube of your choice. After you have about 30cm (12") of bead in place, you can use both hands on one side at a time, alternating left and right, using the same technique. After the first section it will get easier. Until the last section that is.
Once I've got a long stretch in place on either side and it's starting to get tight, I lay the wheel on the ground and drop the entire bead that is in place. It's important to get the bead right into the rim's channel here. Once that's done, I stand the wheel up again and push the entire tire toward the unseated section. Sometimes it's best to push on both sides at the same time but other times it seems effective to alternate pressure side to side, keeping firm on the side that you aren't pushing on.
Go back to pushing the bead under the insert and into the rim with two hands per side at this point. Once you get stuck go back and press the tire toward the unseated section several times and push it in a little more until the last section will seat.
Dropping the bead makes the installation process much easier. Sometimes you'll need to do it more than once though.
The second side follows the same procedure exactly but everything will be a little tighter and more challenging. You'll want to be even more diligent about dropping the bead on the last section, applying lube (after the first section is on) and pushing the tire toward the open section once things get tight.
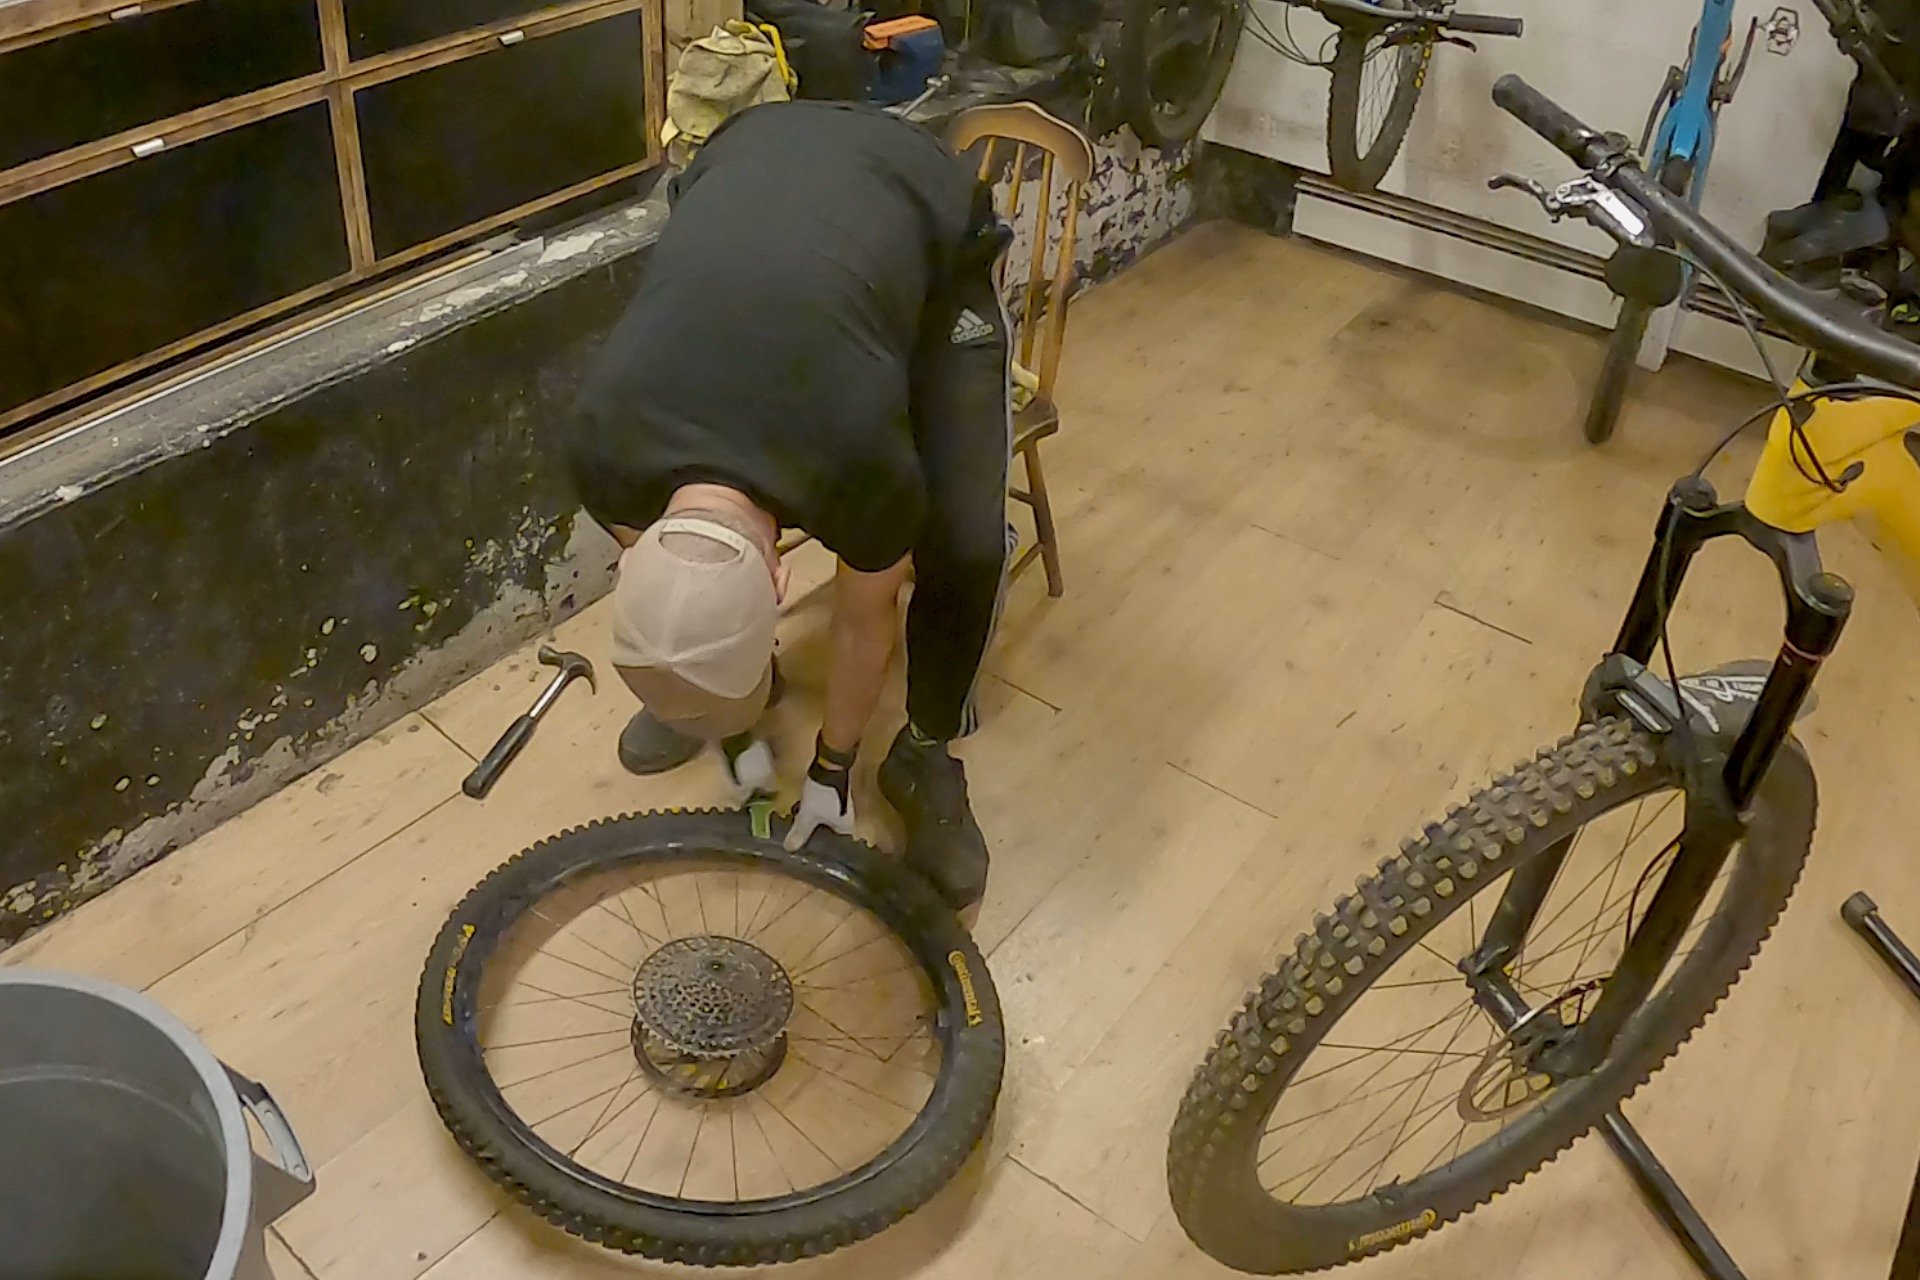
For the last section, particularly on the second side, you've got some decisions to make. If you are impatient, and confident you won't damage your rim strip, you can use a tire lever to lift the last section into place. This was a terrible idea in the age of tubes, because they invariably pinched, but less so now. Cushcore's levers are great here as well because the ends are rounded and the edges aren't sharp. Don't try to lift a long section into place in one go. Instead push a little bit at a time until there's only a small section when you can put the lever in the middle and snap it all into place.
Towards the end, if one end slides off as you seat the other, Cushcore's Bead Bro is a nice third hand, locking that last section into place. If heard of people using toe straps for this purpose as well. Barring that, stick with pushing the tire toward the open section as many times as you need to. This is working even when it feels like it's not. If you are stuck, do it again. Repeat as many times as necessary.
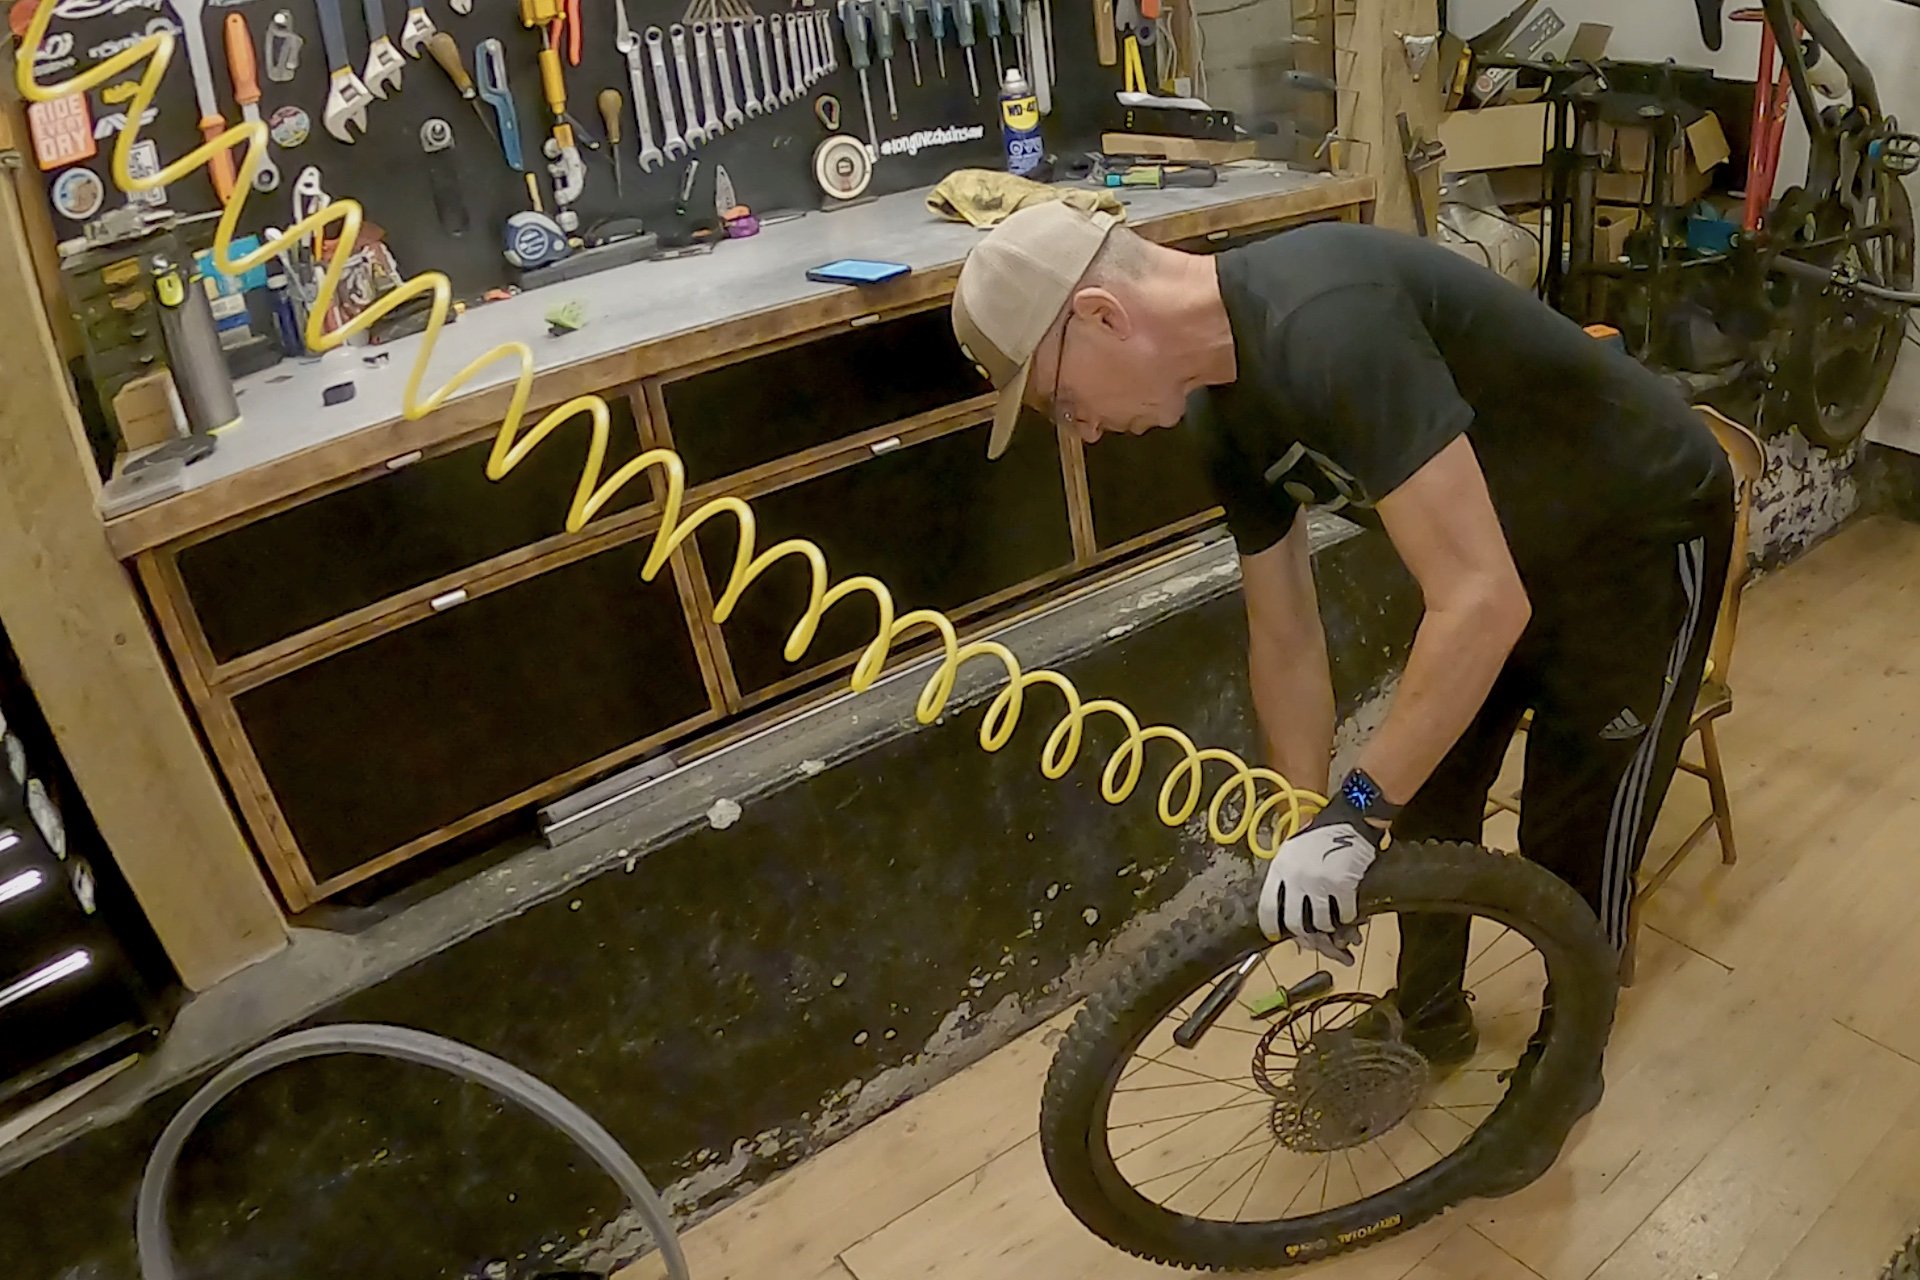
A compressor makes installing tubeless much easier, but I know a trick that will help with a floor pump as well.
Inflation and Seating
A proviso here is that I have twice blown tires off at this point while using a compressor. Once I destroyed a carbon rim (a very early ENVE) and shot the presta adapter into the ceiling drywall. Both times I was left temporarily deaf and in mild shock, and sealant was dotted all over me and my entire workshop. It feels like you've been in the middle of a small explosion when this happens. Because you have. Be careful if you are using a compressor.
Whatever you are using to seat the tire, the bead lube you used earlier will ease this process. Some people like to inflate until they've heard at least three pops. I find that tire models and brands, as well as rims, are all a little different, so I take it slow, hoping to prevent another explosion. And I wince every time I hear the tire announcing that it's slipping into place.
A couple of years ago I stumbled upon a very useful hack. The worst thing about presta valves is that the volume of airflow they permit is pitiful. One day I tried using my compressor's Schrader attachment on my presta valve once the core had been removed. Surprisingly, despite noting seeming to be in place to depress the valve, his works perfectly, and allows what seems like 5X the airflow. You'll be amazed by the difference this makes.
This will also work with floor pumps using their Schrader setting, although some tire and rim combos will still require a compressor or a dual stage floor pump. If you aren't sure if your tire has seated properly, hold it up in front of you and spin it to see if it wobbles or not. If it does you may want to wait a day and try the process again. Otherwise you can let the air out and give it another go. The tire will stretch a little every time you inflate it. Others swear by bouncing the inflated tire, banging it against the floor, or just massaging the tire into place.
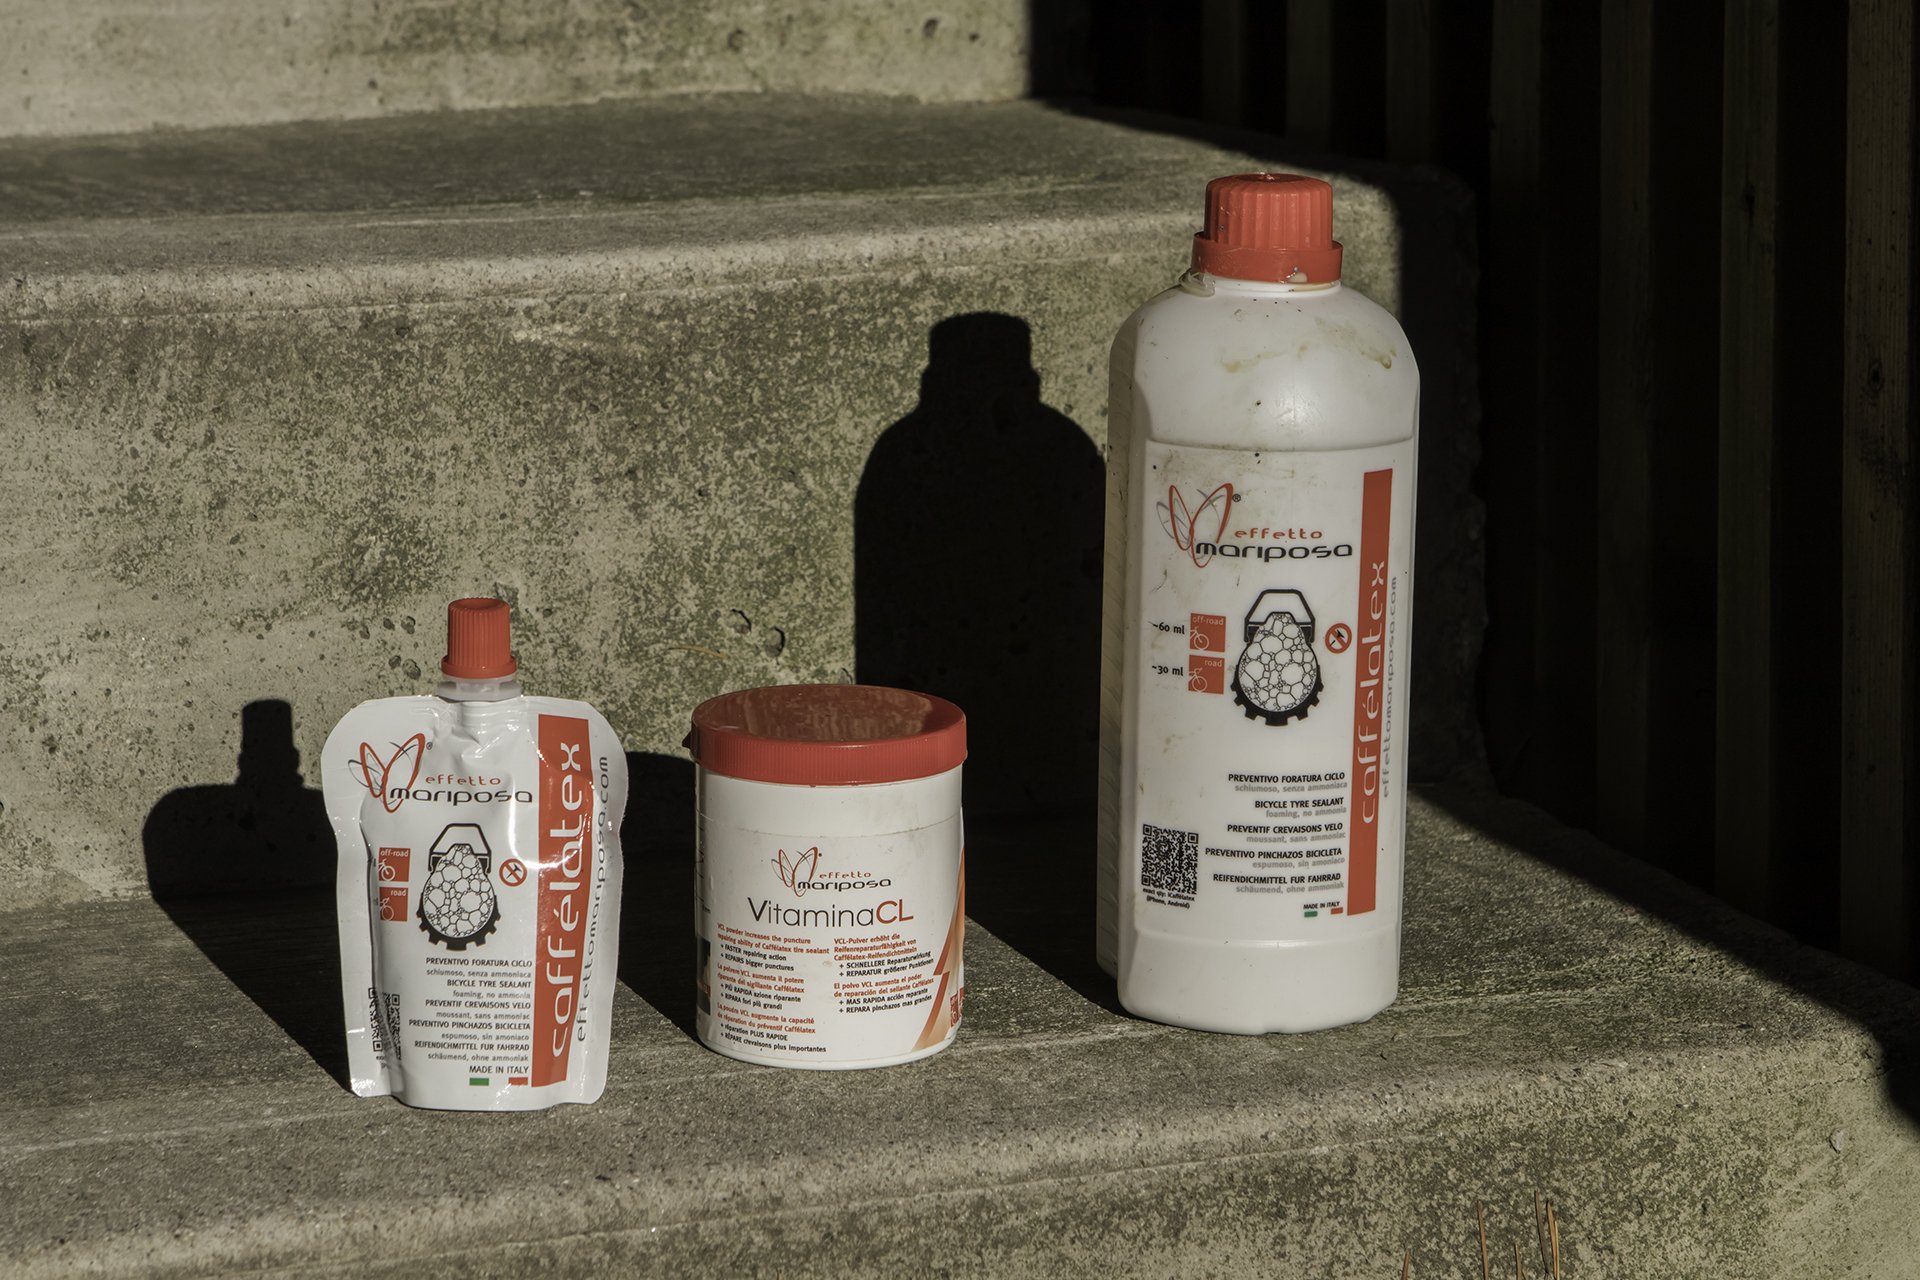
I've used a lot of sealants but I'd be hard-pressed to tell you if one works better than the others. I do appreciate those that use less harmful ingredients, but for us and for the forest and the critters therein.
Put Sealant into That Sucker
Until recently, I always poured sealant into the tire before I closed the final section. It works okay but it's messy. I've used some syringe systems but they always seem to gum up. Lately I've been using an old Avid bleed syringe and a section of medical tubing. It works great but it takes about 4 applications to get enough volume in there. If you have small bottles of sealant, and you cut the nozzle perfectly, you can squeeze them in directly, but I always end up with goo everywhere when I do it this way.
Whichever method you choose, I recommend positioning the valve at about 8 o'clock so gravity pulls the sealant away to create space for more. If you are going through the valve, it pays to create some negative pressure. I push the bottom of the tire into the floor and use my free forearm to apply pressure to the top, and then release as the sealant goes in, creating some helpful suction.
What if it's still Leaking?
If your tire still has a slow leak is, keep inflating the tire to pressure and leave it over night if possible. The bouncing and banging techniques can also be helpful here and you can try a little more sealant. I find that sometimes the whole system benefits from a ride; just make sure you bring a pump and only trust this if the leak is slow. If it's a big leak that you can't find, or you notice air coming out at the spoke holes or the valve, once it's been tightened with your hand, your problem is with the rim strip, and the bad news is that you're probably going to have to do it all again.
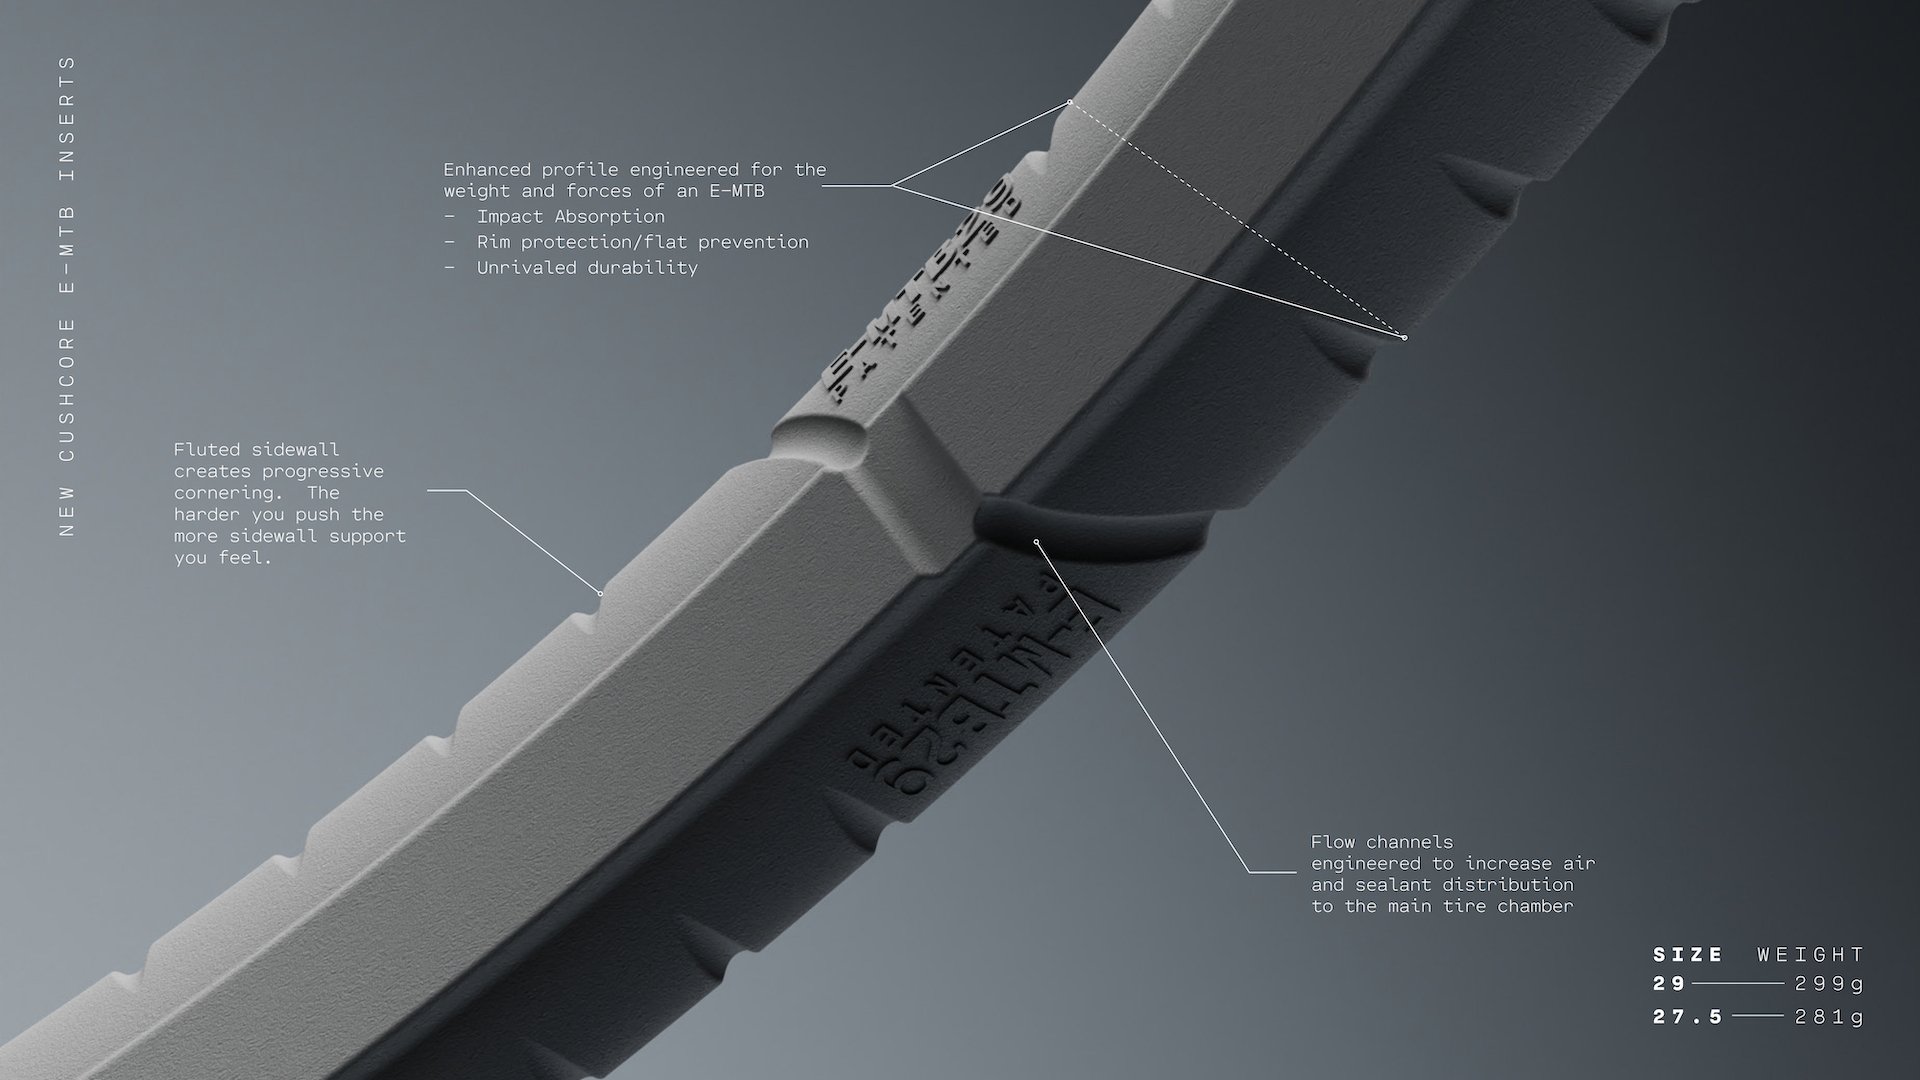
Cushcore's accounting of the features of their eMTB insert.
Is that it?
There are all sorts of combos of tires and rims and some work great, while others are nasty. I find Bontrager rims with their stock plastic rims strips are some of the worst. As far as tires go, heavier casings are worse than lighter ones. Asymmetrical rims are another curveball, particularly if they, like some recent WTB rims, have narrow and shallow channels.
The good news is this all gets easier with practice and eventually the process gets to be relatively stress-free and quick.
Andrew Major and I will both be riding these inserts and giving our verdict in the coming weeks.
Cushcore eMTB sells for 160 USD a set (with valves) or 80 USD each


Comments
Kos
6 months, 4 weeks ago
Beautifully done. Golf clapping! A few things:
Agree that Cushcore tire lever is the schizzle for installing a tire. For removal, nothing beats the Crank Brothers Speedier Tire Lever.
If you don't have a trash can, two 4 x 4s about two feet long laid on the workbench is a good substitute.
To inject sealant, I use an old squeeze bottle and piece of tubing from Bontrager's first (tragic) attempt at sealant. I'd call it a Honey Bottle, for lack of better description. Works for up to 8 ounces of sealant, so even fat bikes are covered.
Reply
Cam McRae
6 months, 4 weeks ago
Good ones! Thanks!
I haven’t used a Speedier Lever for years for some unknown reason.
Reply
Guy Elliott
6 months, 4 weeks ago
The worst after successfully manhandling a Cushcore setup together, is discovering you compromised the tapejob....
Reply
hankthespacecowboy
6 months, 3 weeks ago
This has been my primary frustration with Cushcore installs as well. I no longer trust any existing rim tape, even if it was working fine previously. Key factor to rim tape install for me has been to stretch the tape, and press firmly with thumb to create a convex profile in the rim tape before it contacts the rim. Applying the tape flat generally leads to air bubbles / lack of sealing around the nipple holes. Also if you have the time / patience, installing a tube & tire combo, and airing it up to about 60 psi and letting it sit overnight is another tactic to get the rim tape to seal.
Discovering that your valve stem is leaking air into the rim cavity between the spoke bed & rim is another level of frustration all together....
Reply
danithemechanic
6 months, 4 weeks ago
I could never say enough good things about Effetto Mariposa's other sealant, the Vegetalex.
In fact, i can't understand why not everybody turns to it and the other brands don't make their version of it.
If you're concerned about environment spills, clothes stains, sticky hands, caked bikes, and impossible to clean tires and wheels, get rid of all these problems at once with this plant fibers based sealant that not only does its job as a sealant, but cleans off with water.
I even had good results mixing the 6 months old goop in my tires with water and putting it back in.
Reply
Cam McRae
6 months, 4 weeks ago
That’s good info dani. One thing about WPL’s sealant is that it apparently doesn’t dry out like Stan’s - and it’s also plant based. I have found an incredible number of sealant spiders in my tires after just a few months of riding which is pretty annoying.
Reply
danithemechanic
6 months, 3 weeks ago
Good to know, but not widely distributed i guess.
I'd like to see Stan's and Joes step in and change the latex trend.
Reply
mtmc99
6 months, 4 weeks ago
Excellent write up. The Cushcore levers are amazing and I use them all the time for normal tire install now.
My first Cushcore install was a multi-day extravaganza. When folks say to push the bead to the center of the rim, they really mean get it to the center of the rim. Once I realized that, its been relatively easy everytime since.
Reply
Shane Manery
6 months, 4 weeks ago
The Cushcore levers saved the palms of my hands and made pushing the bead in so much easier. Was a night and day difference from not using them. Great review, ill prob grab some ebike cores for my dh bike.
Reply
Briain
6 months, 4 weeks ago
As someone who has also blown a tyre up in their face. I am actually scared of the pops when the bead seats. In my case it was a schwalbe were the bead wasn't manufactured correctly. The other thing which helped was my last tyre which is a DD casing I ended up putting the tyre on the rim and inflating it to stretch the tyre out.
Reply
Cam McRae
6 months, 4 weeks ago
I know your terror. Mine was starting to subside but my last one was earlier this year so it’s back in full force.
Reply
Tjaard Breeuwer
6 months, 4 weeks ago
I haven’t had one blow off in years, but I still put on hearing protector (nice for the compressor noise anyways), safety glasses and use the prestaflator, going slow in short bursts, and slowly working up to ~40psi
And yes, I also use the schraeder side of the Prestaflator on the empty valve stem.
Besides using dedicated valve stems, I also drill a large hole in all the inserts (much bigger than the valve stem base), so the insert sits nice and flush in the rim, and air and sealant can flow freely.
Reply
Cam McRae
6 months, 4 weeks ago
That's a good idea, drilling a recess for the valve. These inserts were the first I've used that have their own insert built in.
I know a few riders who drill lots of holes in their inserts to reduce weight and the swear, along with getting better sealant circulation, they don't notice any difference in the support provided. I haven't tried this yet but I will eventually. I think it makes good sense particularly down the centre channel where it's unlikely you are going to have to protect against a strike, since any incursion will stop on the sidewalls of the rim.
Reply
Andy Eunson
6 months, 4 weeks ago
I think I’ll go back to tubular tires. Way easier. Ha. Good tips there though. Gloves are crucial for grip. Removing the valve core has been my method for some time. I use the blower attachment on my compressor though. Fffffffff pop pop pop wince wince.
Reply
Cam McRae
6 months, 4 weeks ago
Lol!
A good addition. The nice thing about the blower attachment is that you can modulate the rate of airflow. The Schrader is on or off, adding to my terror.
Reply
Tjaard Breeuwer
6 months, 4 weeks ago
Aha, now I see what you mean.
As I wrote above, I use the Parktool Prestaflator, which gives you a pressure gauge and a squeeze handle to apply short, modulated bursts of air.
Reply
taprider
6 months, 4 weeks ago
"Patience is a Virgin" I at first thought would be from George Carlin
Google says Archie Bunker
Reply
Cam McRae
6 months, 4 weeks ago
Google is correct. "Like the Good Book says, Patience is a virgin!"
Reply
Karl Fitzpatrick
6 months, 4 weeks ago
I've recently gone back to tubes after having a good experience with Cush core for 18months but finding the tubeless process (with our without inserts) too messy and a faff I can't abide.
Aside from all the claimed benefits of inserts in general, the thing I like most about them is bead retention having had enough poorly timed (and scary) burps/blow offs mid-ride.
However, no matter how many different ways I Google the question, the one thing I can't find is a reliable tyre and rim combination.
Anyone around here got the scoop on this?
Reply
Ripbro
6 months, 4 weeks ago
I’ve heard good things about the new continental tires, however I’ve heard the bead is tight. I don’t have any issues with tires but I’ll be trying some kryptotals next season.
Reply
Cam McRae
6 months, 4 weeks ago
I installed two of these onto Butchers and Crankbrothers Synthesis rims and the one in the video, which was the easiest of all (I didn't even need any lube) was the Kryptotal onto a Bontrager Line 30 Carbon rims. The Kryptotal had a few miles on it but not enough to show much wear but the Bontys no longer had their problematic rim strips installed. As evidenced by the video, it was pretty quick and easy which was a nice surprise.
Reply
Kos
6 months, 4 weeks ago
Bonty also still uses a hook bead on their Line Carbon wheels, which I at least like to think reduces the liklihood of burping (and also might give a little more surface area for impact protection).
Reply
Karl Fitzpatrick
6 months, 4 weeks ago
You alluded to lighter casings going on easier than heavier casings.
Do you have enough experience (you've certainly got more than me!) to say this could translate into bead retention too?
Maybe an idea for an article comparing this specifically for different rims, tyre brands and casing weights?
Reply
Karl Fitzpatrick
6 months, 4 weeks ago
The new Kryptotals look really nice but it's unbelievable how expensive they are! $160 here in NZ!
Reply
Cam McRae
6 months, 4 weeks ago
The problem Karl is that I haven't had any trouble with bead retention, with or without inserts. I weigh a little under 170 lbs and I ride kind of hard I guess, sometimes! lol I also tend to drop my pressures quite low when things get wet and slippery. Despite all of this, I can't remember the last time I burped a tire with any casing at all.
Too bad the Contis are so expensive in NZ. They are very nice. Are Specialized any cheaper? Butchers with the T9 compound are great and well-priced here in Canada. Around $90 in shops and even cheaper online.
Reply
Karl Fitzpatrick
6 months, 3 weeks ago
Oh wow. I'm not sure I've ever considered Specialized before. The T7 compound (more me) can be had for NZD$70 and the T9 is about NZD$120. Food for thought for sure. Thanks!
Reply
Steven Hambleton
6 months, 3 weeks ago
I'm in the market for new tyres soon and the choices are bewildering.
On my shortlist are Specialized Butcher GT T9/Eliminator GG T7/T9, Kryptotal Enduro Soft Fr/Enduro Soft Re, Pirelli Scorpion Enduro M/Enduro R, and Vittoria Mazza Enduro/Martello Enduro.
Andy Eunson
6 months, 3 weeks ago
Can confirm. Really tight. I had to remove the Bontrager plastic rim strip and replace with valves and tape to get them on. I don’t use inserts though but I could not get the last 15 cm of bead on the rim. Good tires though. I am using the Continental Xynotal 29 x 2.4 enduro casing and compound.
I’ve run the Bontrager rim strips in my previous bike for four seasons with no issues. Maxxis Michelin and Bontrager tires all installed easily with just a floor pump.
Reply
XXX_er
6 months, 4 weeks ago
I have been instaling Maxxis on DT swiss & WTB with just a floor pump, inflates in a few pumps, super easy to get off/ on the rims
Reply
Velocipedestrian
6 months, 4 weeks ago
Thanks for including the time-lapse, good giggle.
Reply
Cam McRae
6 months, 4 weeks ago
Lol! Thanks. I’m not sure that was my intention. I guess I wanted to prove it was possible by a mortal like me (rather than a current bike mechanic who has done hundreds) for those who have been afraid to give it a go for themselves
I would have loved to have used the Benny Hill theme song. It seemed appropriate.
Reply
Kevin26
6 months, 3 weeks ago
I did well over 100 cush core installs this summer and many of these 'tactics' are the same as mine. I do find the foot on the hammer method to pull the insert on to the rim annoying. I mount like half the insert on, get on my knees, put the mounted part against my waist and the unmounted part against the ground (on carpet/foam/ rubber flooring) and just push the insert on by hand, once you get the hang of it, it only takes a few seconds and doesn't require any pre stretching at all.
Reply
BarryW
6 months, 3 weeks ago
I've had great luck using my presta inflator for my compressor, but I remove the valve. It let's a lot more air flow through very fast.
Also, for safety just turn the regulator on your compressor down to whatever you choose as a 'safe limit' say 45 psi. Try that until air stops flowing pretty much and if it worked great, if not apply some soap suds and give it another go. Only then would I increase the pressure.
Reply
flatch
6 months, 3 weeks ago
So did the cushcore thing for a bit, liked it. Till I had to remove the tire. I’m not exactly known for my patience. Out came the knife. 😭. Any tips for next time?
Reply
Vik Banerjee
6 months, 3 weeks ago
I just installed two 29+ CC Plus inserts. The tips in this article were pretty useful. Thanks.
One thing I did differently was I couldn't pull the insert up over the rim due to the wide rims. Even after a bunch of pre-stretching it was too much tension for a chubby middle aged guy. Using my enginerd skills I figured better to use my beer belly to assist me. So I gave up on the hammer to hold the rim/insert down and flipped the wheel upside down so the insert was in place up top and I stood on the bottom of the insert with two and then one foot. That didn't require any arm/hand power....just gravity and my dad bod. Insert popped on no problem and I did the second one without pre-streching it at all.
The gloves, trash can and soapy water tips all worked great. The CC adults only tire lever is great.
I wouldn't go so far as to say it was easy or fun, but I'm not dreading the next tire swap on that bike....as long as it's about a year away!
Reply
Please log in to leave a comment.