MAINTENANCE
Bearing Swap - 2020 Santa Cruz Tallboy (4th Gen)
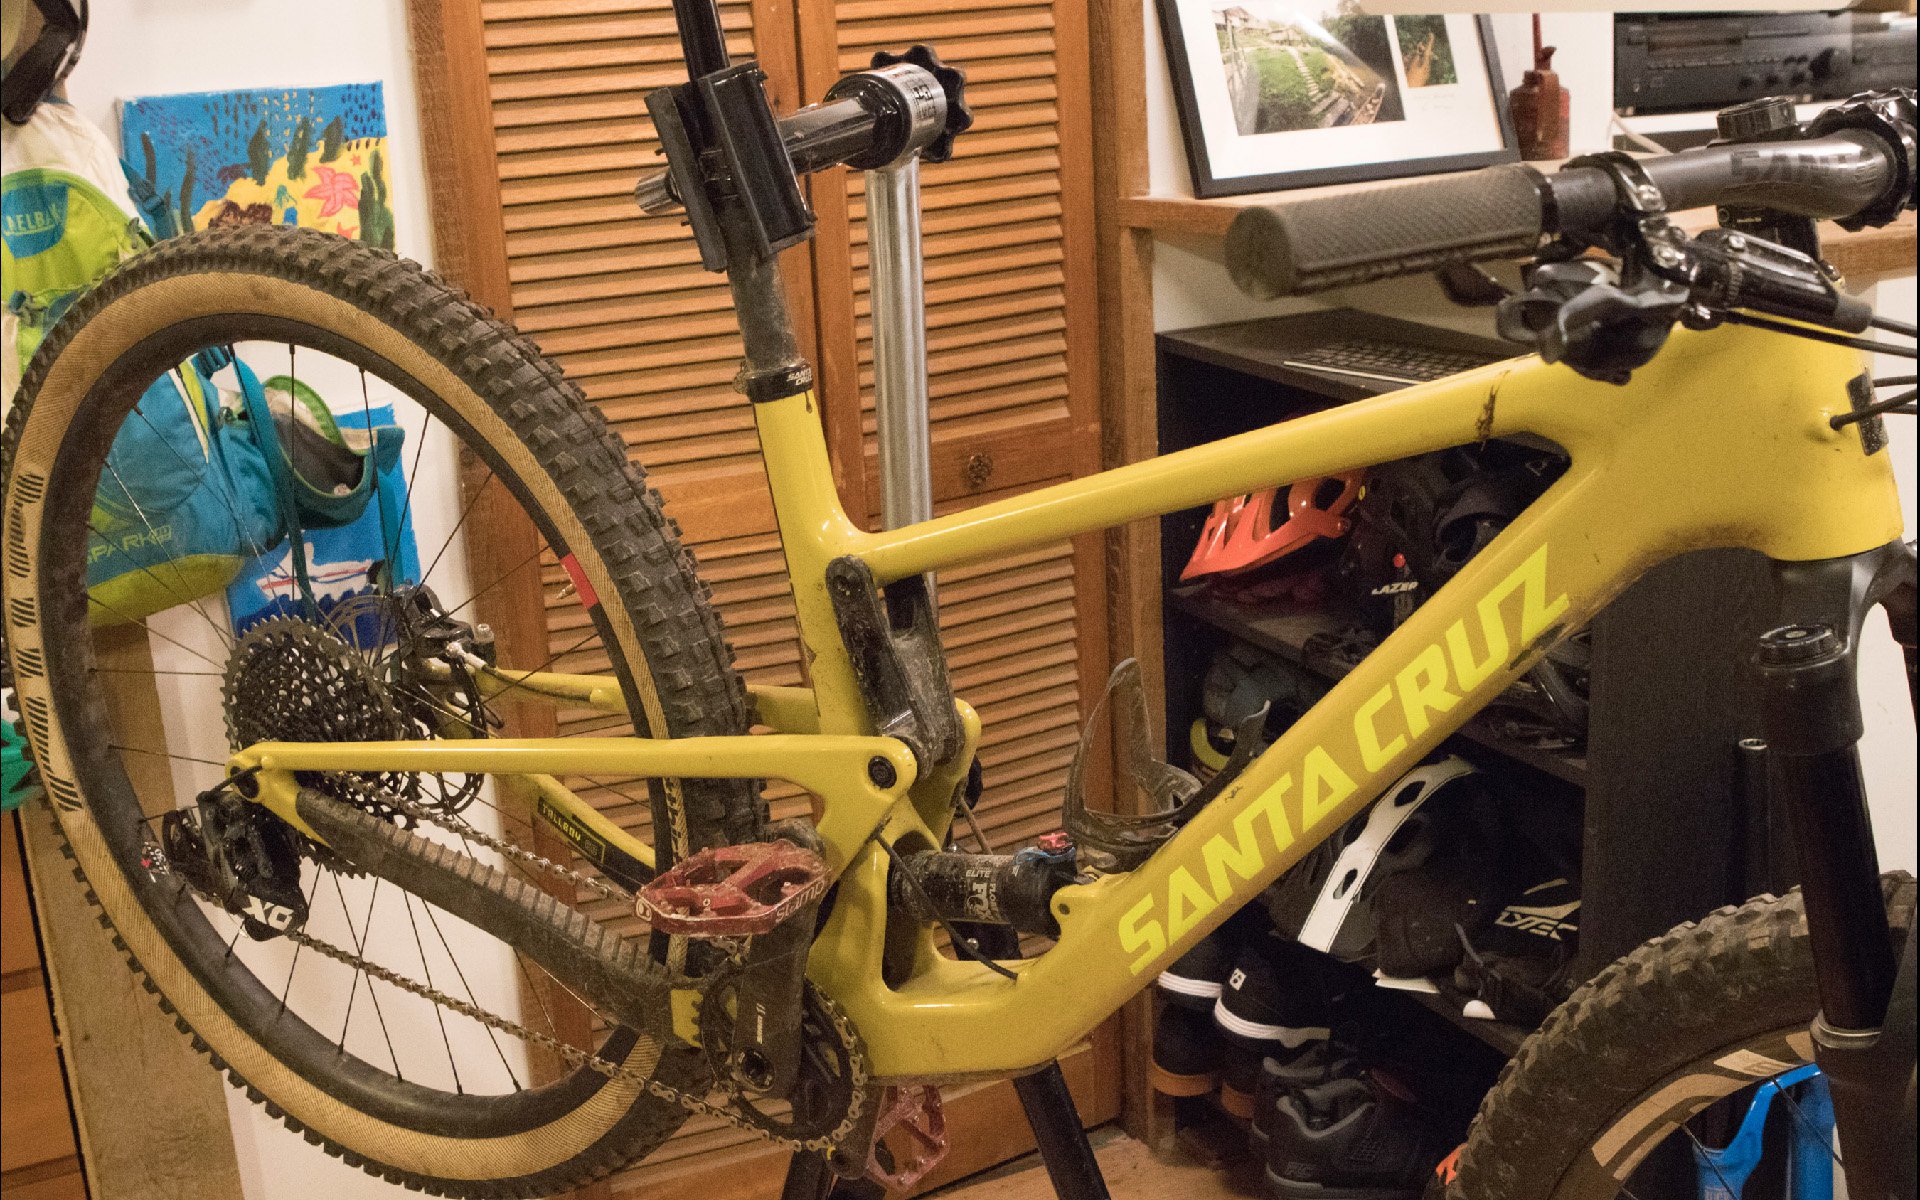
It was nowhere near time. I was quite sure there would be no need to do any bearing maintenance to the Tallboy, which had been in our stable for about a year. Santa Cruz bearings are famously well-protected from the elements, and the lower link bearings are bathed in grease that can be refreshed easily using the grease gun equipped with a zerks fitting. I however, was eager to participate in the process to see what tools were required, and how I could mess it up.
Cranks on, and the whole operation can be performed from the non-drive side, with a couple of reach arounds.
Going into the bearing swap on the Yeti SB150, over confidence was my fatal error. I assumed I had all the correct tools and the process would be simple. Unfortunately these notions worked against me. I was surprised when I hit roadblocks and frustrated when things didn't go my way. Worse, my reasoning skills suffered as a result of my hubris.
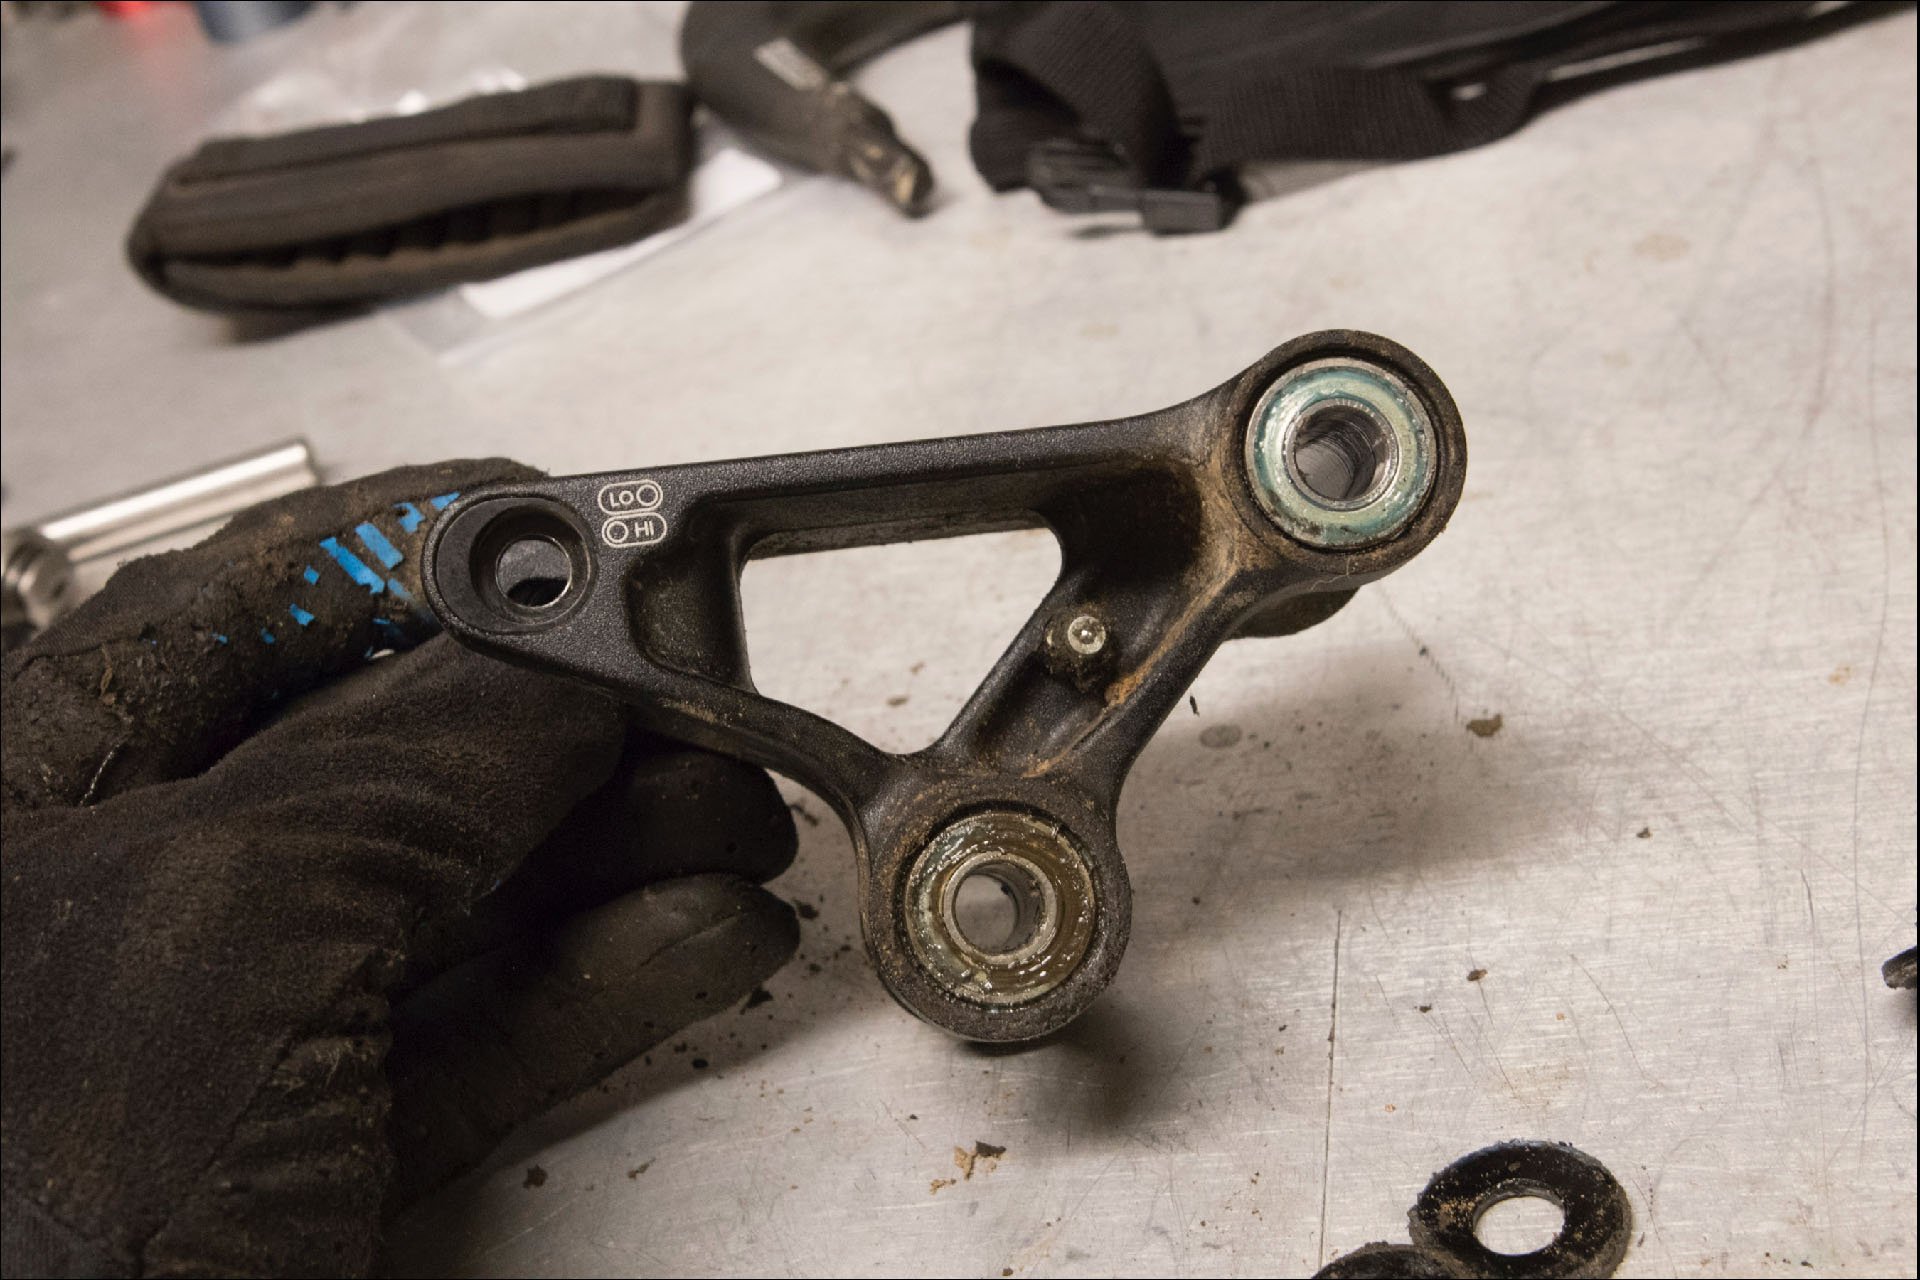
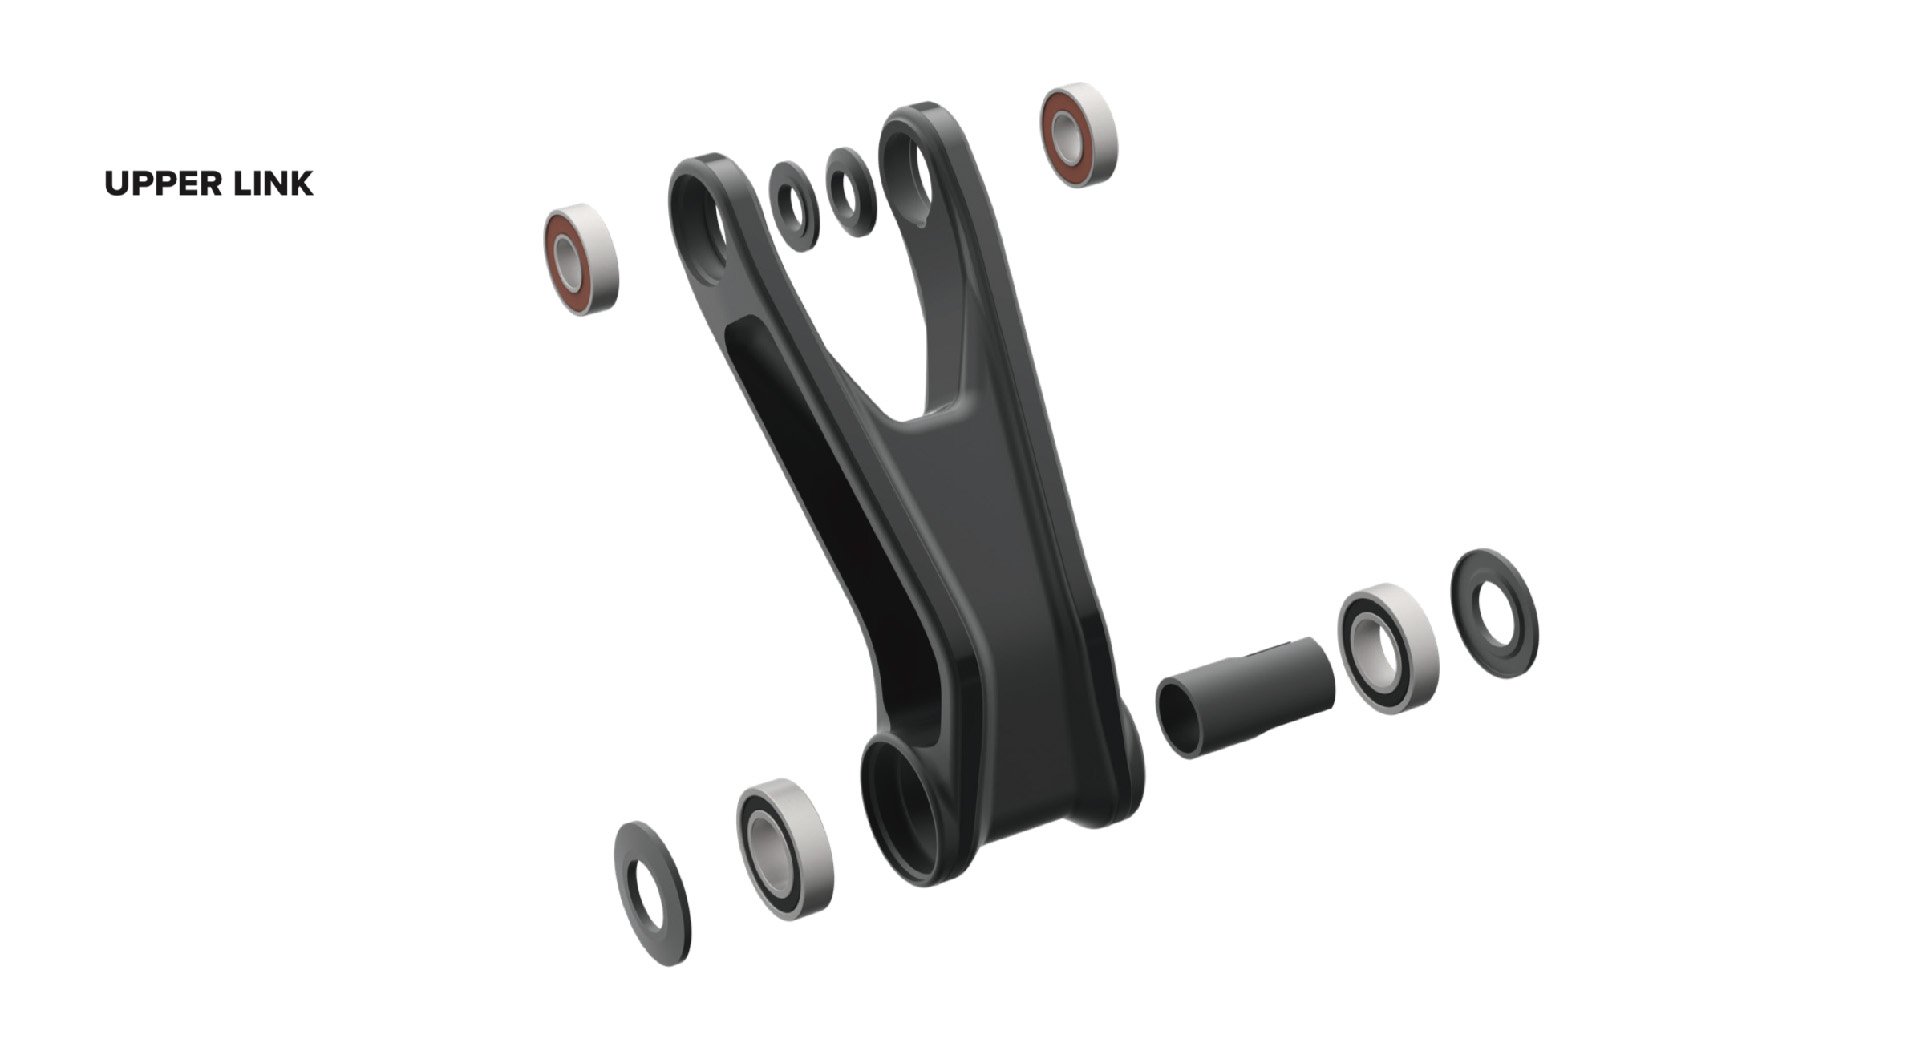
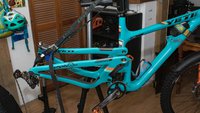
The upper link can be removed independently from other suspension components in just a couple of minutes. (note - these photos were taken after the fact and the bike wasn't this dirty when the bearings were swapped.)
When I know something is going to be a challenge, or I'm uncertain about the required steps, I slow down and deliberate more effectively. Rather than jumping in like a puppy at an orgy. Unfortunately this lesson wasn't learned before I began the same task on Santa Cruz's excellent new Tallboy. Once again I was given tools from the brand, and I assumed the task could be completed entirely with those tools. Again this didn't turn out to be accurate, in my case at least, and I fucked up. As you'll see. This fuckup was reversible in this case, but it could have been much worse. When you see it (no skipping ahead) you'll ask yourself, what the fuck was he thinking? Which is what I have been asking myself since.

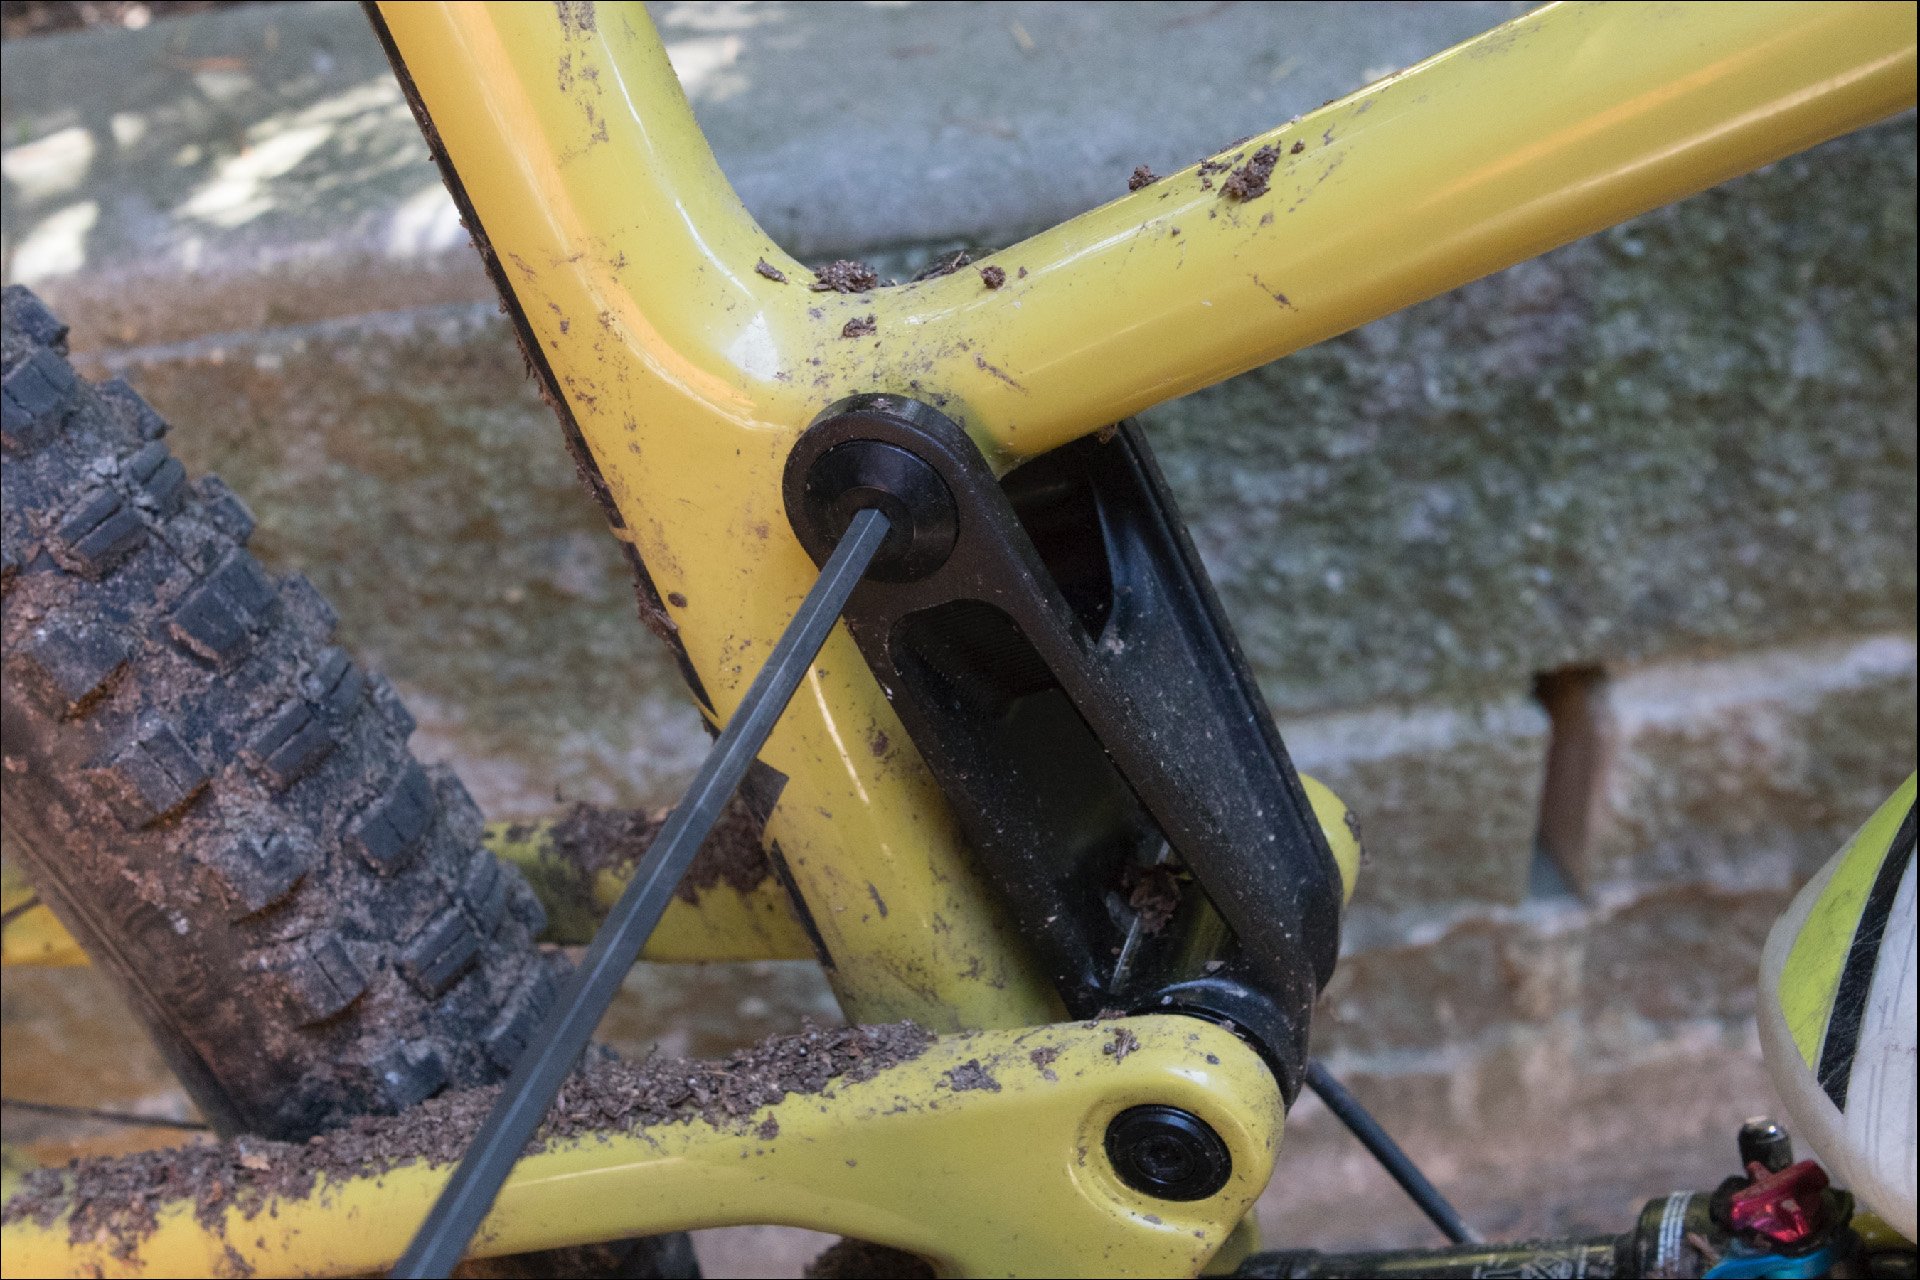
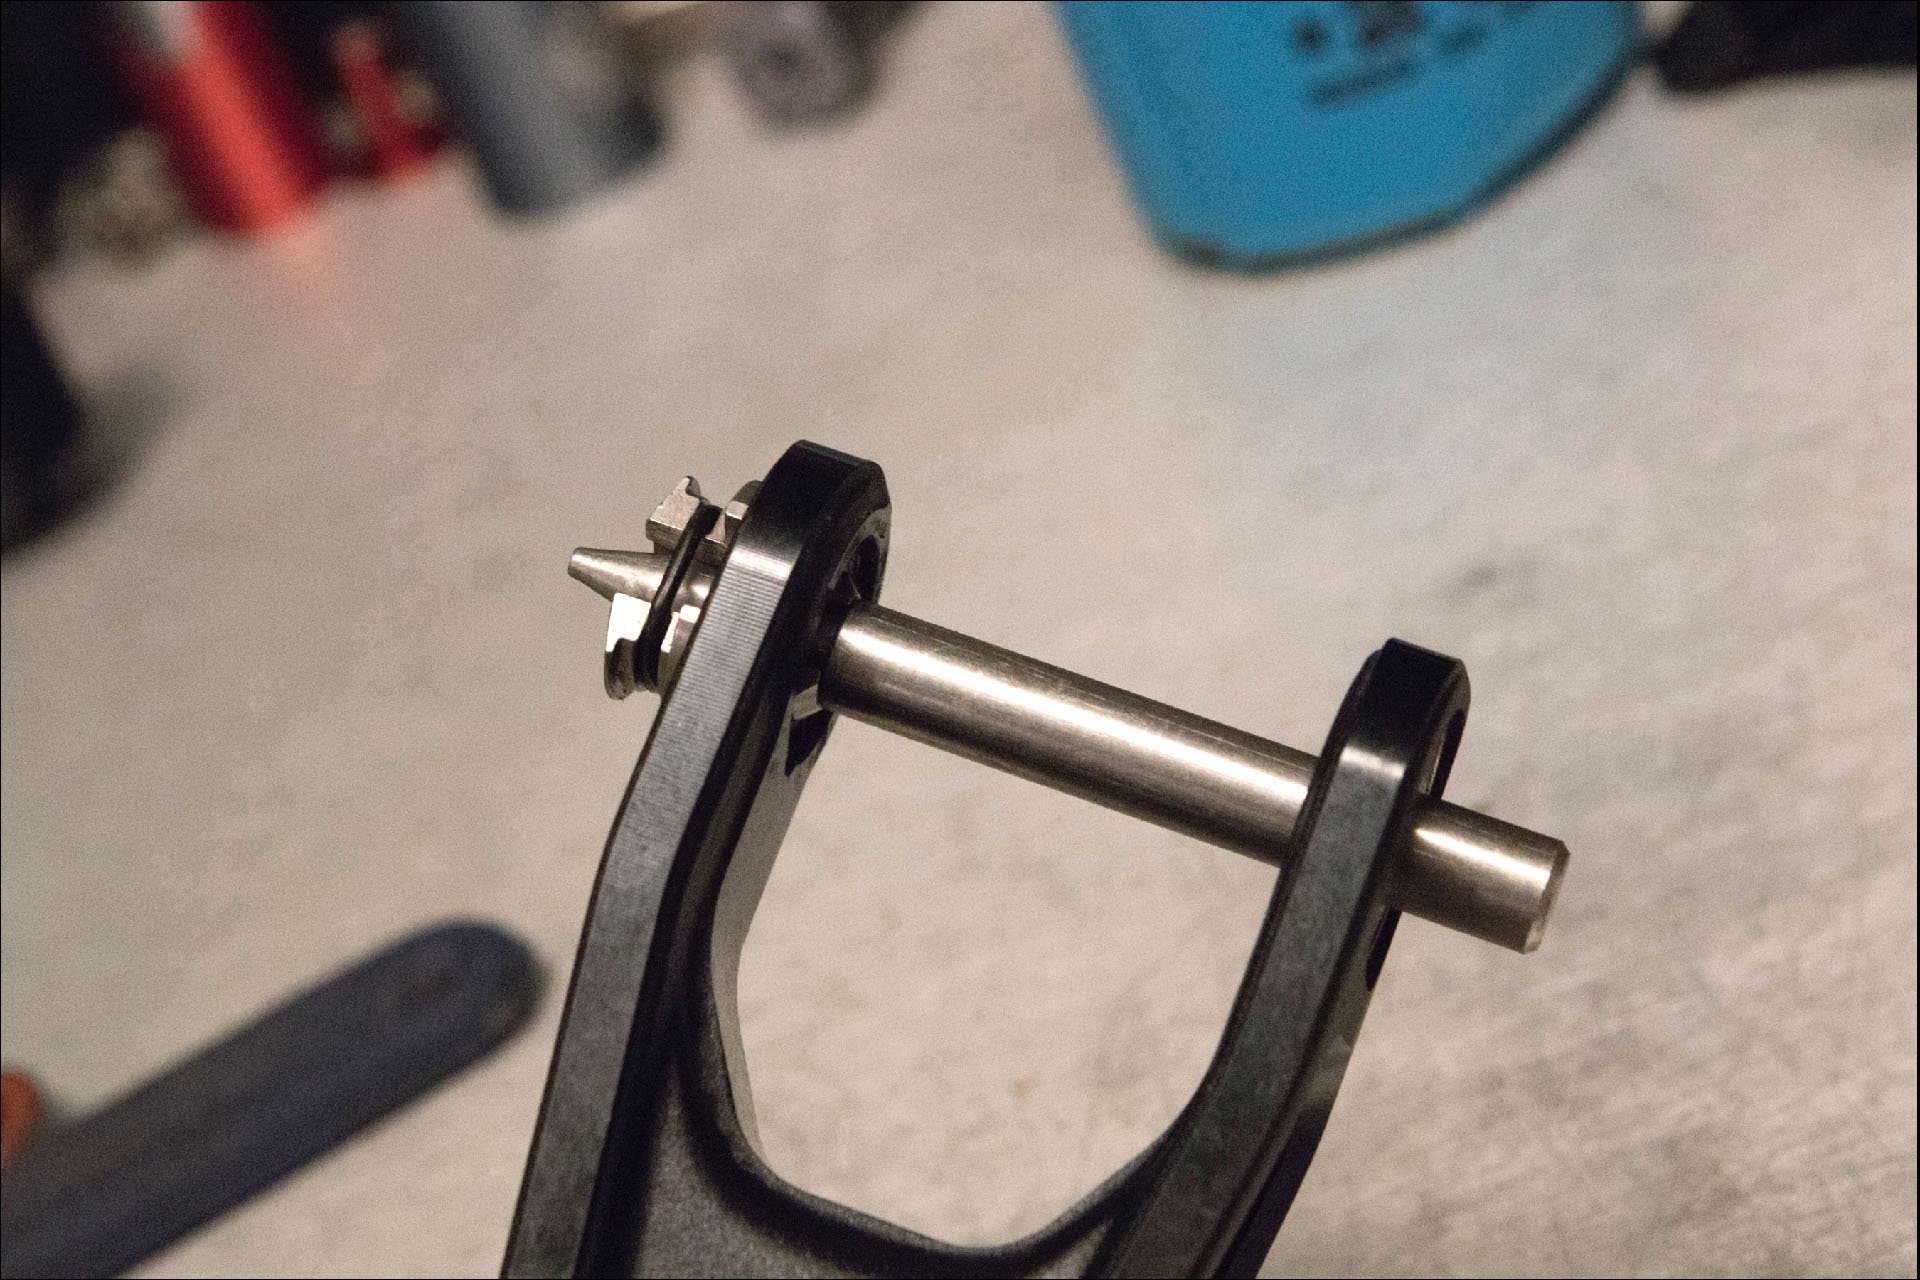
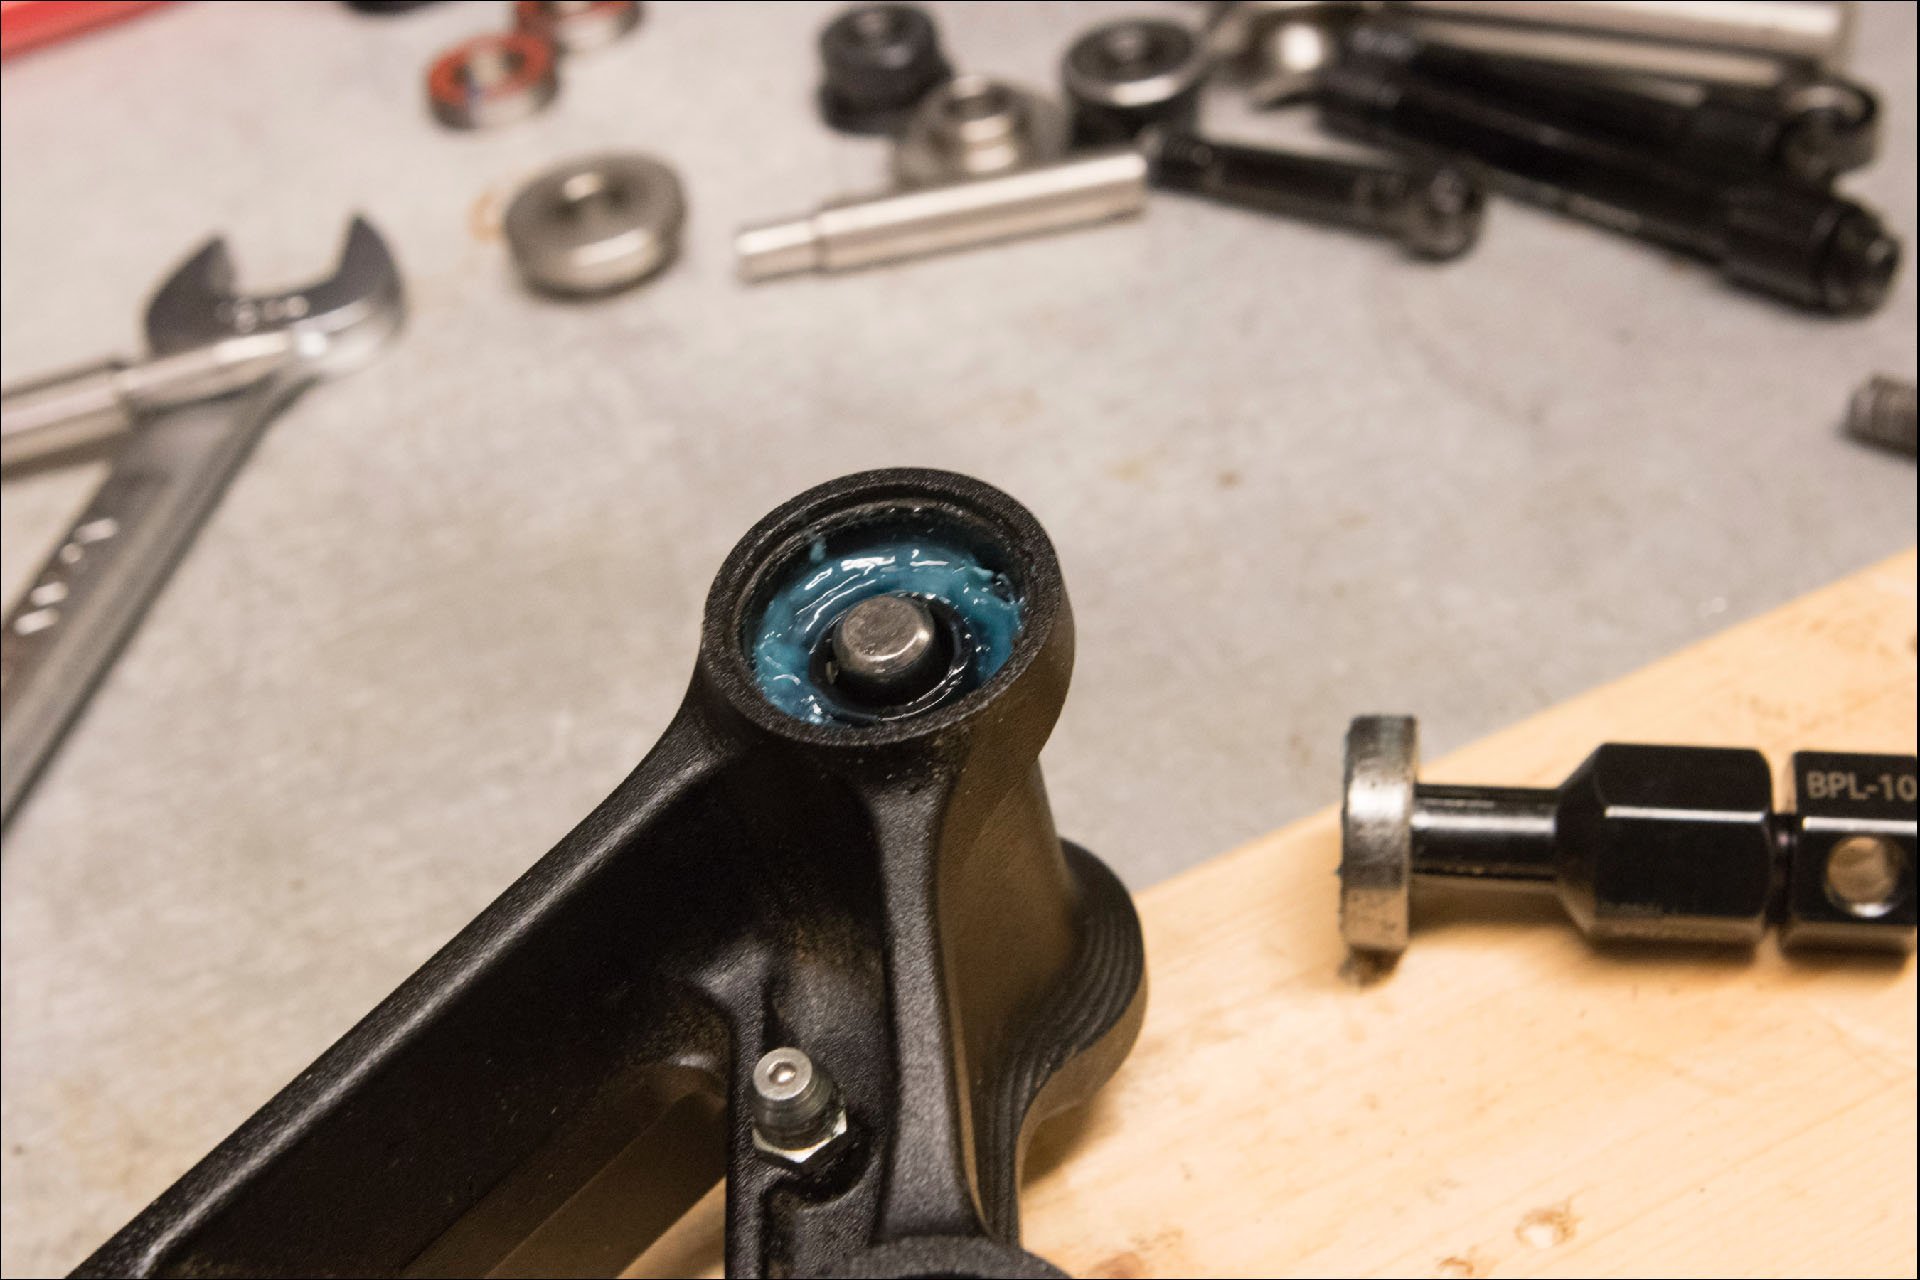
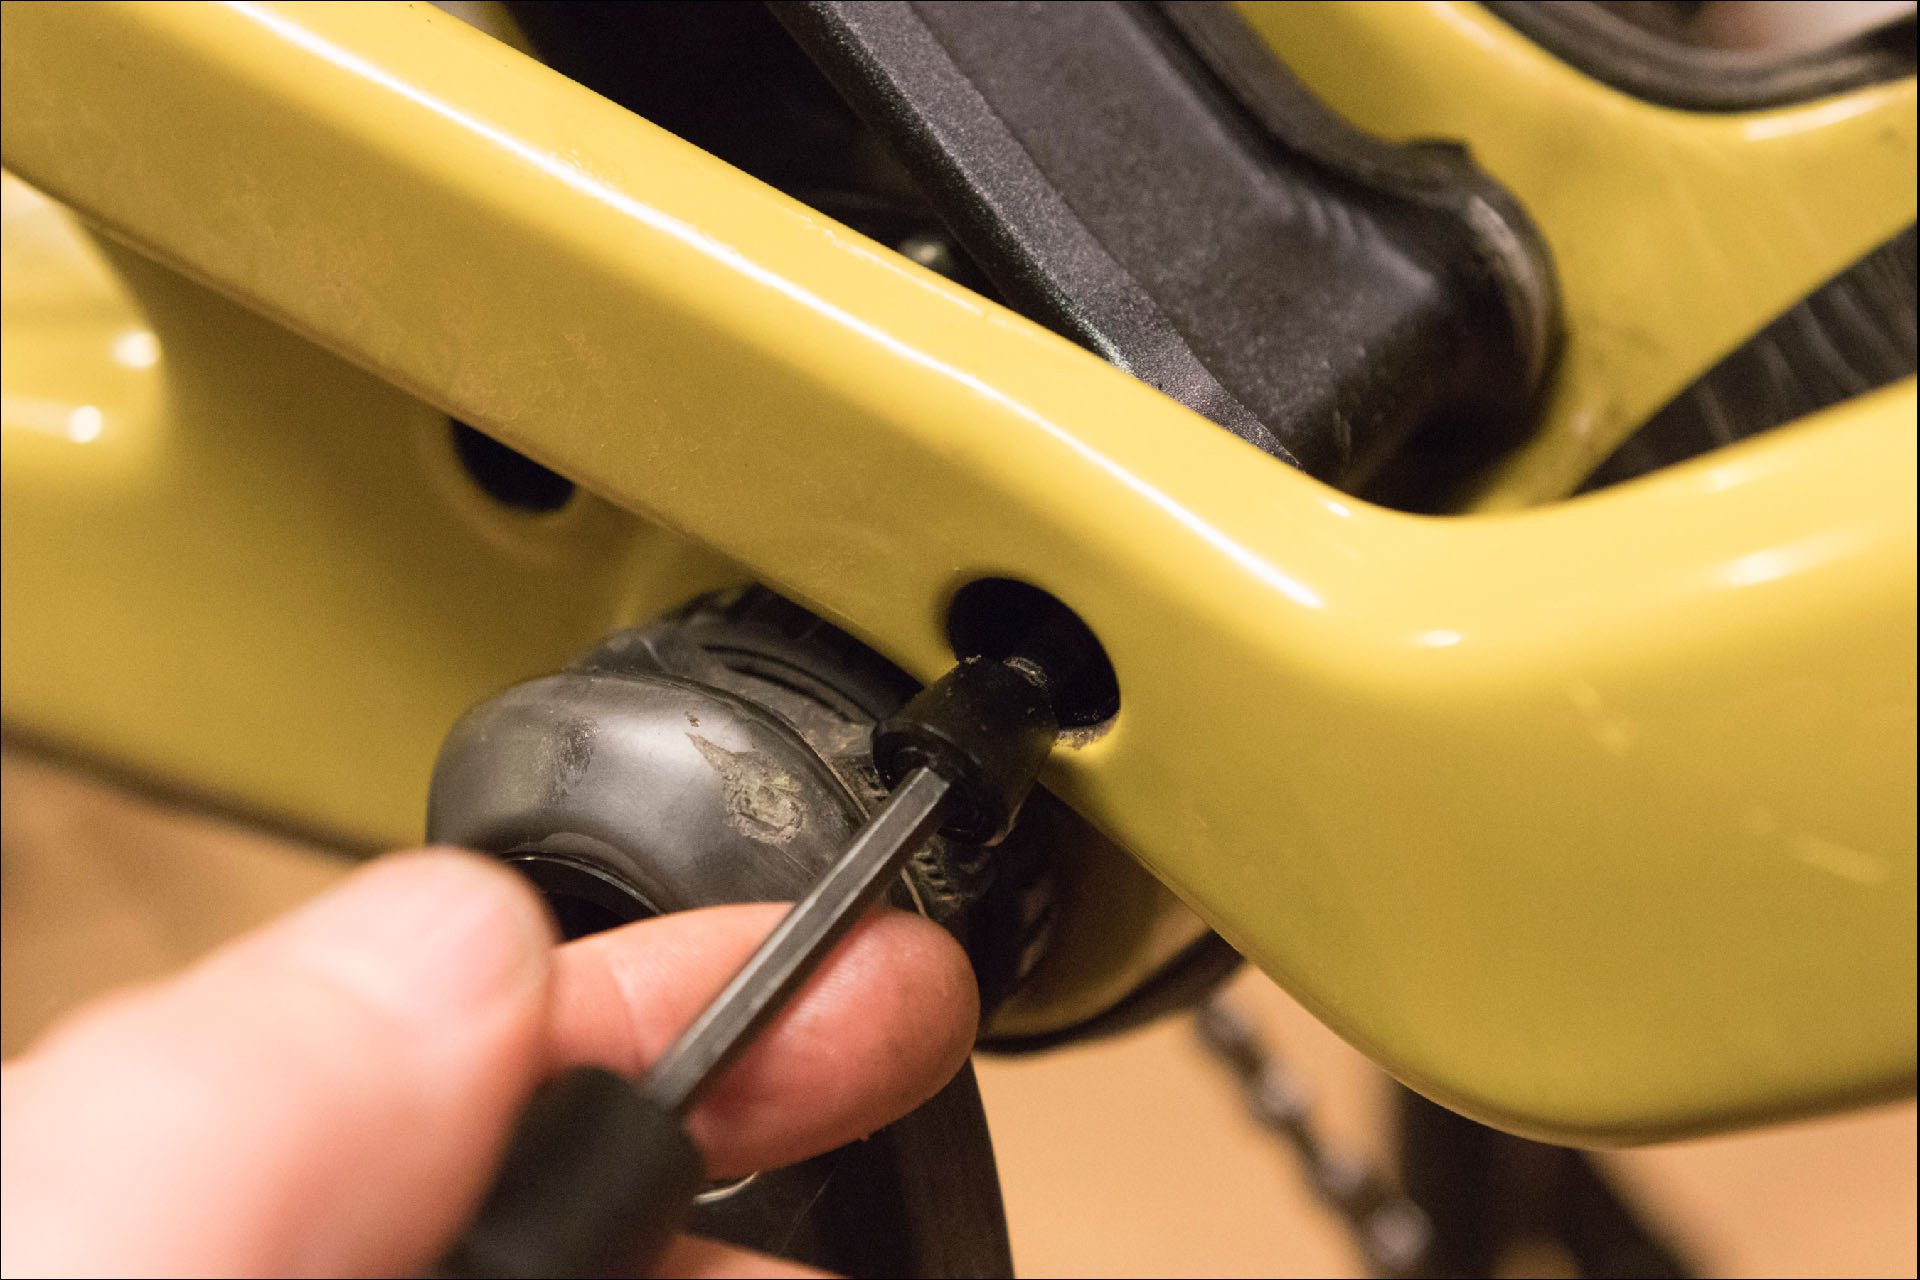
A 5mm hex head bolt holds an expander against the collet axle for security. Once it's been removed, the axle slid out easily. Before you turn a wrench, make sure to clean your bike well to avoid contamination.
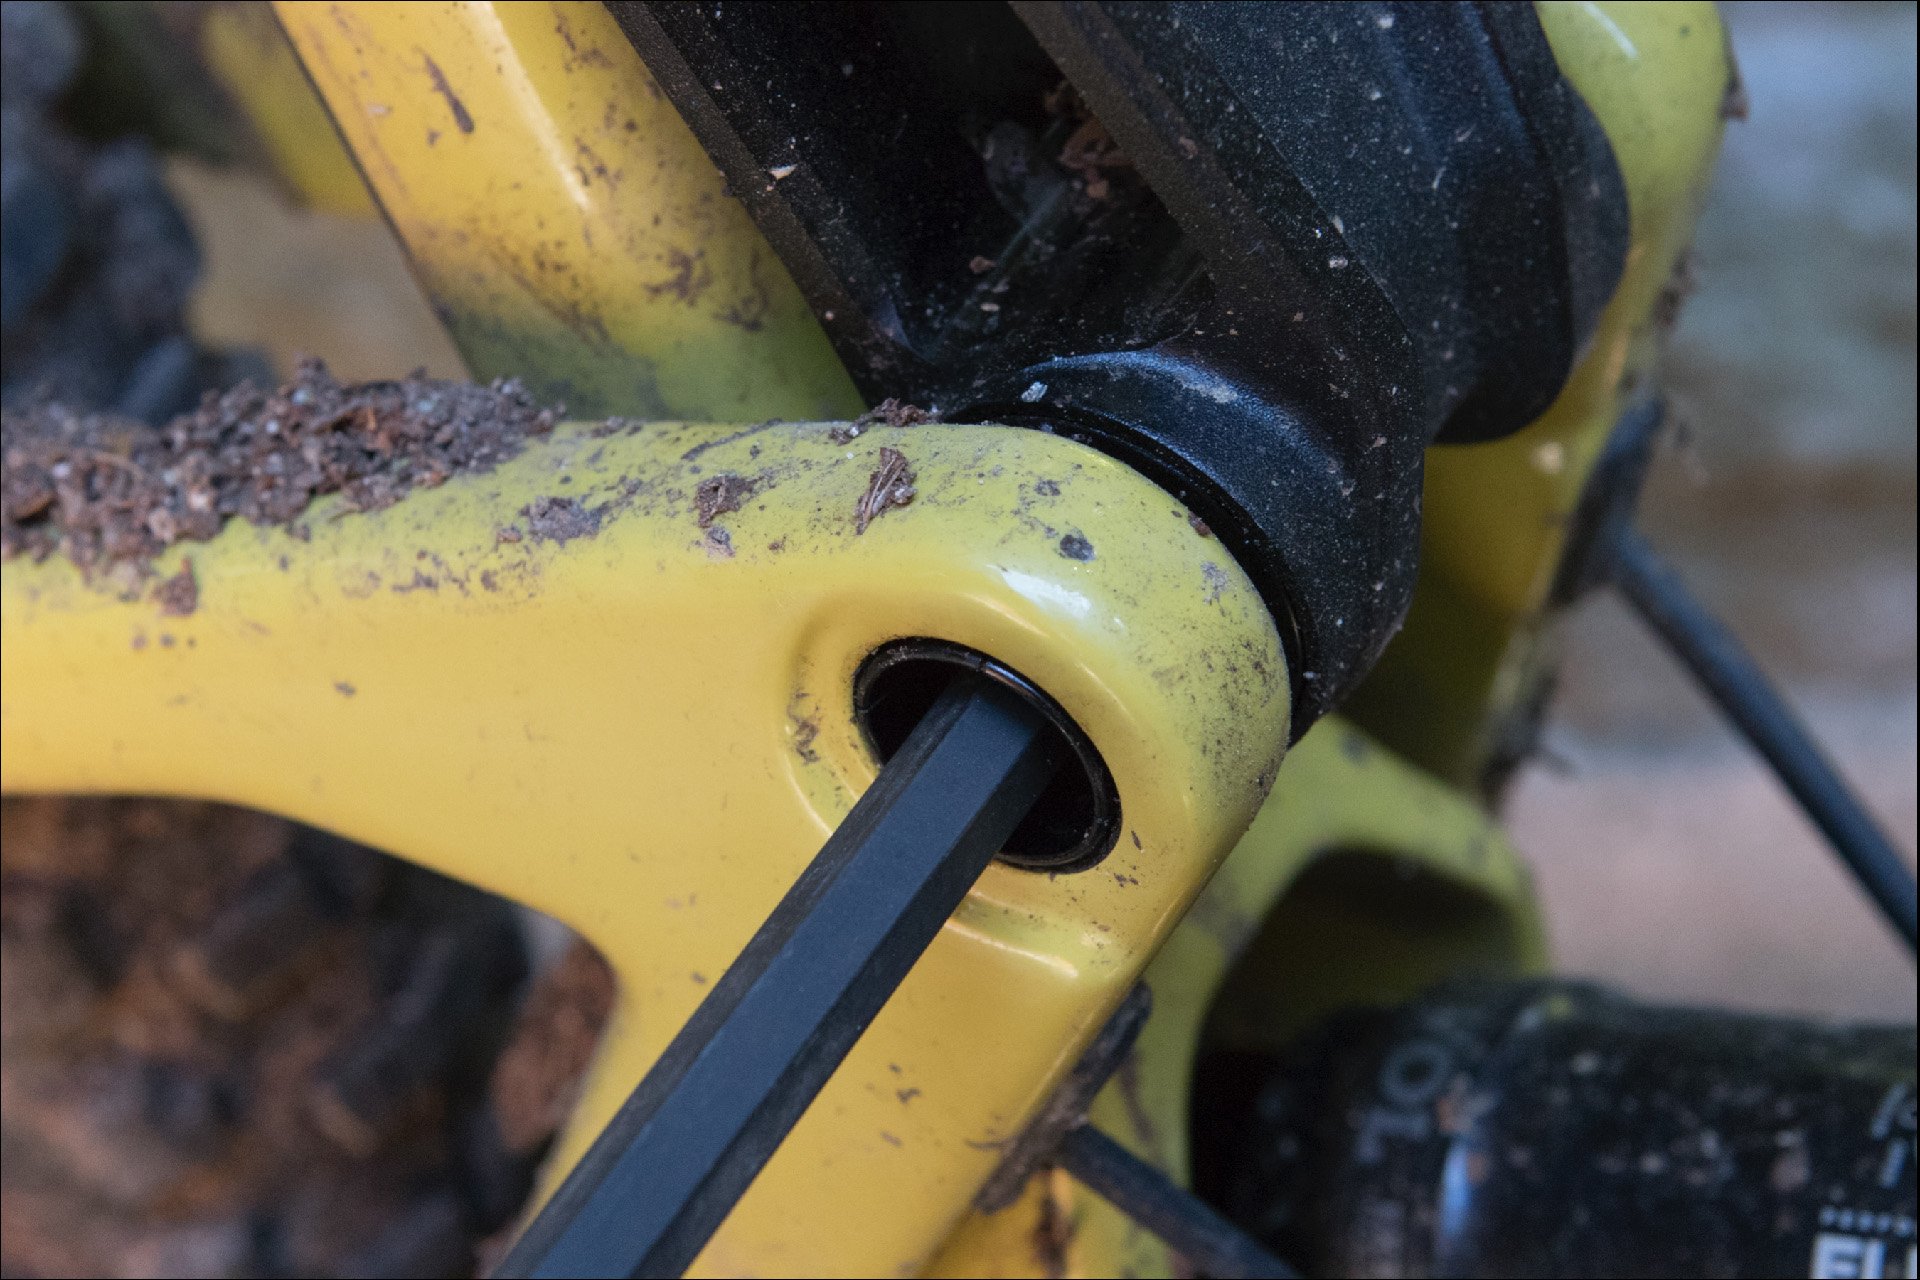
The collet axle is removed with an 8mm hex wrench. Note - these photos were taken later to show the upper link removal more clearly, but the bike was much cleaner than this when I did the bearing swap.
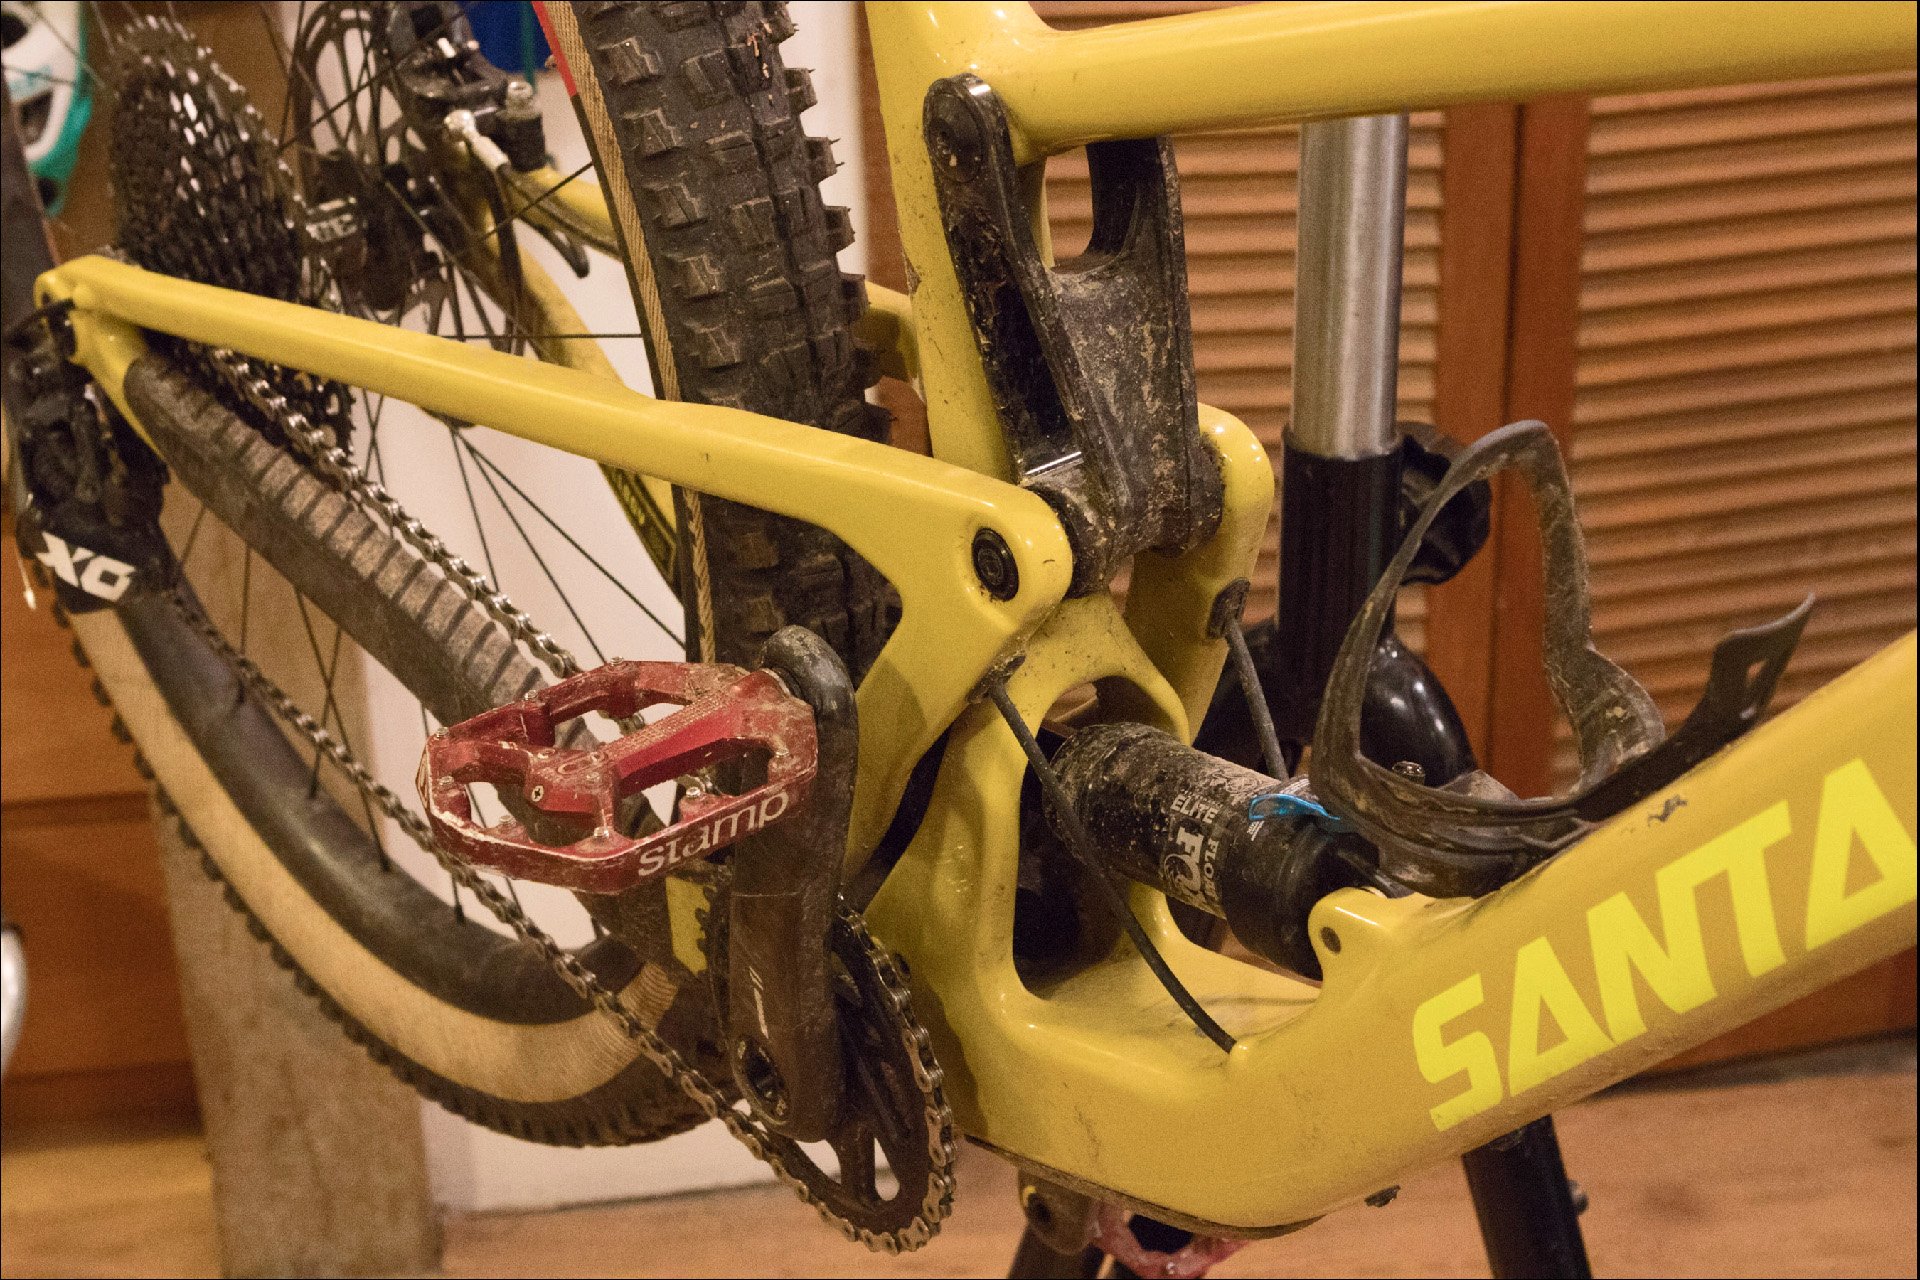
Disassembly is relatively straightforward on the Tallboy. You can visualize exactly what you are dealing with (despite the lower link being partially concealed) and tackle things in any order you like. There is a top link and a bottom link and they are independent of each other. Even better is that the entire disassembly can take place from one side of the bike - the non-drive side. You can even leave the cranks on, which I did. As I recall, this one-sided operation was incorporated at the suggestion of Jason Marsh, Greg Minnaar's mechanic, and it's a thing of beauty.

Dust covers (mud covers?) provide another line of protection for the bearings.
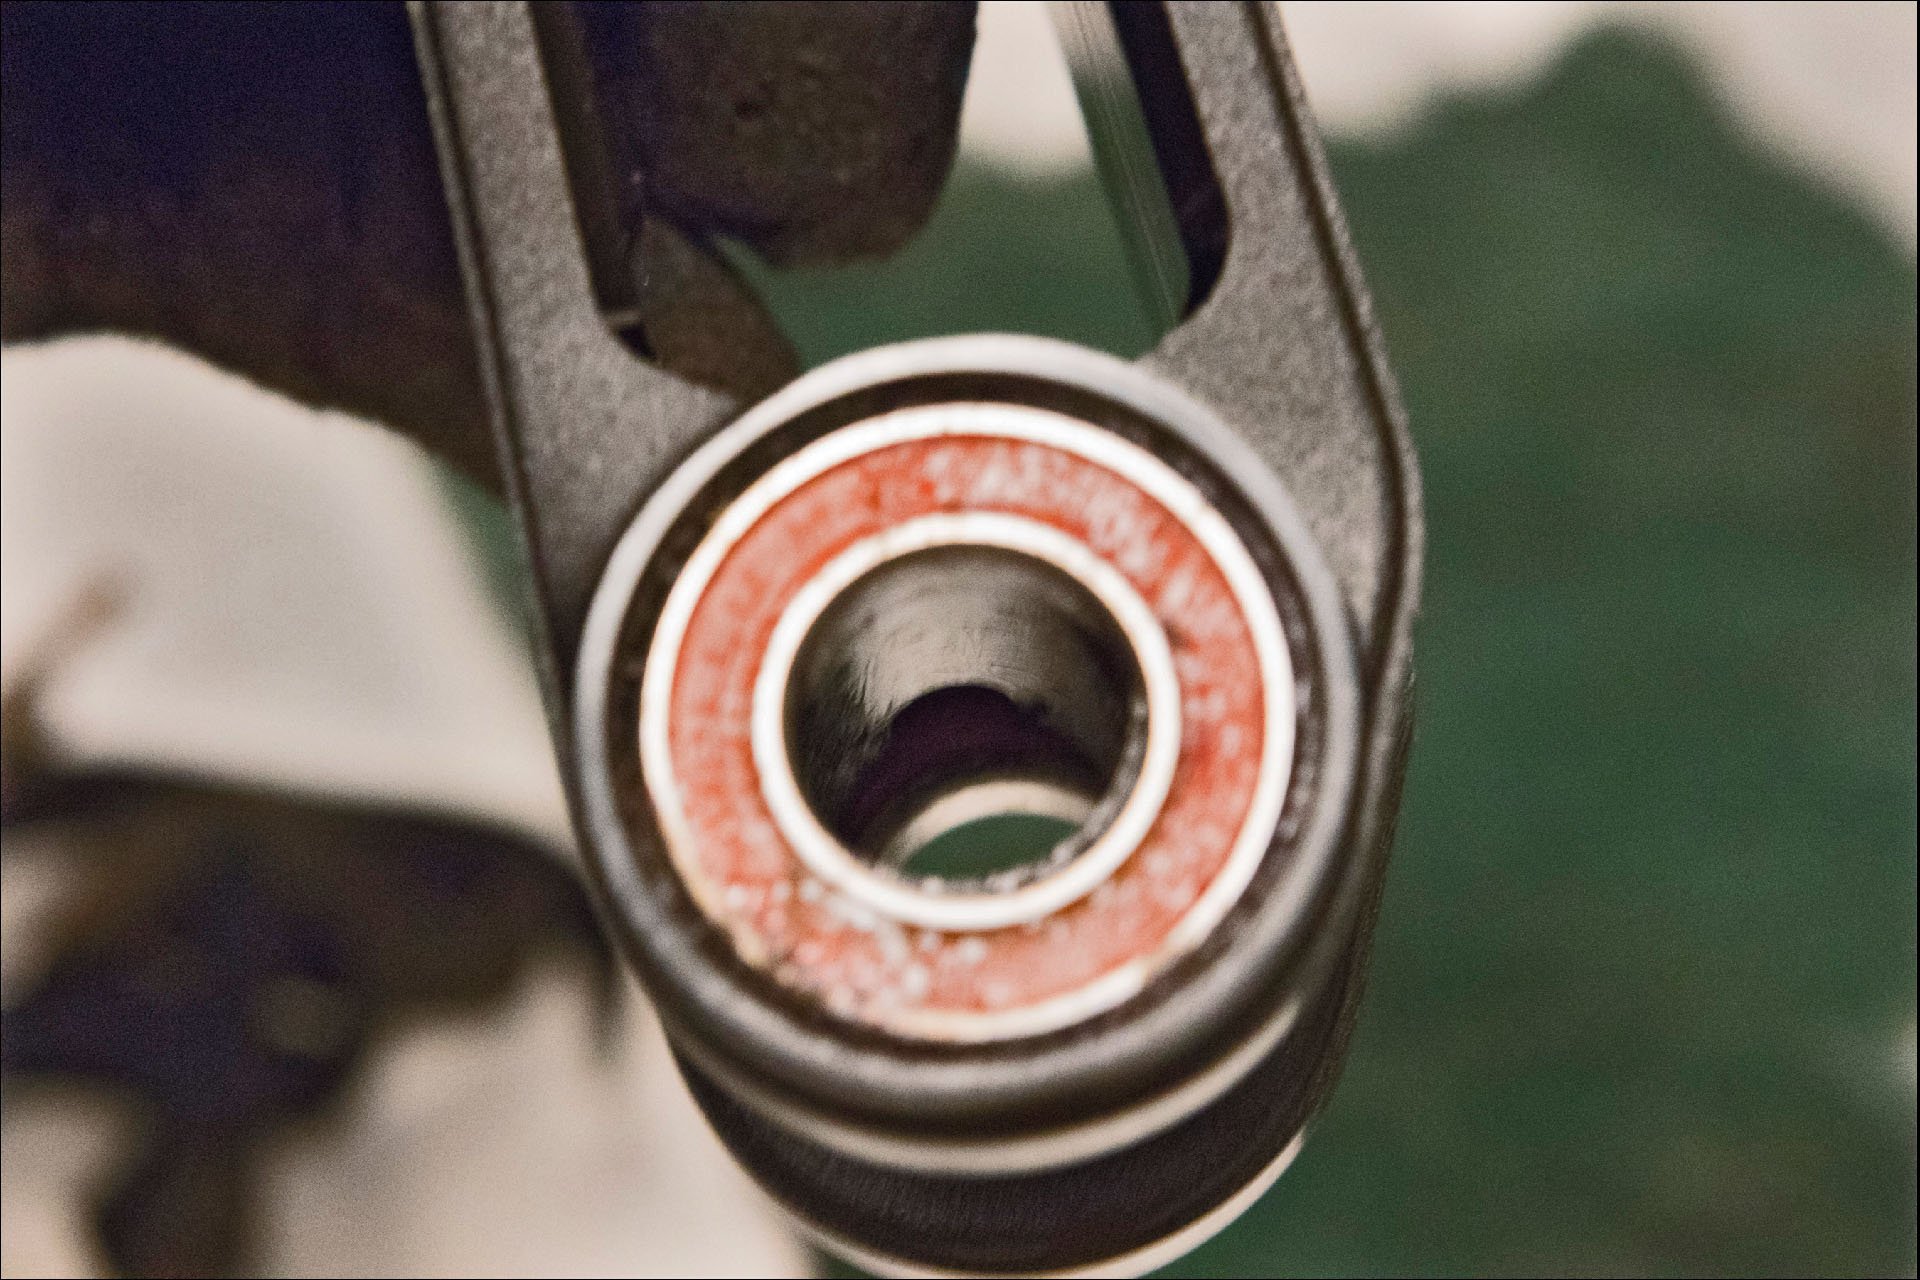
Despite this, I was surprised to see fresh unsullied grease on the outside of the bearing. So simple and so effective.
I started with the top link, probably because it looks dead easy. In the end this wasn't entirely true for me. Removing the upper link involves removing a couple of bolts, and a stickler for accuracy might proclaim Santa Cruz's one-sided claim isn't the whole truth because there are bolts on both sides of the upper link. Alas, SC prevails here because you could easily reach through the main triangle or above to get to the bolts on the upper side. I just spun the bike around however, without the time constraints of a World Cup or bike shop mechanic.
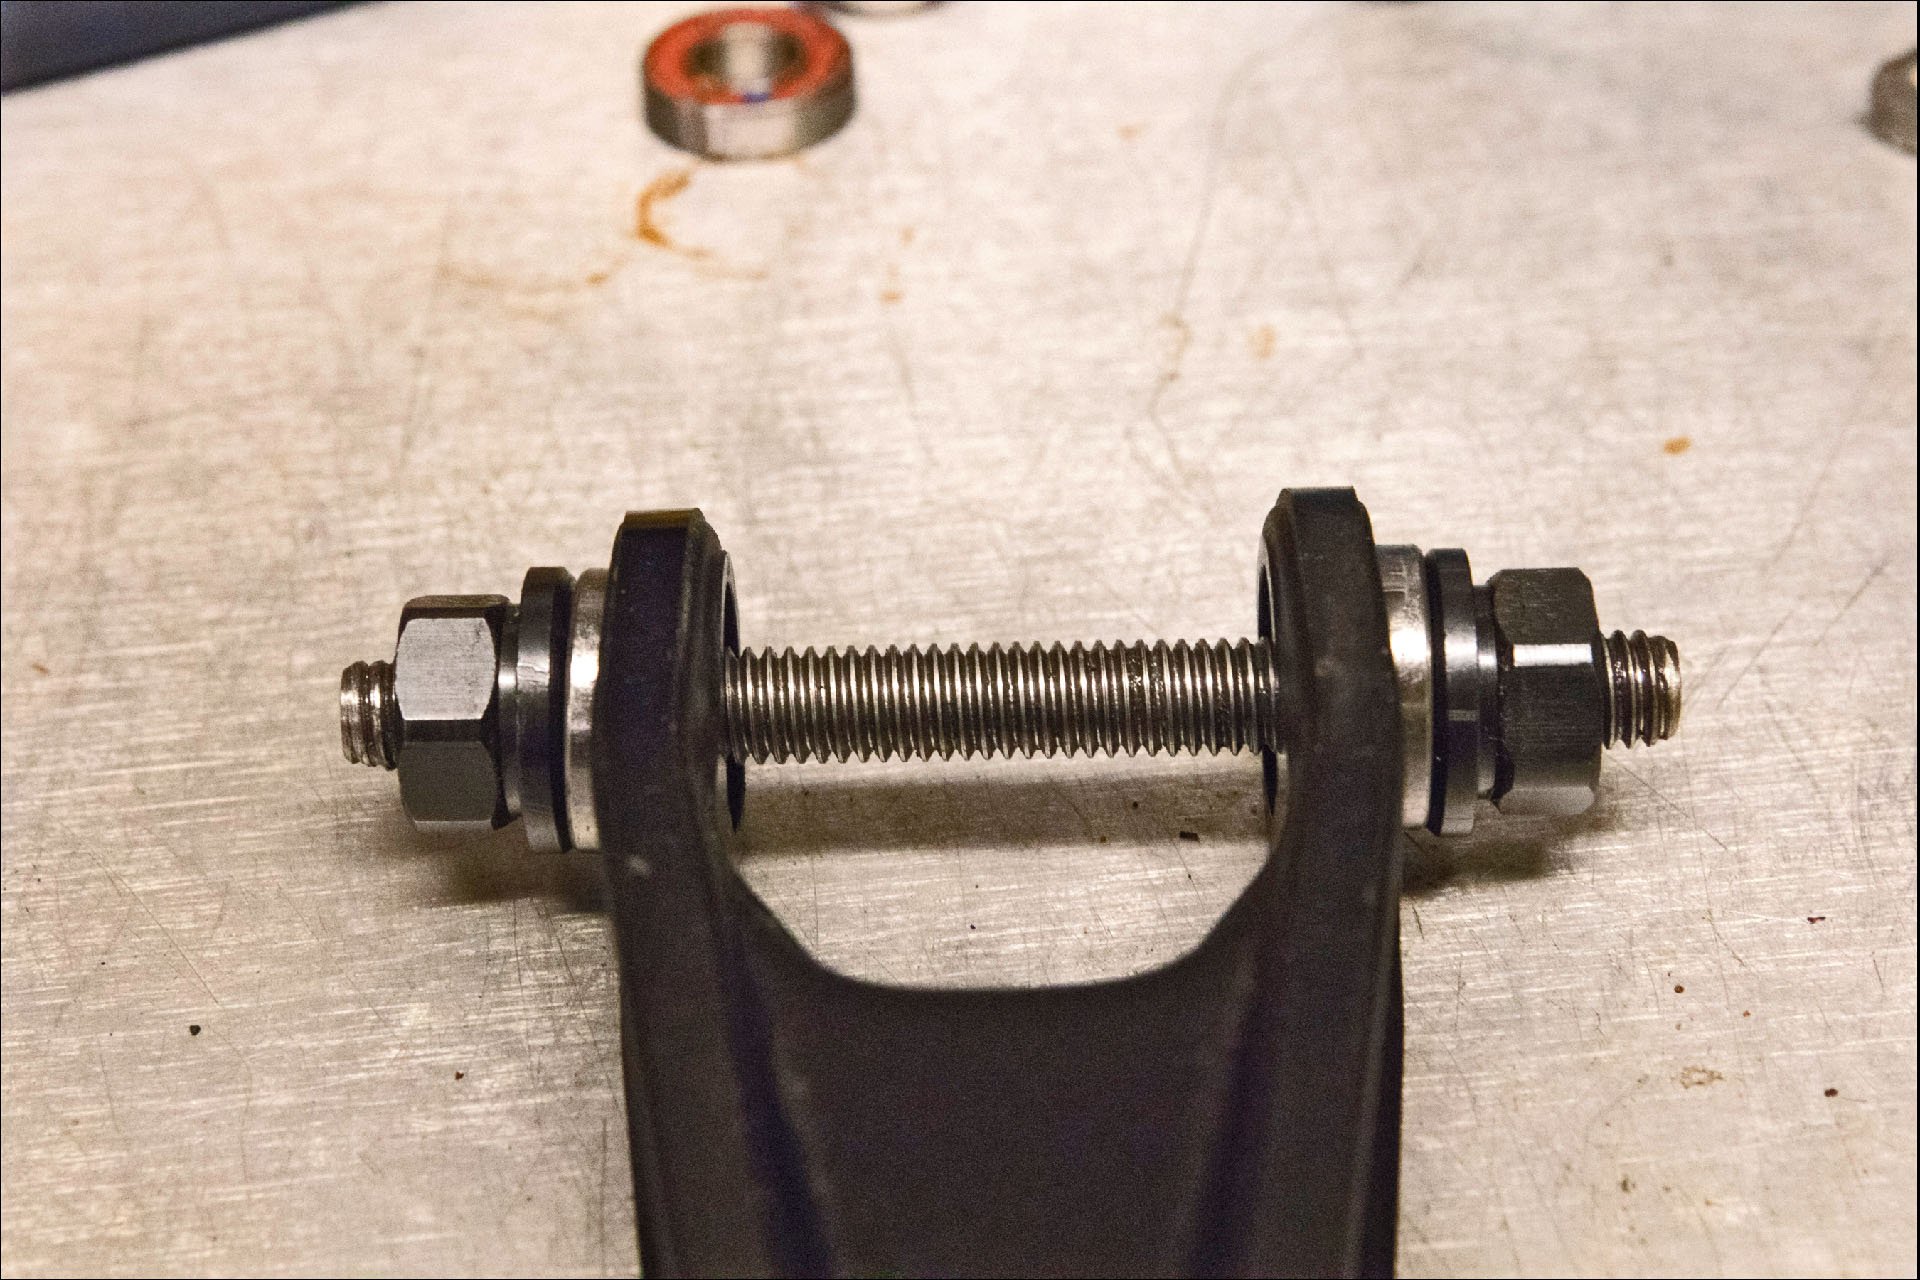
In order to get adequate purchase with a punch, the inner sleeve has a cutout for access. Once the first side pops out, the sleeve can be removed providing easy access for the second bearing.
Pressing bearings into the lower portion of the upper link was without drama.
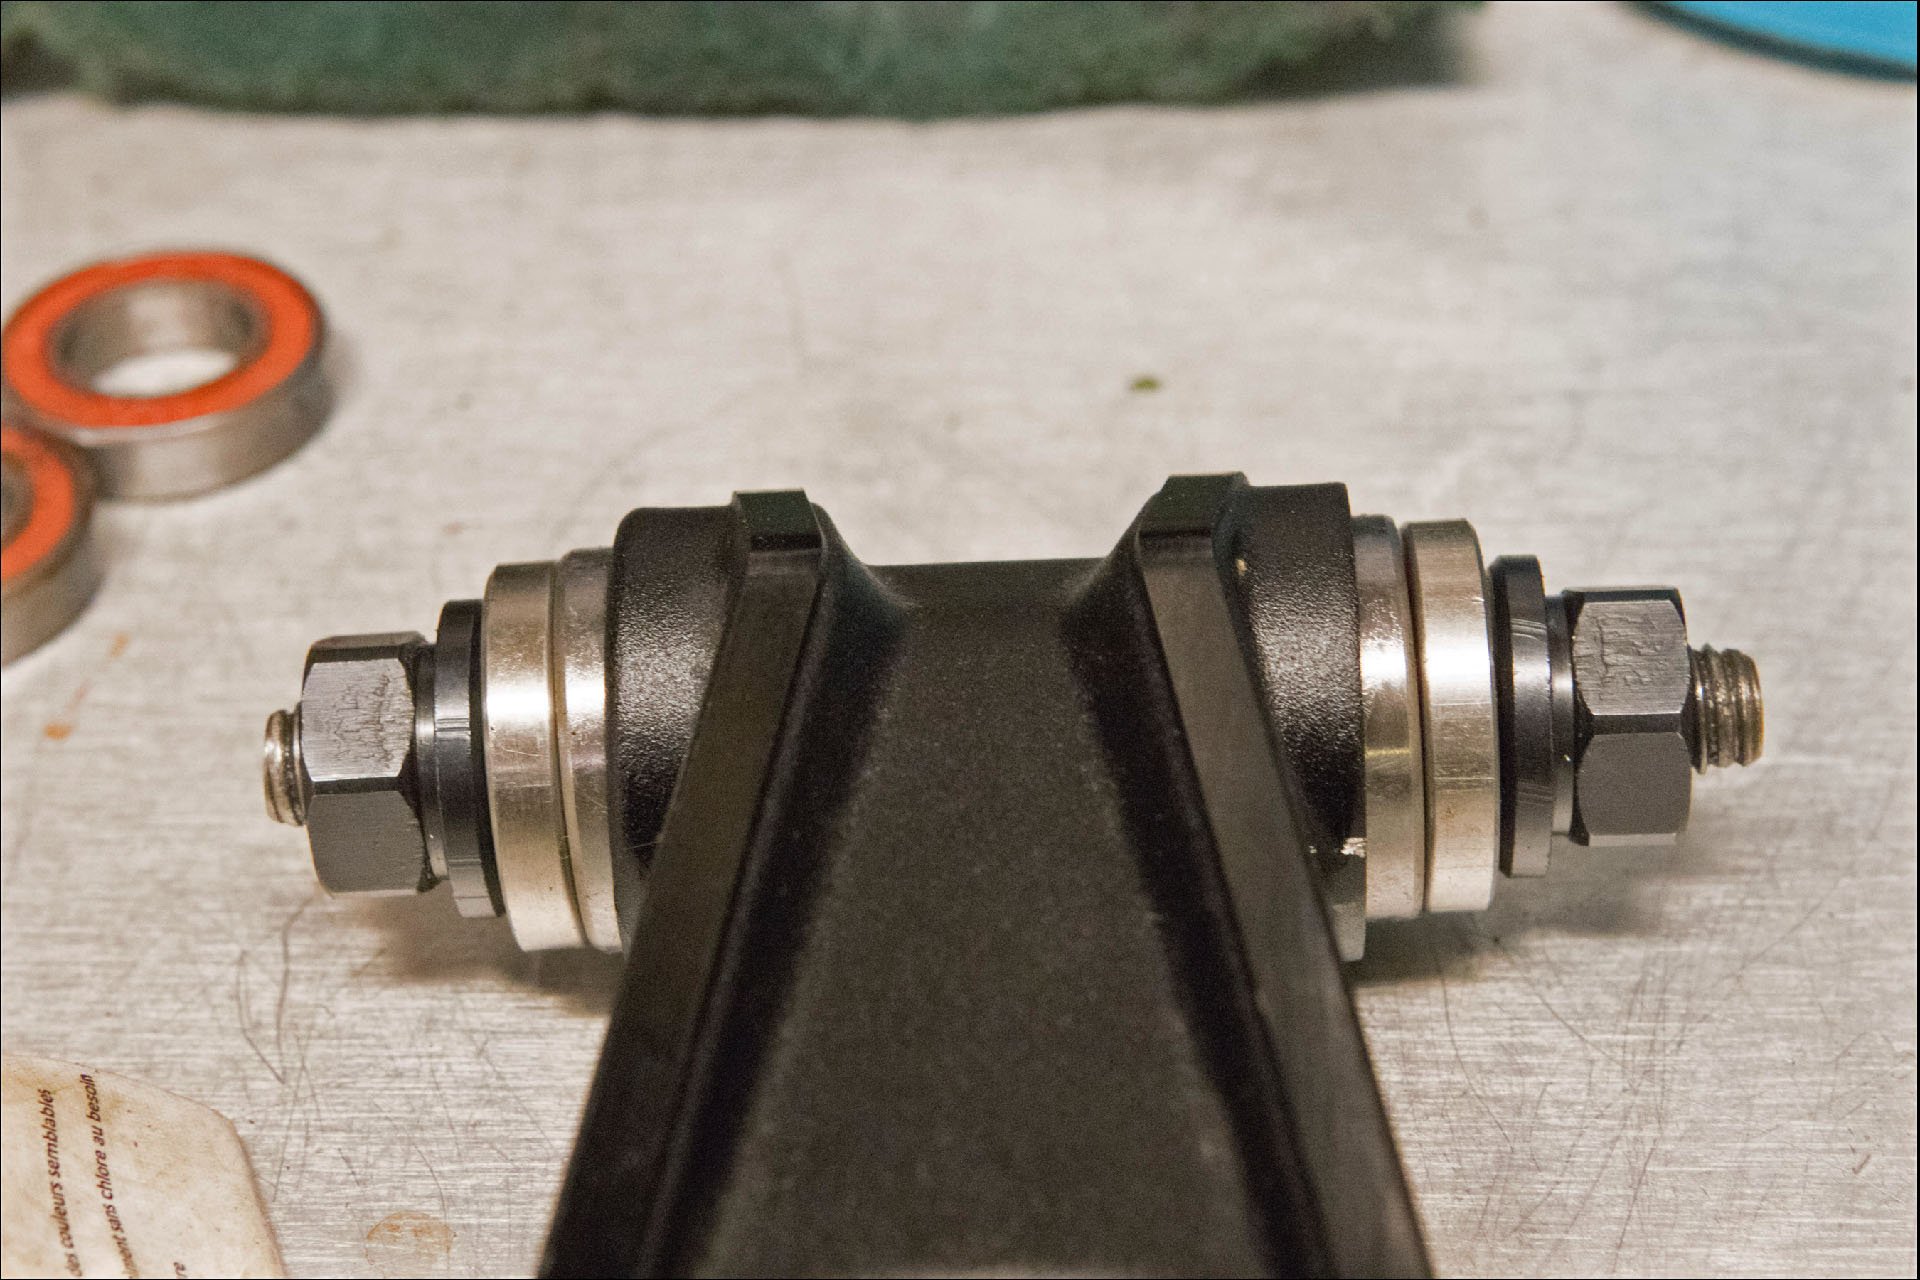
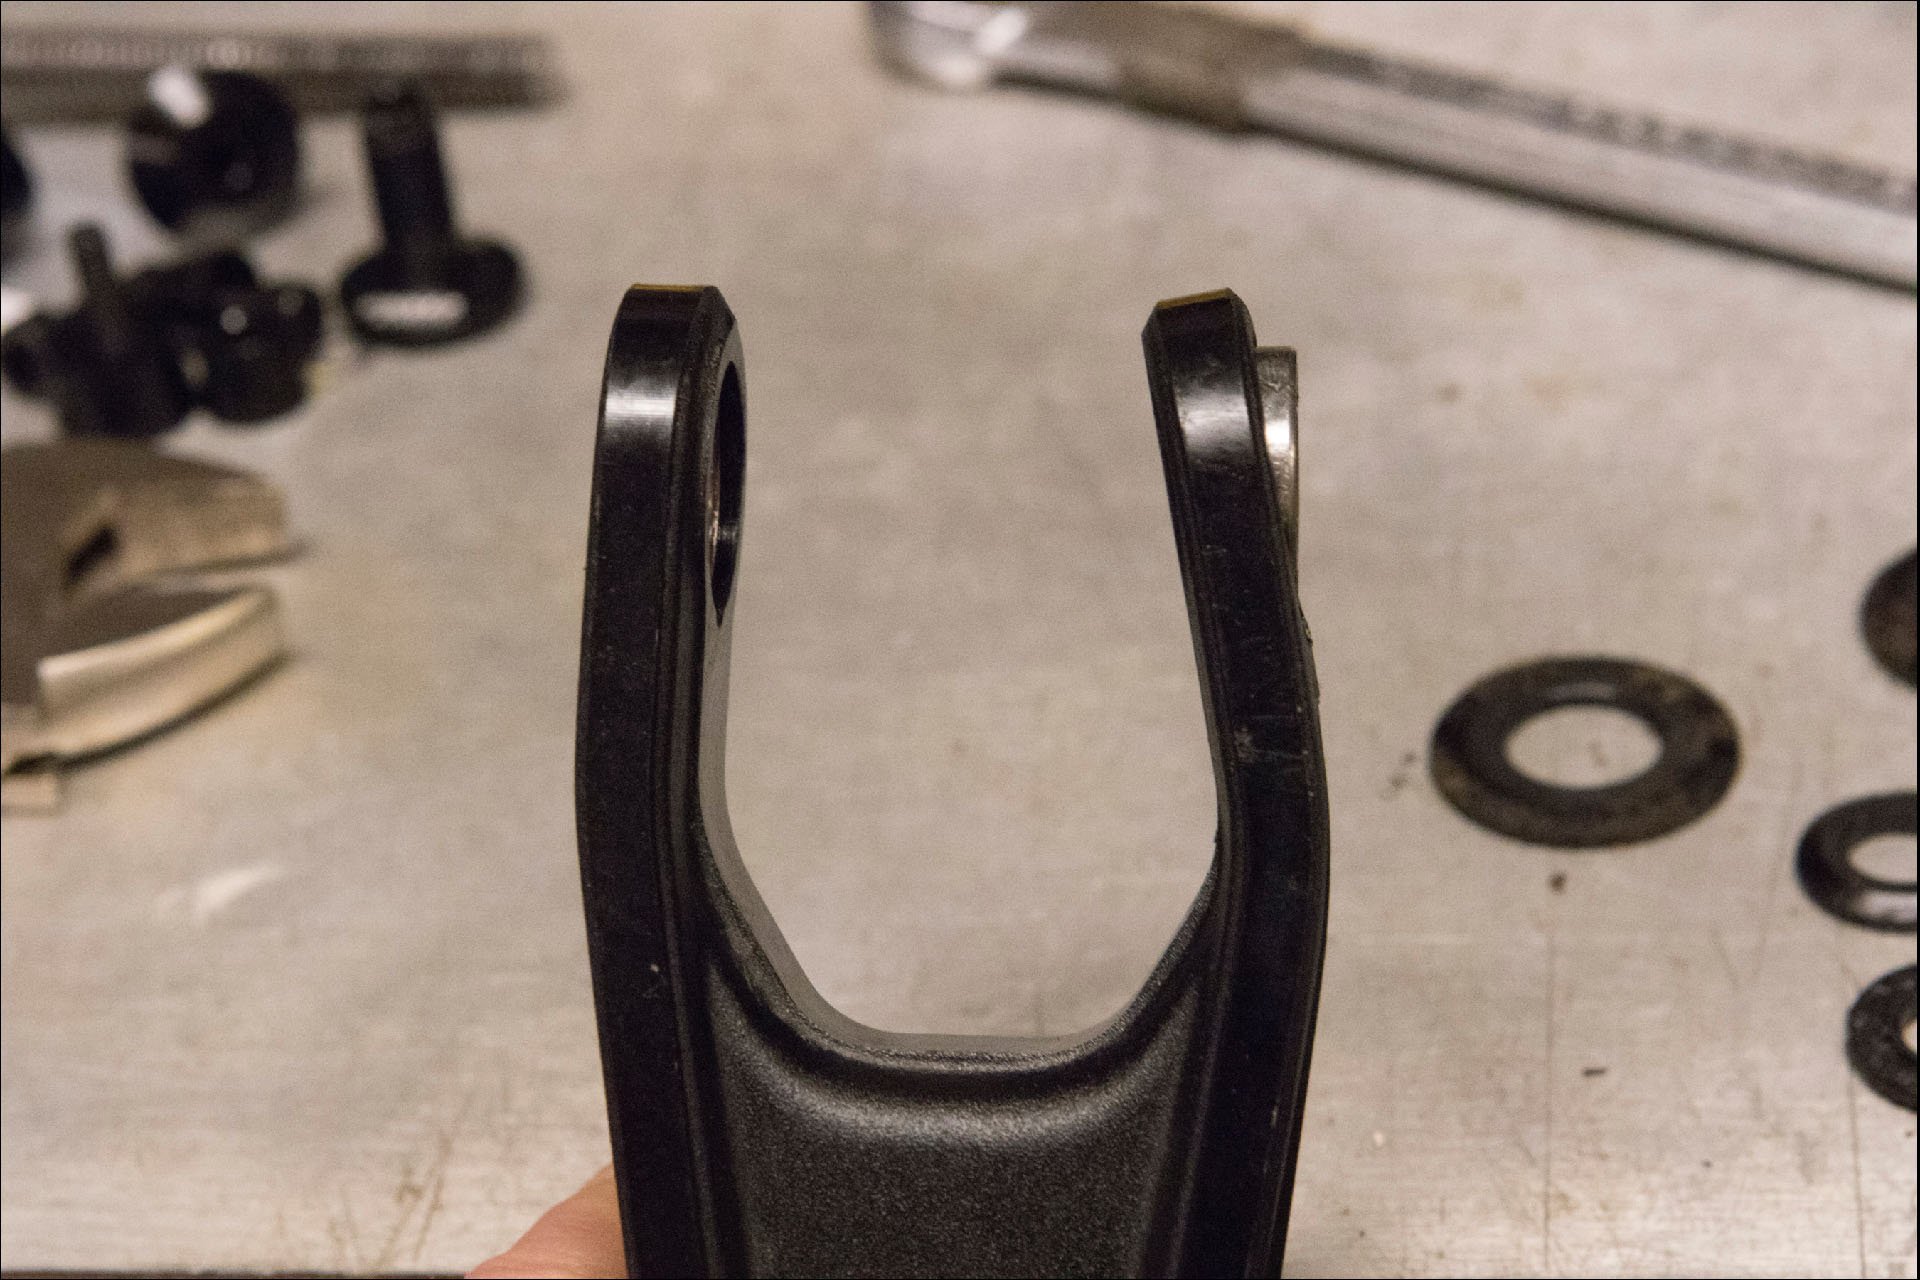
Once the link was off, the removal of bearings was meant to be straightforward, and for the most part that was true. One end of the top link has a yoke and the other does not, which makes each tricky for different reasons. I really don't like pushing out bearings with a punch, but of the tools I had at my disposal, this was the only option for the lower end of the link. Neither of the pullers I had with expanding jaws would fit the diameter of these bearings, so hammer and punch it was. I used a couple of cloths doubled over in the vise, in place of soft jaws, which I do not own, and popped the bearings out easily. The diameter of the sleeve between the two bearings doesn't leave enough edge exposed to get purchase, but the sleeve has a clever cut out to allow you to get the punch aligned and then pop out the first bearing. After that the sleeve drops out and the exposed second bearing is a piece of cake.
Bearing removal of the upper side of the upper link.
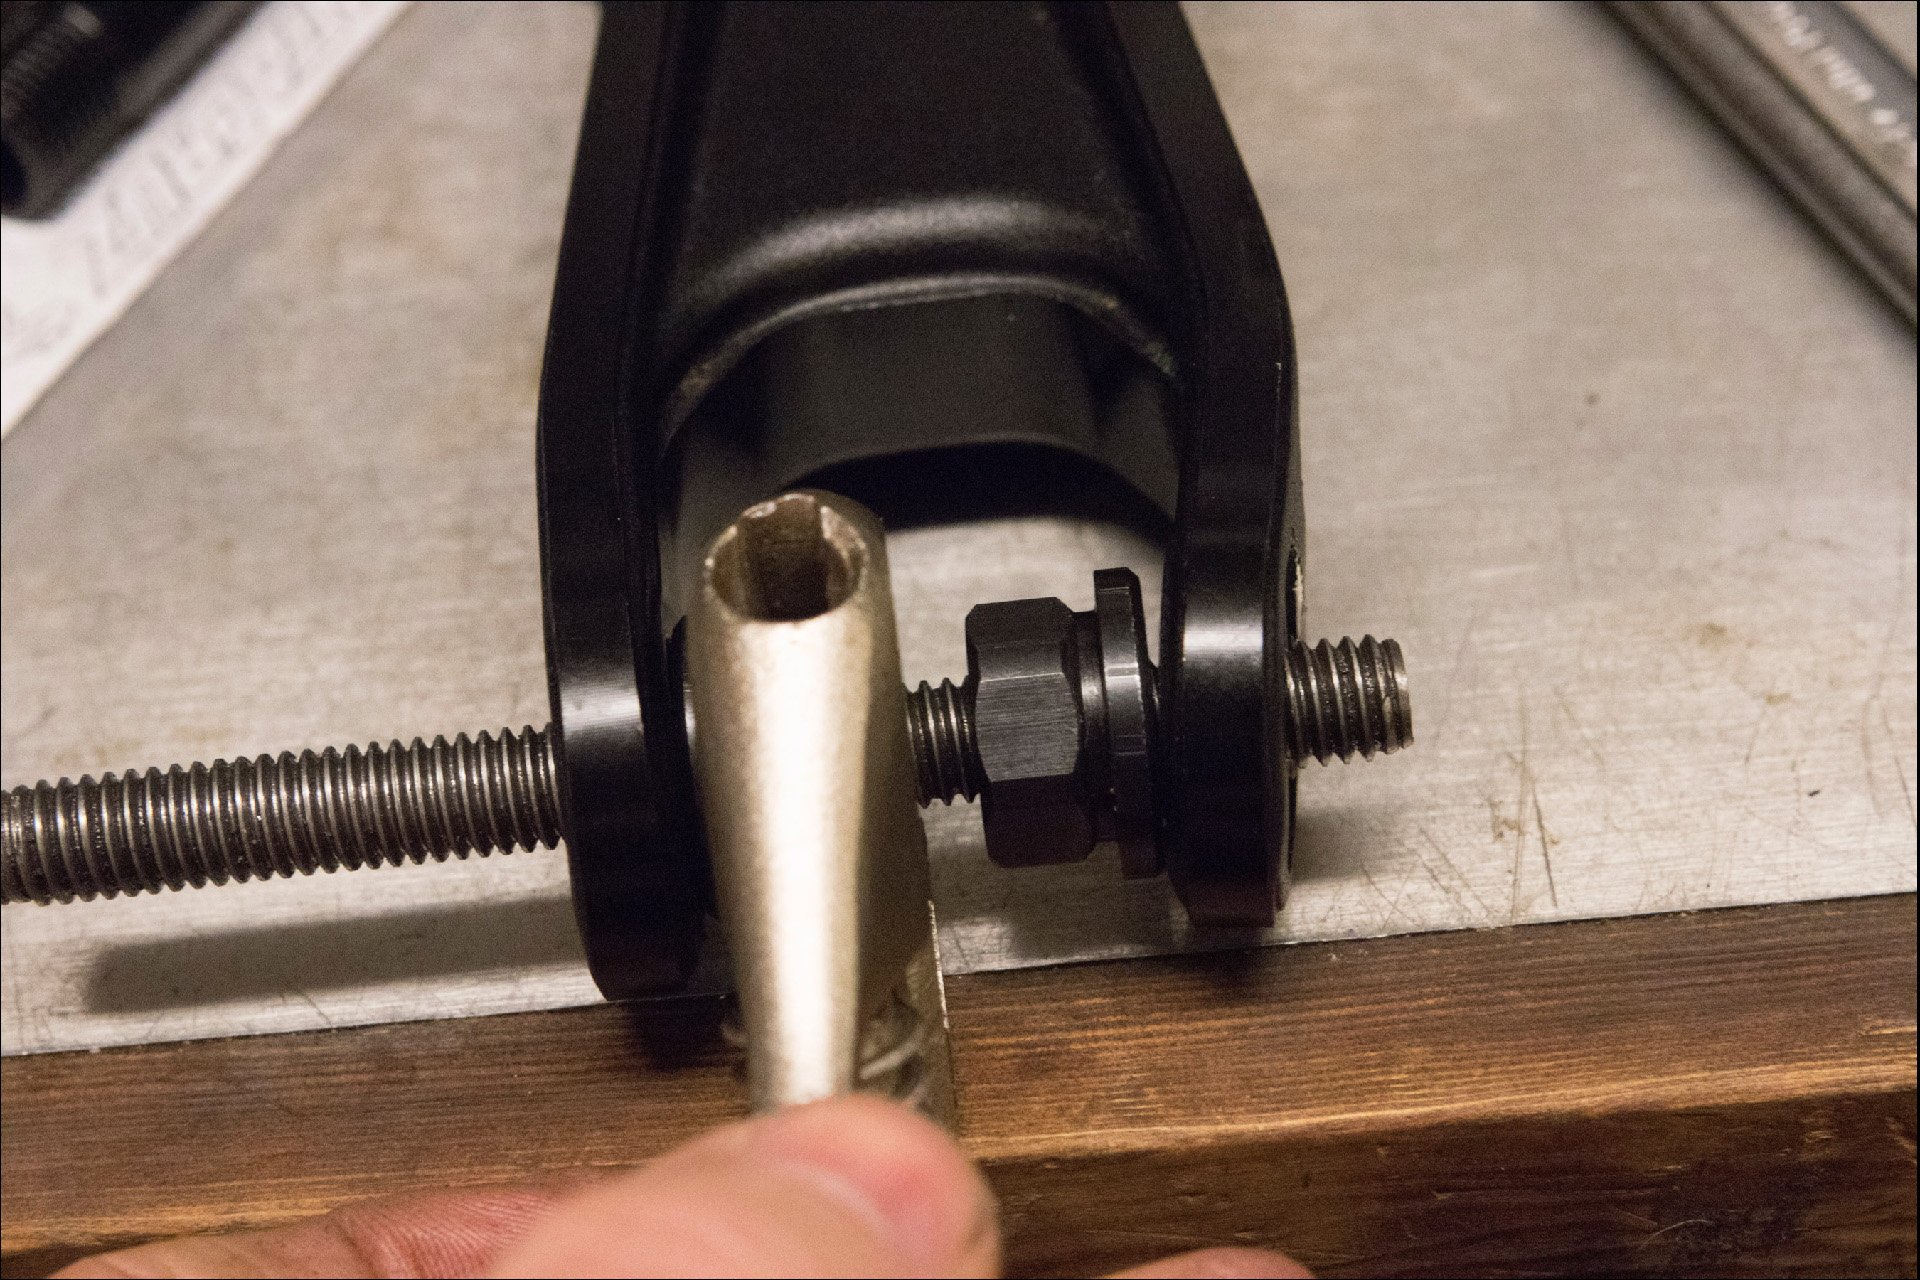
Pulling the bearings on the Yoke side wasn't too bad either, but it took me a few attempts to get just the right tool combo. When it came time to press in the bearings I was scratching my head. For a similar operation, Yeti provided a soft-armoured sleeve to give purchase to the press. Of the sleeves I had, none had both enough inner diameter and the right shape to press against the outside of the linkage without slipping and marring the anodizing. But I had another plan. A plan so cunning, so ill conceived, and so stupid, that the result was entirely predictable. I wish I could blame the beer, or other consumables, but the beer was just cracked and nothing else was on board.
Do you see a problem here? Note - this was entirely my fault and in now way Santa Cruz's responsibility.
How about here? Yep. I screwed that up. Again, this was not Santa Cruz's problem. It does highlight the excellent strategy of having bearings live in replaceable aluminum parts rather than in the carbon of the main frame.
I had enough sense to attempt perfect bearing alignment, realizing the force of the press on the unsupported wings* of the yoke could bend them inward if done improperly. Despite this, I began turning wrenches and became lost in thought. I looked at my progress absentmindedly, and things didn't look quite right, but this failed to stop me or register alarm until later; when it was crushingly obvious things were not right. Watching yourself damage a forged, proprietary aluminum part on a beautiful and expensive mountain bike frame, is like noticing you are drilling a hole in your thumbnail. I couldn't quite believe what I had done, despite the compelling evidence in front of me, and looking away was impossible. In case it wasn't perfectly clear, I screwed this up and there was nothing wrong with the tools or the link itself.
*I have no idea if these are actually referred to as wings, but it seemed like a reasonable descriptor
Luckily the fix was easy.

Good as new to the eye, with no wrinkles in the aluminum, but will have to be replaced to be 100% certain of its integrity.
I backed everything off and rejigged the tools with the hope that what was done could be undone. The undamaged ear supported the press and the bent-side slowly levered until it reached its original angle. When I tried it on the frame the first time, it was miraculously a perfect fit. I hadn't quite snatched victory from the jaws of defeat, but the bike would be usable in the short term.
The lower link with the zertz fitting for a grease gun.
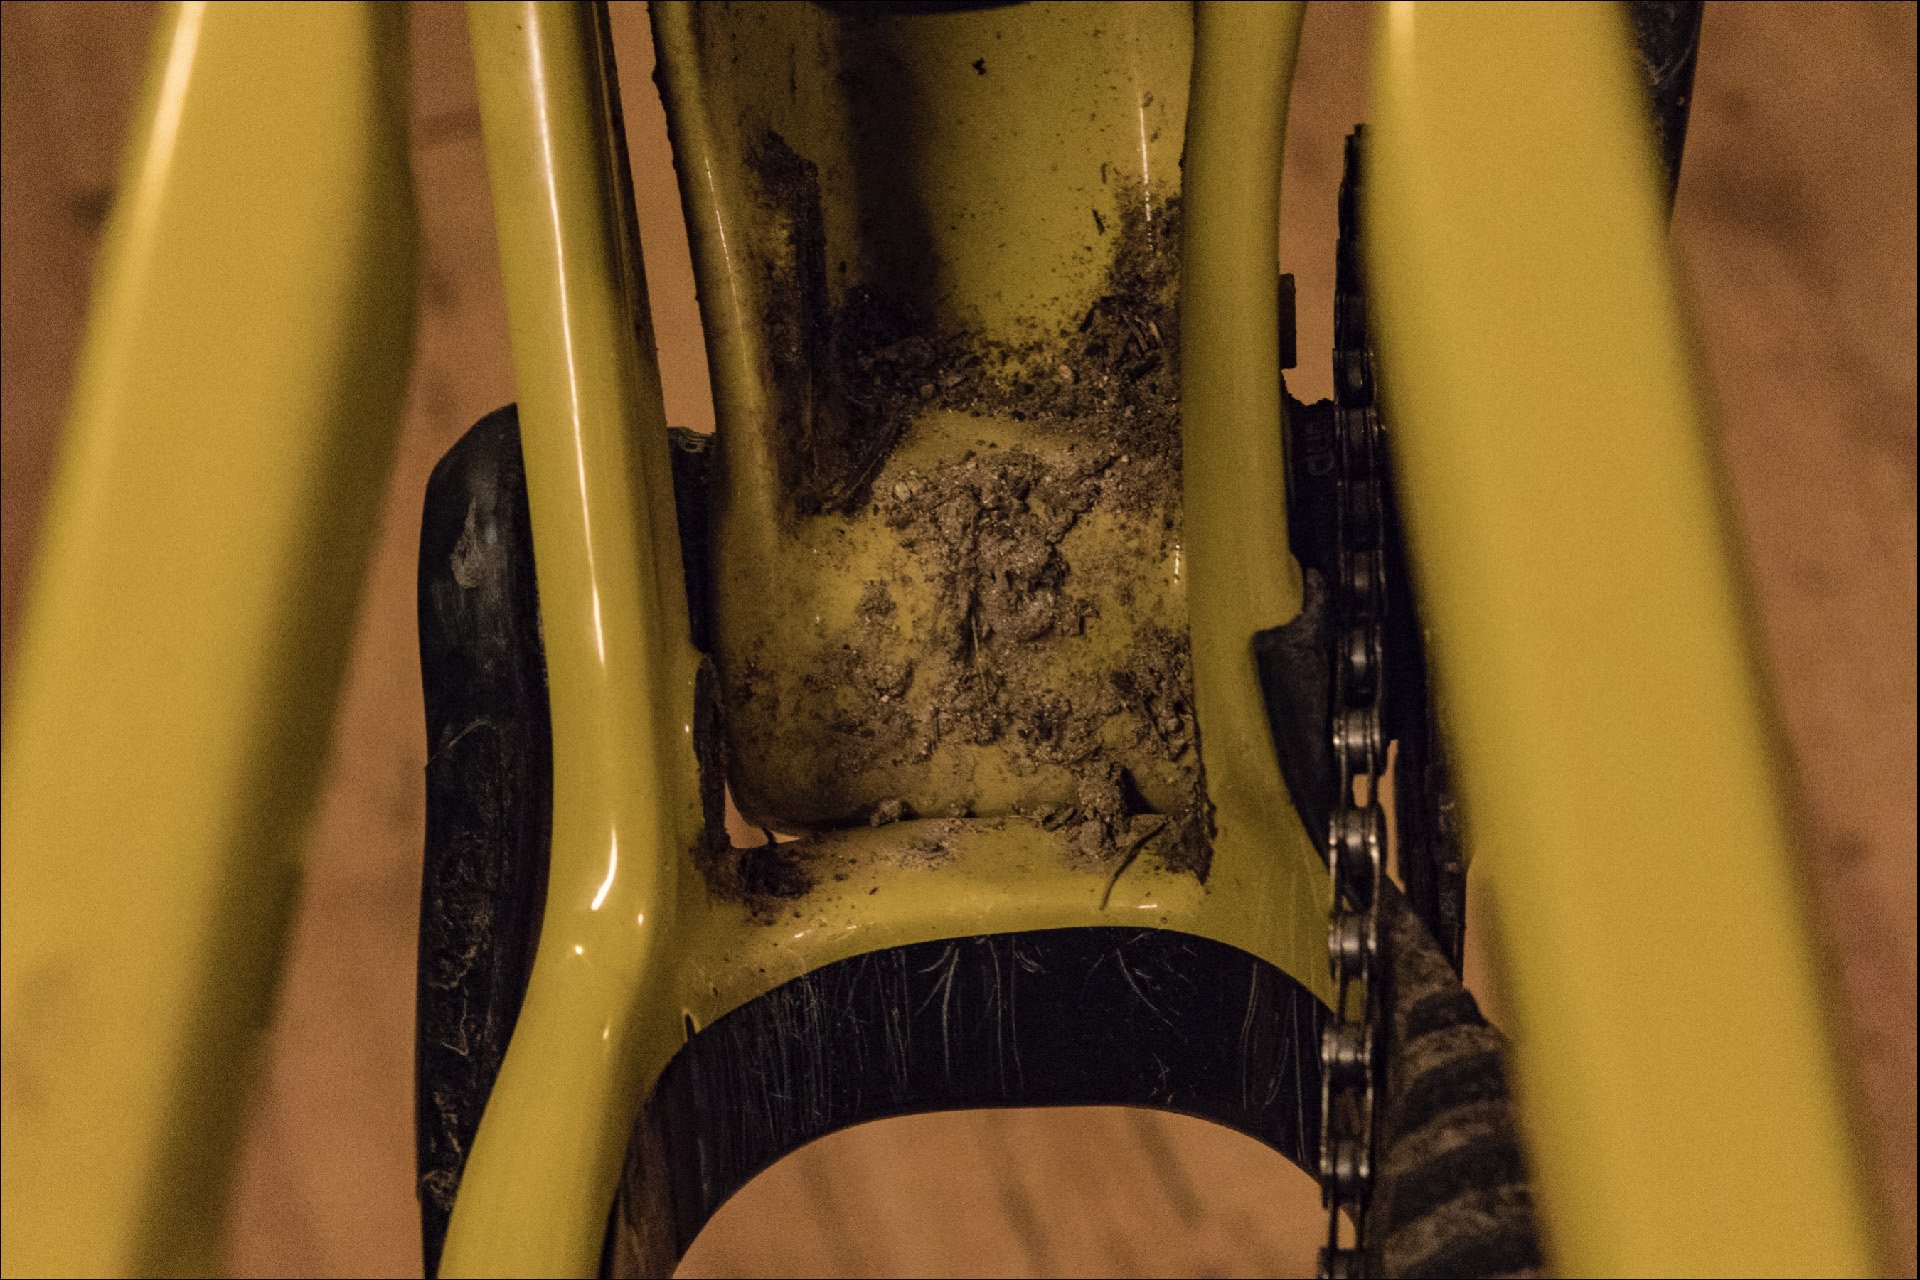
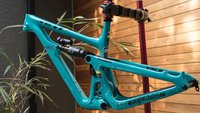
Once the lower link is removed, this area can be cleaned. So satisfying!
I had to take a long hot shower after the yoke mess and I returned chastened but hopeful I could turn things around. I realized later that this strategy would have worked if I'd used the frame as a support for the yoke so there would have been no gap between . As it was I rejigged the tools and pressed each individually and without drama. I pressed the new bearings smoothly into their seats on the upper link using the Santa Cruz tools and then replaced the upper link, careful to grease the shoulders and the wedge, but not the collet which requires friction to remain in position. Some blue loctite was applied to the threads, but I was just guessing at torque values. The most recent Santa Cruz guide for this operation quotes 13.6-15.8 N.m (120-140 in-lb) for the upper link bolts and 6.8 N.m (60 in-lb) for the collet axle. The wedge and bolt lock the collet in place, without further tightening the axle onto the bearings. These should be torqued to 9.0 N.m (80 in-lb).
Things looked great once the dust covers were removed.
Plentiful grease behind the bearings as well.
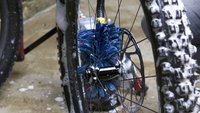
The backs of the bearings on the lower link are uncovered to allow new grease to circulate.
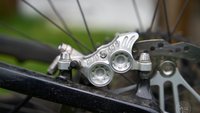
Seb Kemp recommends unfastening the rear shock mount first, and my recommendation is removing the front mount second. After that, removing the lower link requires first removing the expanding wedges on the two mounts, each held in place by a 5mm hex bolt. The wedges should come out easily, but just in case they are keyed to a 6mm hex to give you some purchase. After that use an 8mm hex wrench to remove the collet axles. These also came out easily for me.
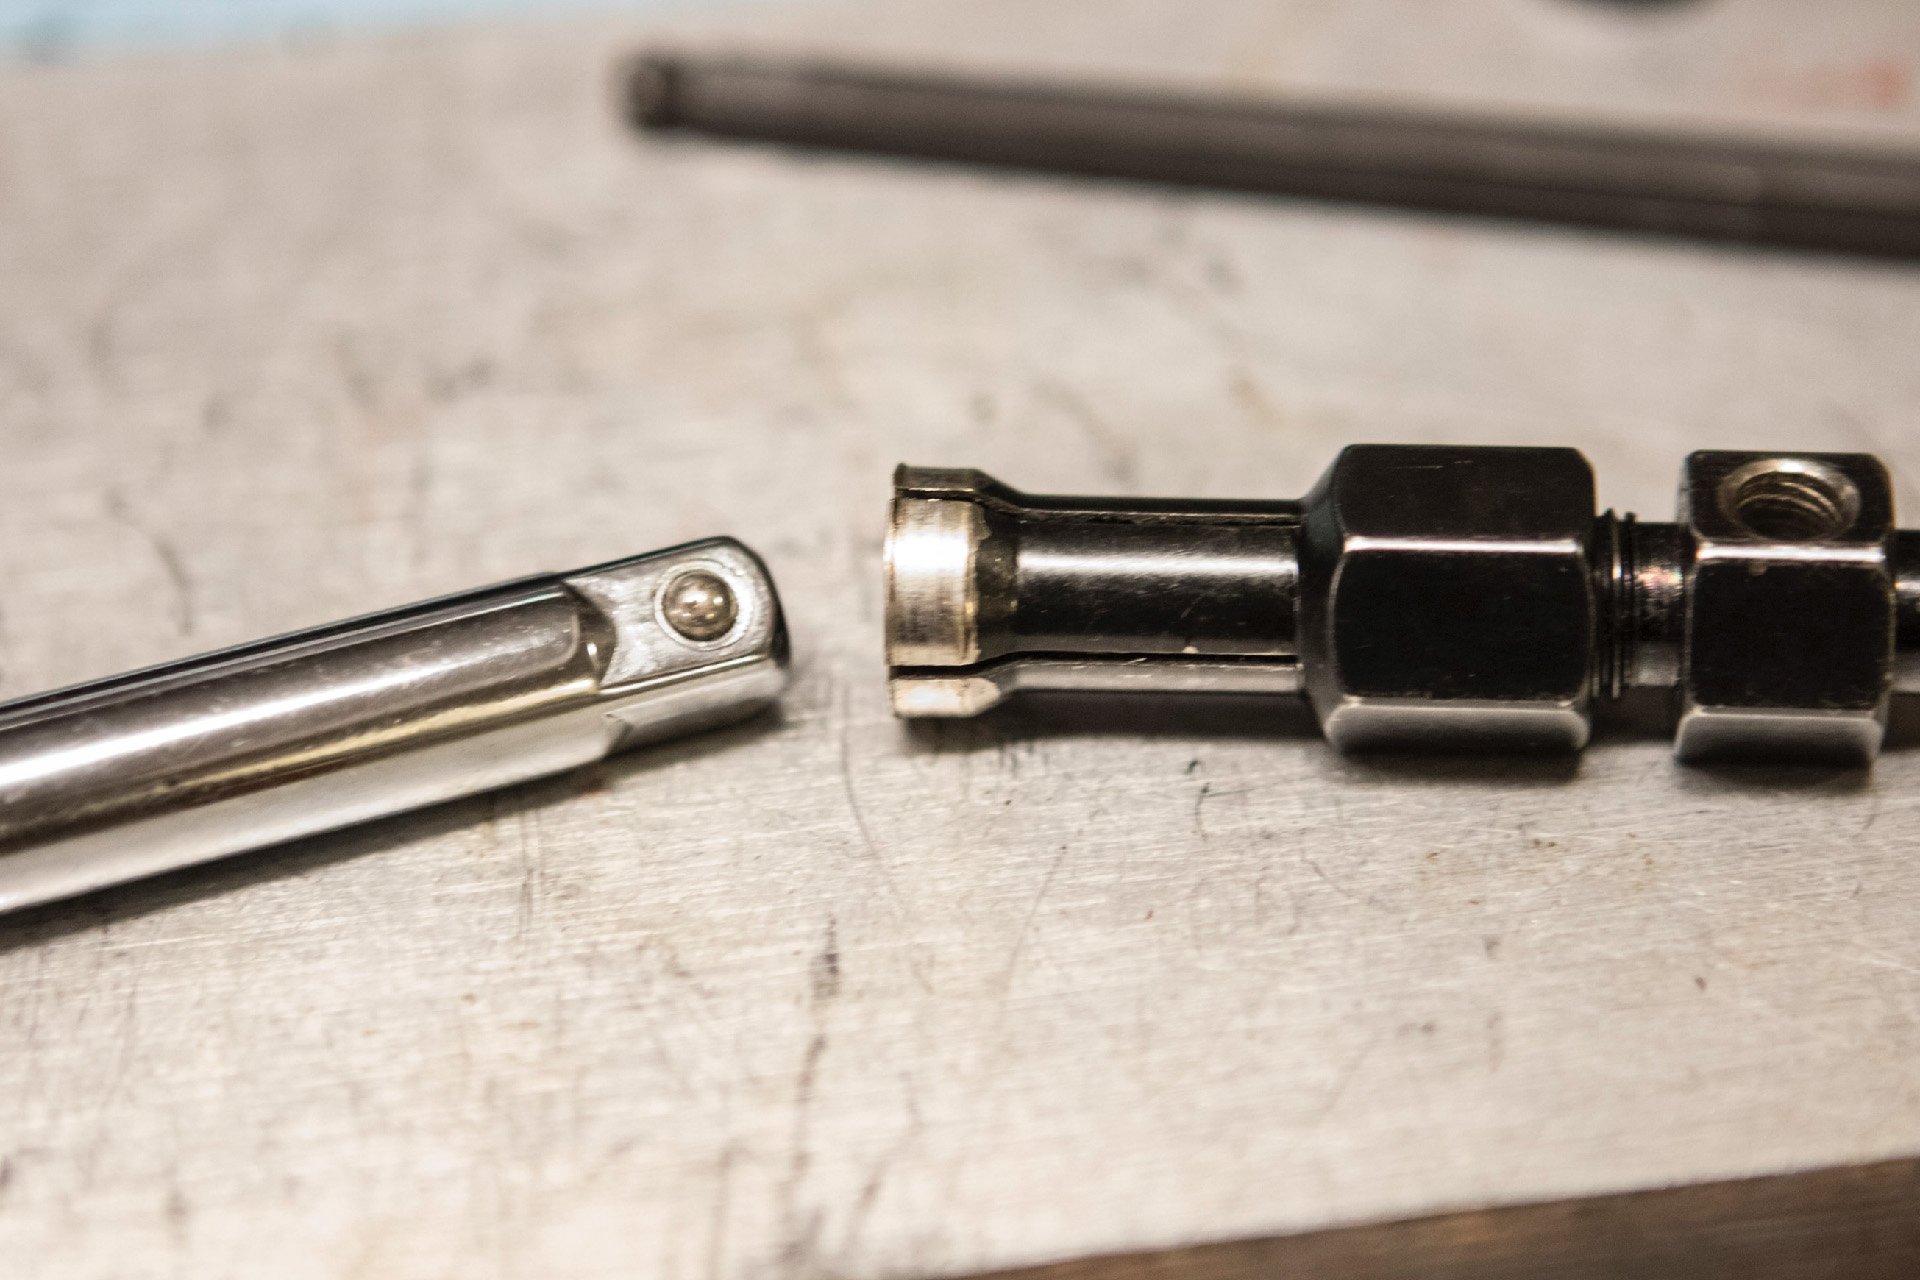
The Specialized expanding collet (from the FSR kit that is no longer being made) slides in and expands to catch the inner bearing edges. A knock from the other side efficiently ejects your bearings. You could also put the link in a vise and use a hammer and punch.
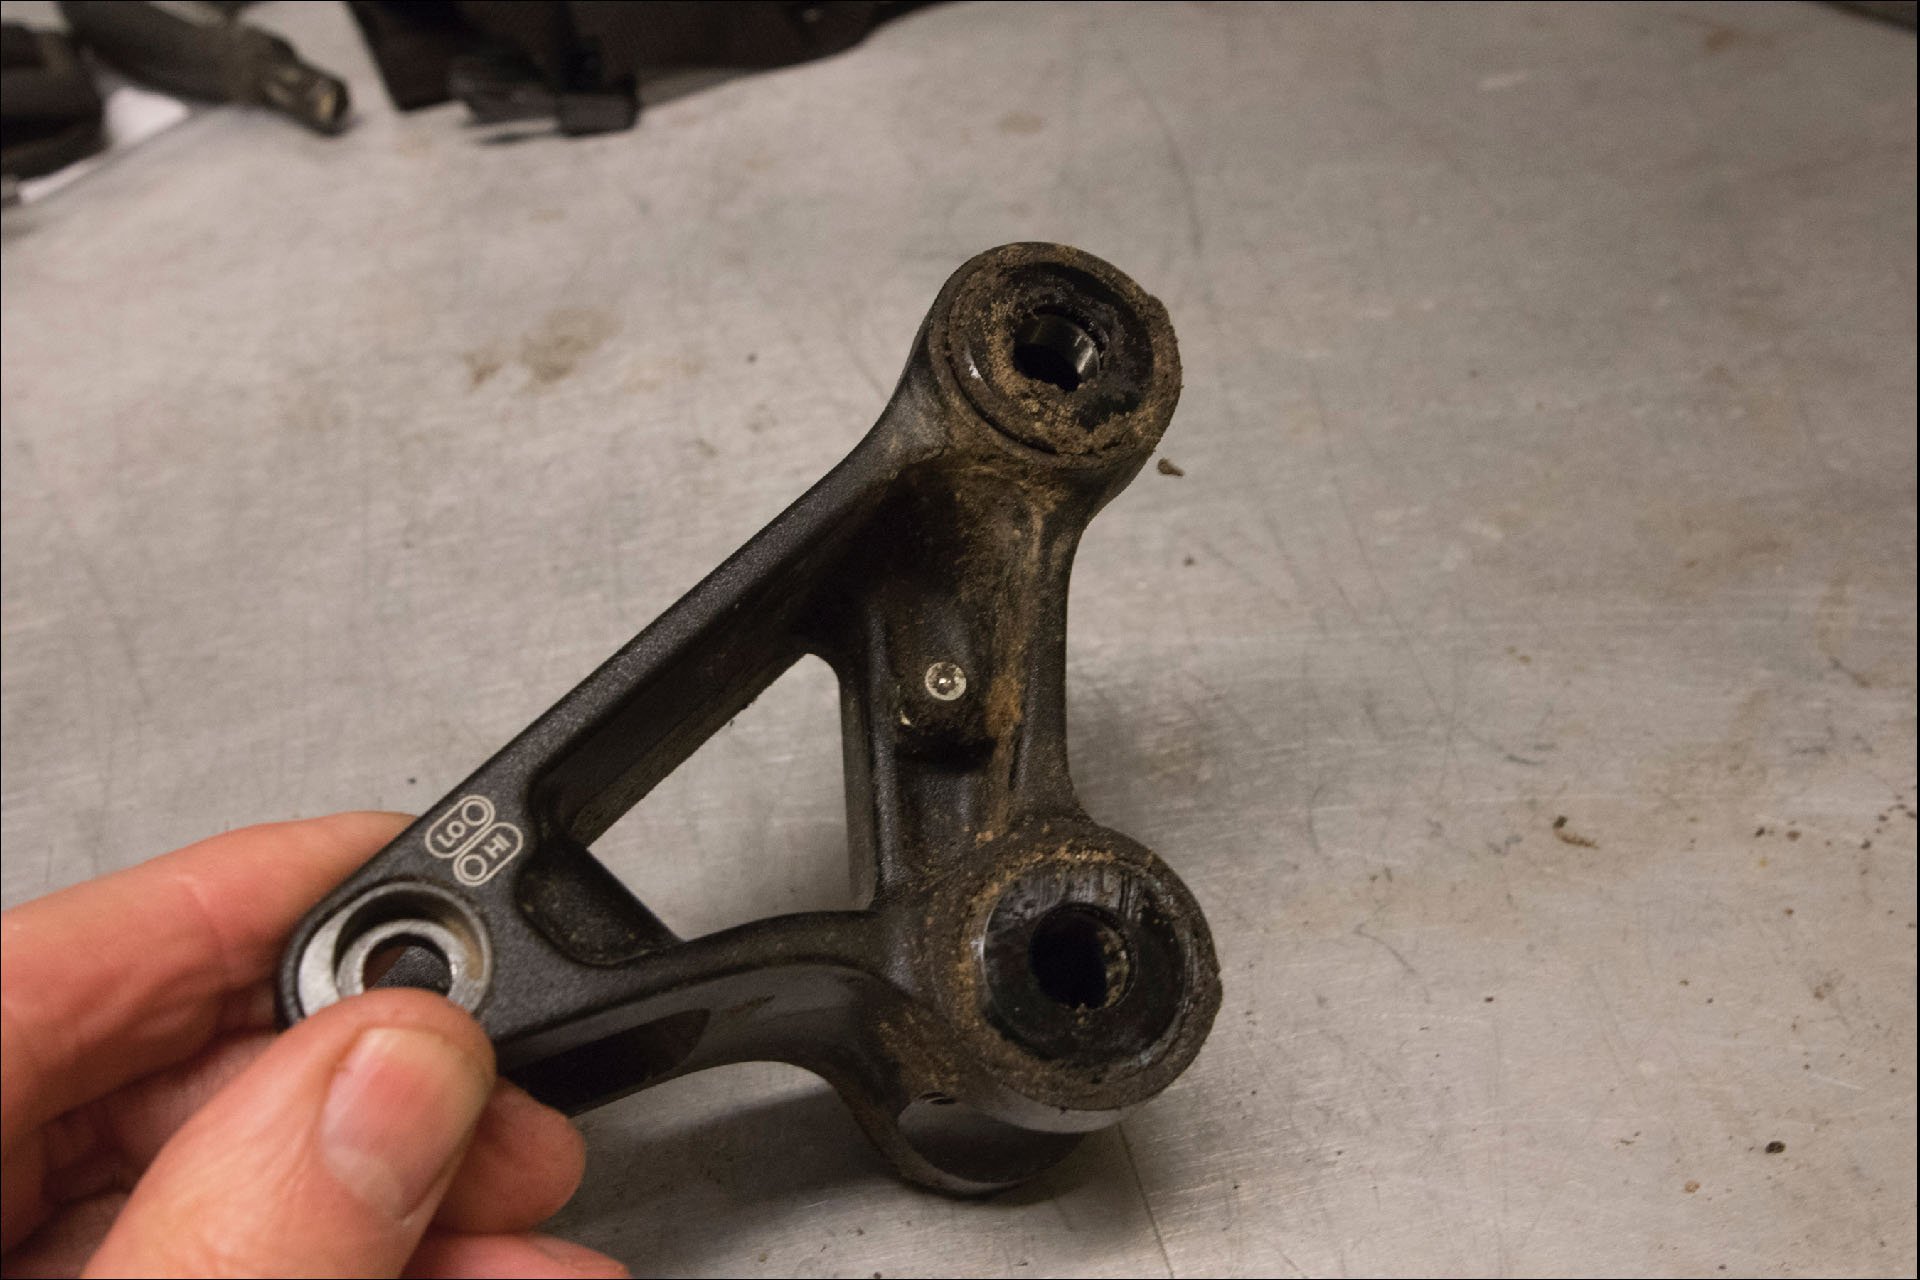
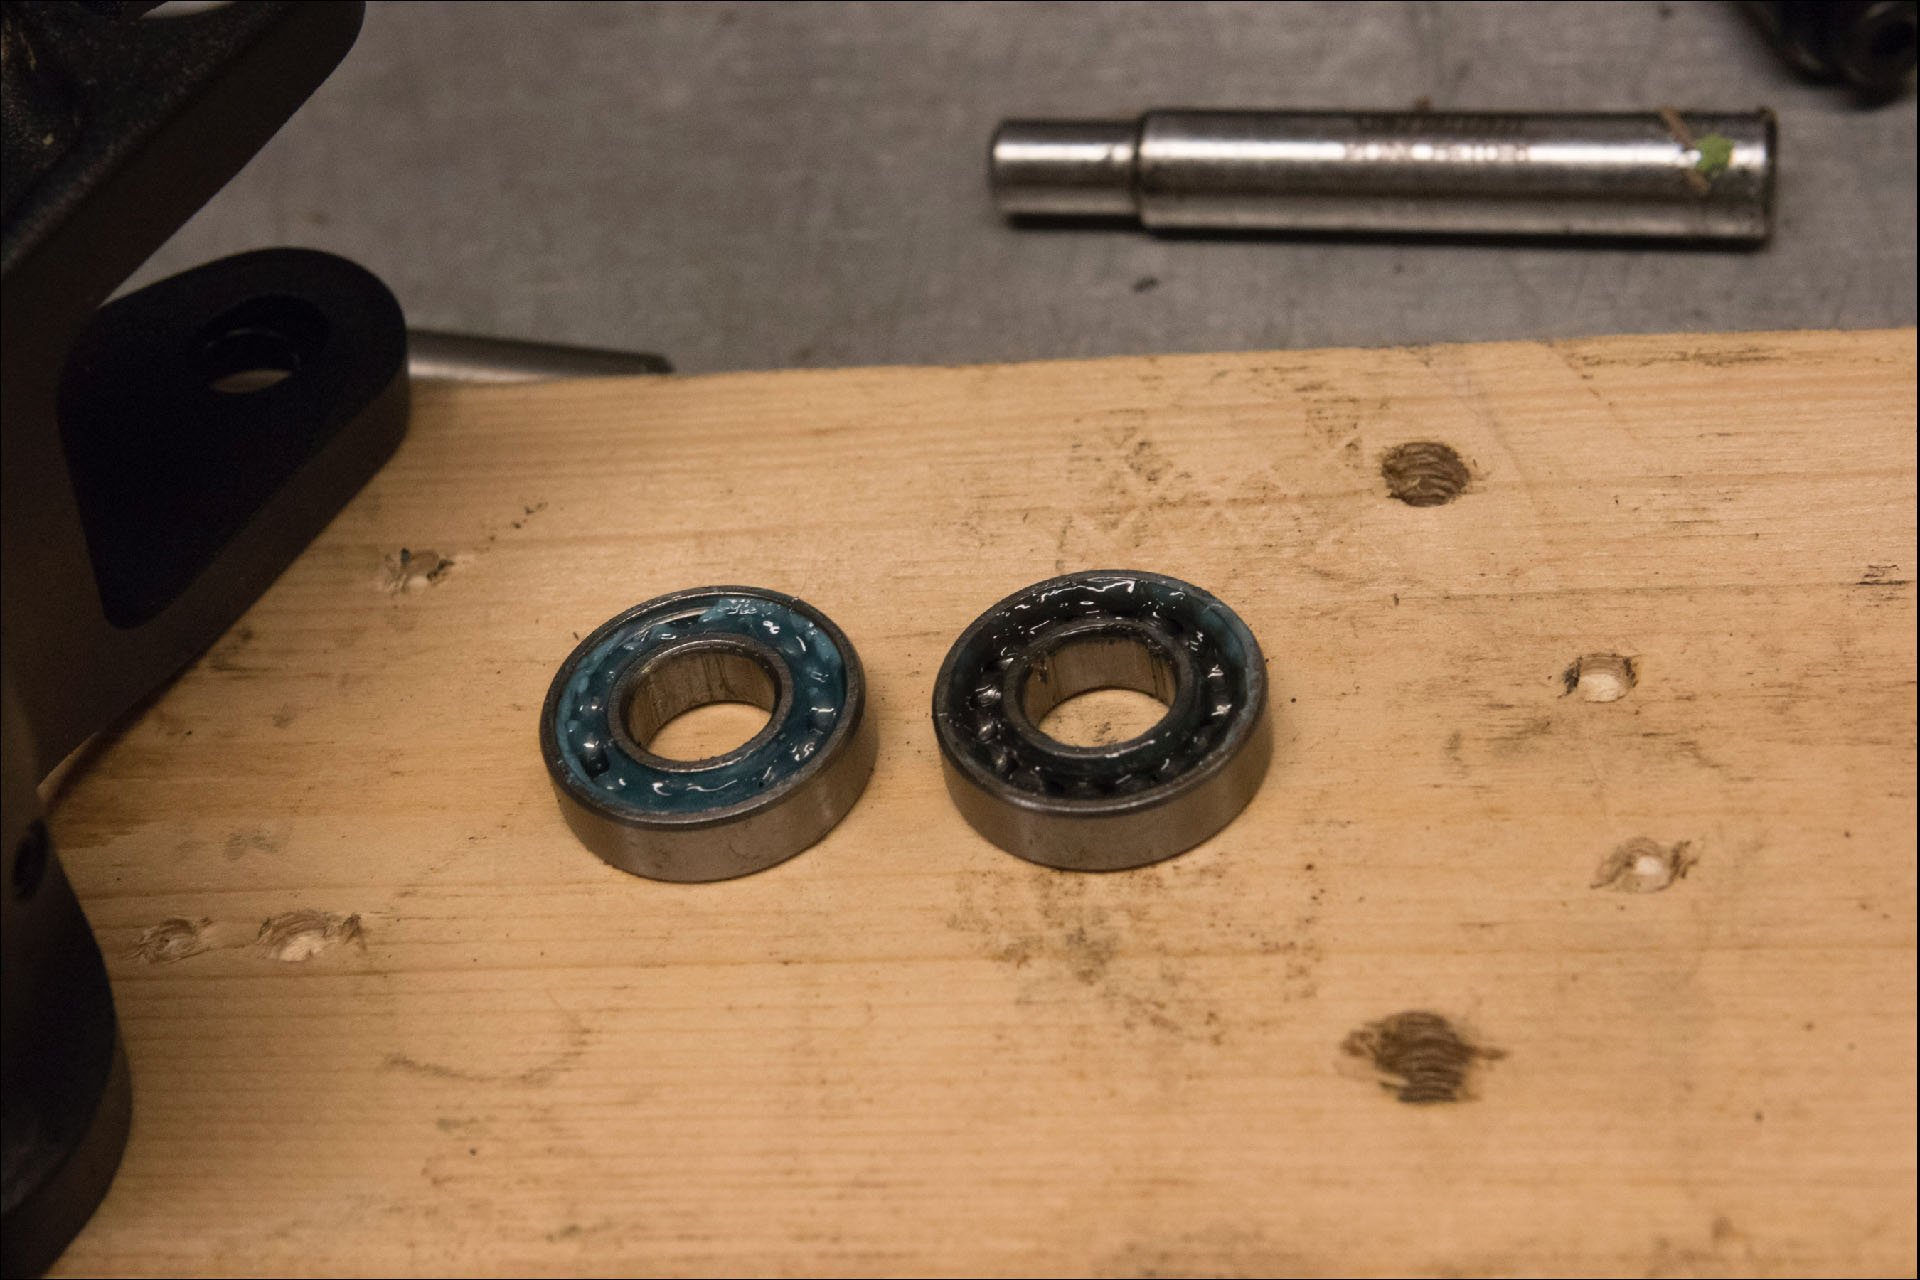
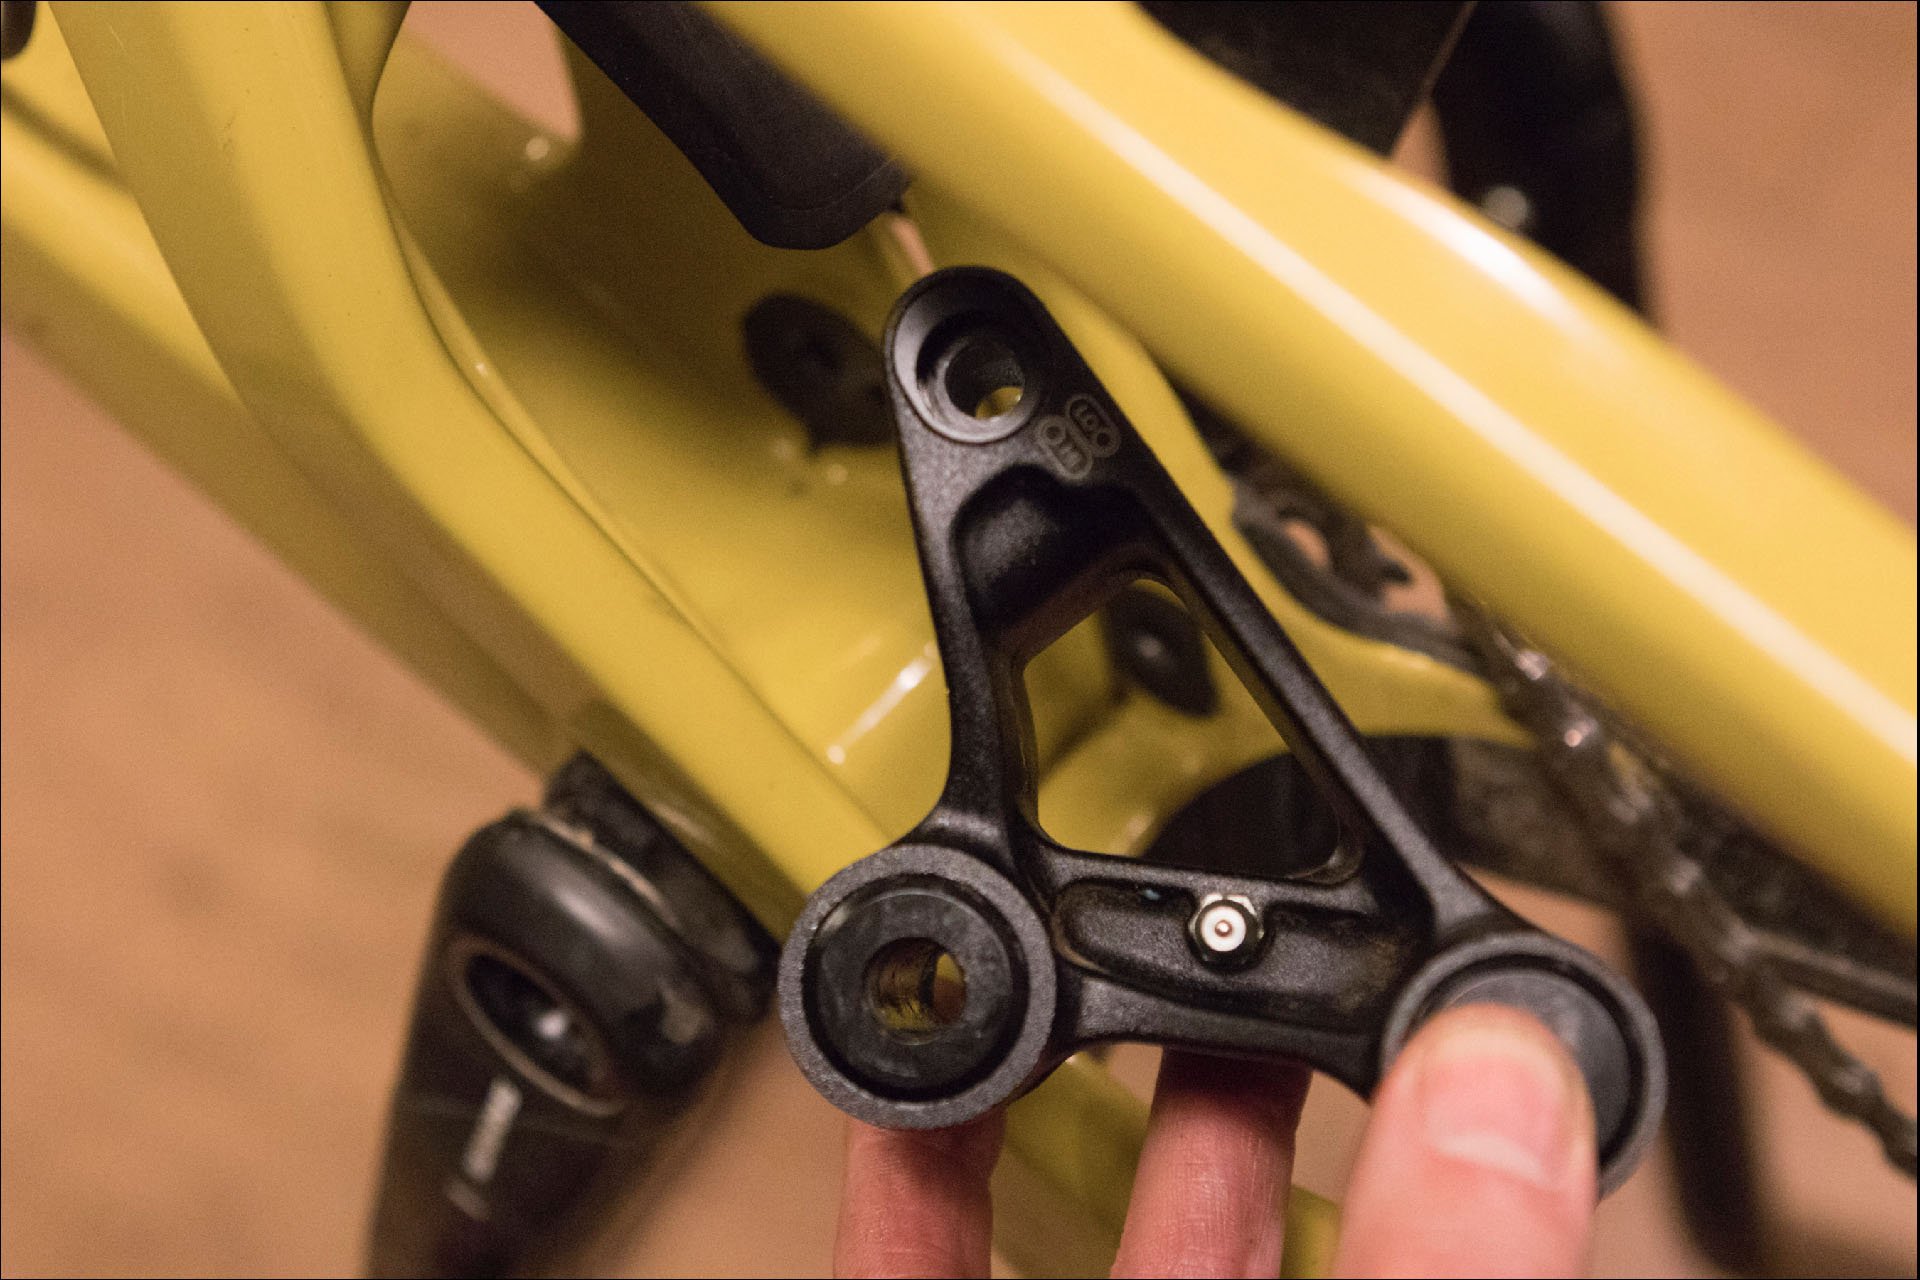
After pulling out the fun knuckle, remove the dust covers on the four bearings and do a little inspection. Do the bearings look fulfilled? Well nourished? Do they yield willingly to your twisting touch? The bearings on 'our' Tallboy presented clean and fresh looking lube under the dust covers, despite never having had a tender service caress before this, and they turned enthusiastically and without resistance. This bike has spent time in Scotland, and all over southern B.C., but mostly on the North Shore over a nasty, snotty winter. It was also often subject to rough play, but the bearings and grease looked brand new.
When it came time to push the bearings out of the lower link, I wasn't pleased with any of the tools in front of me. I wanted to avoid the vise and punch, but none of the other tools would capture the narrow exposed edge between the inner bearing race and the inner sleeve. Luckily the expanding collet press* from the Specialized FSR kit fit perfectly, and the bearings popped like pits from a cherry.
Ready for replacement. This operation is a little finicky.
There was more grease behind the bearings, from the grease port that distributes lube to the open back side of each bearing. It was pristine. Pressing the bearings in, without unsupported yokes to worry about, was a piece of piss. Getting the lower link back in place took some futzing around. A little grease under the dust covers helps them stay in position as the mechanism is inserted into the frame. After that, it's time to replace the collet axles, re-install the rear shock, rear mount first, and admire your work with smug satisfaction.
Santa Cruz will send you replacement bearings for the lifetime of your frame - for free. Install is either up to your or your local bike shop. All the info for US or Canadian riders is here. Otherwise, contact your Santa Cruz distributor through your dealer. You'll have to wait until the dust settles on COVID-19 and people go back to work, but Santa Cruz promises to get your bearings in the mail in under 48 hours under normal circumstances. If your bike is from 2017 or earlier, you may need to adjust your angular contact bearings. More recent frames have radial bearings that do not require adjustment.
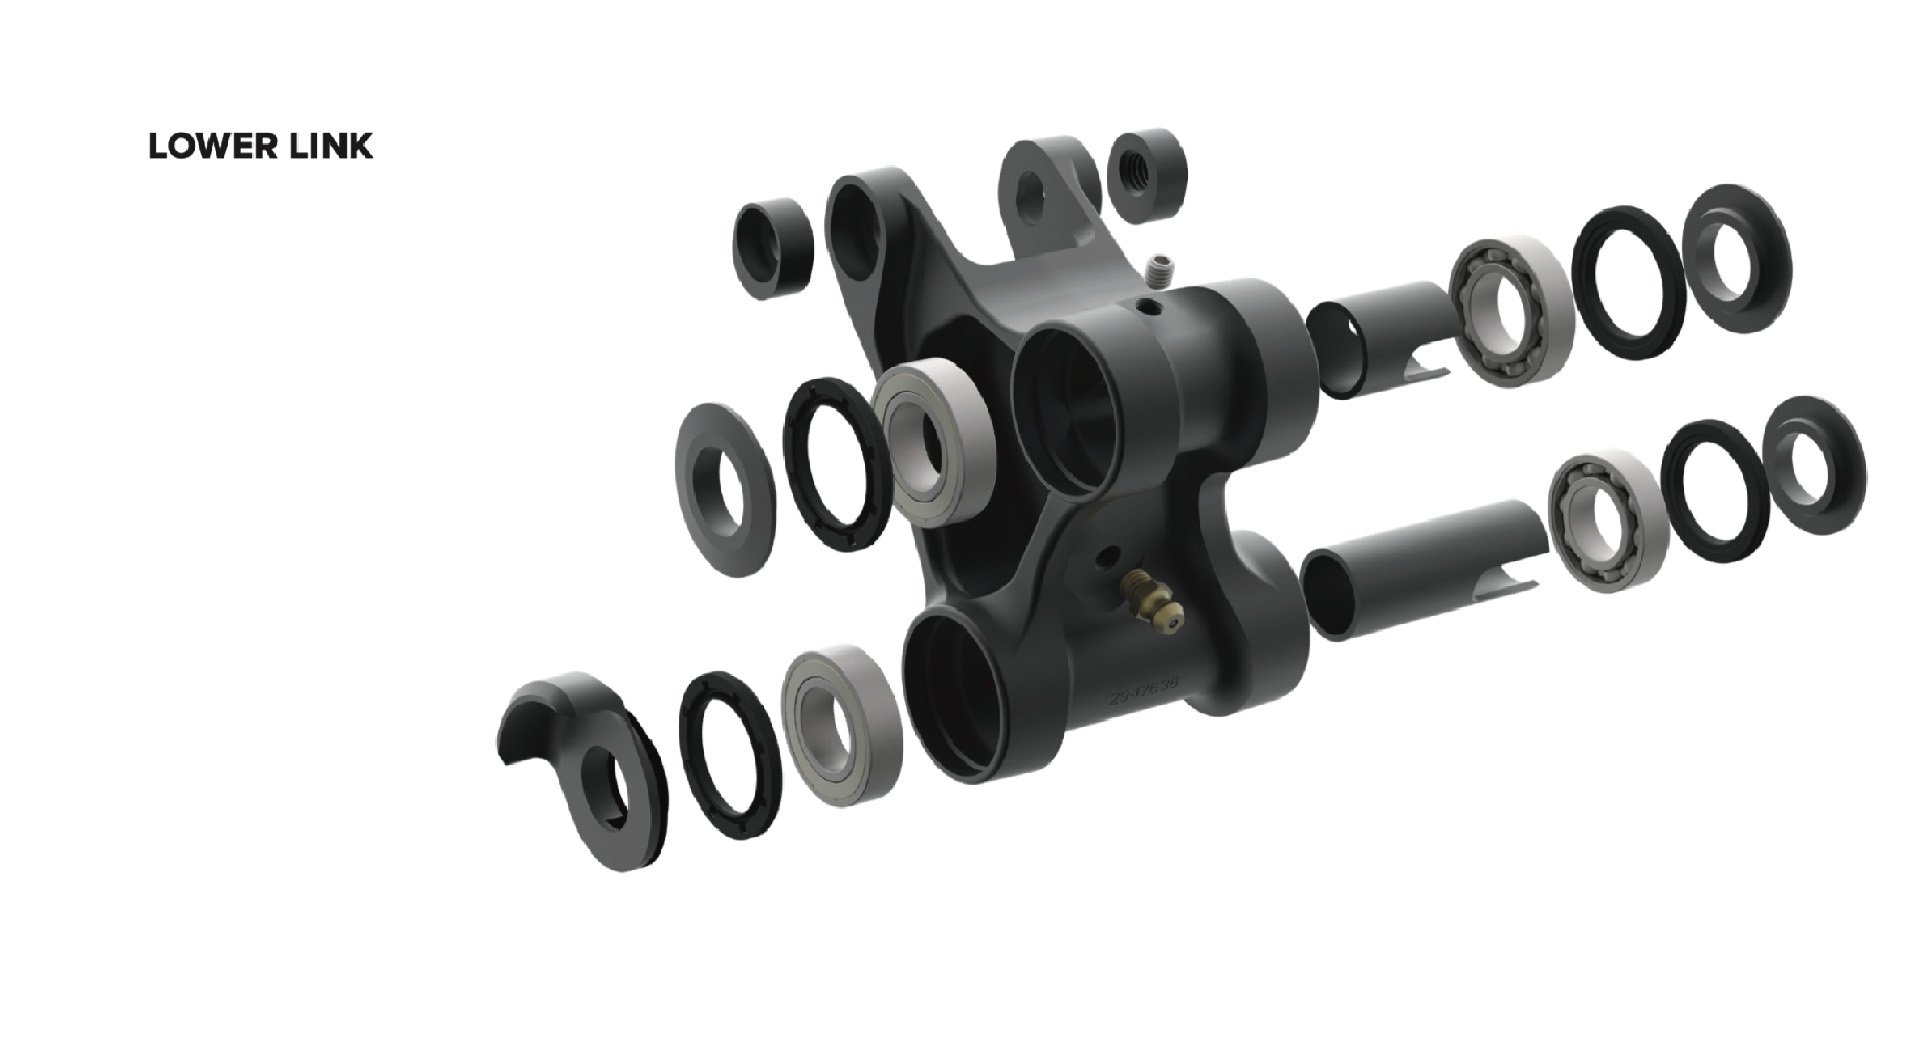
Exploded view of an earlier lower link. On the Tallboy there was only one dustcover rather than the two you see here.
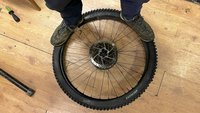
Note; your local dealer will be more than willing to do your bearing swap,* assuming a swap is actually necessary. It may be that, like mine, your bearings are perfect or they may simply need some more lube. You can get some idea of bearing condition by removing the shock and rear wheel and cycling the suspension through its travel. If it is silent and without friction of vibration, you are likely in good shape, although a closer look never hurts. Lubing the lower link with a grease gun will keep those vulnerable cartridges rotating smoothly.
*labour charges will apply unless your shop has a different policy
The wedge and bolt lock the collet axles in place, without further tightening the axle onto the bearings. The outer bolt should be torqued to 9.0 N.m (80 in-lb) 6.8 N.m (60 in-lb) while the collet itself requires 6.8 N.m (60 in-lb).
Santa Cruz doesn't have instructions for any bikes beyond 2018, but the info for the Nomad transfers well to the newer models. Hopefully there will be a video available to take you step by step through the Hightower, Tallboy and Megatower soon, but if your bike is that new you probably don't need much more than an inspection or, at worst, a shot of grease. You can also get all the replacement hardware for your bike and Santa Cruz promises to keep stocking those parts for at least ten years.
I may have made this look difficult, but that just means I've vetted the mistakes for you. Really this isn't a tough job at all with the right tools, which Santa Cruz will be happy to sell you once staff returns to the office in Santa Cruz.


Comments
Marcel Almeida
4 years ago
while rwc has a nice bearing kit for santa cruz closed link, it's expensive but you won't need a punch. I decided to get a kit from brearingprotools that only costed me $46 for my Hightower V2, it uses an expanding collet/punch to remove the bearings, you can pass through a punch from one side to the other to remove bearings and their threaded rod/drifts are small enough to press the bearings on both open and closed like. The RWC is a really nice kit, but for $46 and once a year tool you can't complain about the bearingprotools kit.
Reply
Cam McRae
4 years ago
Pete just put me onto them. Very reasonably priced kits.
I have several RWC bits, which work great when the fit is correct, but none of them helped me in this case.
Reply
Pete Roggeman
4 years ago
Yeah, we're going to contact them and get some to try out.
Reply
Poz
4 years ago
Thanks for your candidness on the screw up! Glad it worked out for the better.
I nearly did the exact same thing on my Santa Cruz last year. But I caught it before I started tightening anything. Phew. I did, however, have a couple pops at that point so I’ll blame that.
Reply
4Runner1
4 years ago
Recognizing that I am a hack, I submit to paying my LBS when time comes to change out the bearings on my Bronson. Thanks for the article!
Reply
Hbar
4 years ago
For my v1 Bronson, I found that the heating-the-Al-link-in-the-oven trick (from youTube) worked really well to get the bearings out. The old bearings dropped out really easily. The old links don't appear to have the groove for a punch/drift on the inside.
I used a few of those old bearings (in a bearing press made from some washers, nuts, and bolts from the hardware store) as proper-sized drifts to press in the new bearings.
Reply
Alex D
4 years ago
Oof. The unsupported press hurt me a bit, but I applaud the design effort that went into this linkage. It looks like you could run the original bearings for years.
Reply
Cam McRae
4 years ago
I couldn't believe how clean the grease was in the lower link. It was pristine. It's too bad more brands don't put the same effort into bearing protection for nasty climates - and poor cleaning habits.
Reply
Vincent Edwards
4 years ago
Thanks for the detailed maintenance articles!
Have you tried a 190x50.8 dpx2 on your Tallboy v4 yet? (In place of the 190x45 float dps)
I’ve been running one, along with a Fox 36 140mm fork (bb in low) and I really love what it does for the capabilities of this bike. Frame clearance with a 2.3 dhr2 is not an issue.
I can’t see much (if any) downside... its still responsive and poppy but with a bit more support for big hits.
Reply
Cam McRae
4 years ago
That sounds worth trying Vincent. Have you measured how much more travel the increased stroke provides? A 140mm fork would be an excellent upgrade for this highly capable machine.
Reply
Vincent Edwards
4 years ago
I haven’t measured yet, but I think it ends up around 135mm (120/45 x 50.8)
I plan to switch back and forth with the stock shock a few more times to compare the changes.
The fox 36 has a 4mm lower stack compared to the pike, so it’s not raising the front end too much, either.
I loved the bike stock, but I’m loving it even more with these changes.
Reply
Pete Roggeman
4 years ago
That sounds like such a great set of mods. A little more beef up front, especially.
Reply
tanadog
4 years ago
Check out the Dialled episode where Jordi talks about his DHX2 on his Tallboy IV. I think he said travel increased to just under 130mm..
Reply
jcancellier
4 years ago
@Cam You should definitely try the fork at 140...made a world of difference for me on that bike! Might even know someone who could help you out with that mod.
Reply
mrbrett
4 years ago
"Rather than jumping in like a puppy at an orgy"
Reply
Marty Zaleski
4 years ago
Re: bending the link wing: I did almost exactly that in almost exactly the same way to the top link of my V1 Hightower when I did a bearing swap. Whoops.
Reply
Mike Wallace
4 years ago
Over the years I have had lots of issues with the wedges being stuck in place and difficult to remove. Especially on the Intense frames. Soln was to use anti-seize on them instead of grease. Keying them to an Allen key size is brilliant though.
Reply
Please log in to leave a comment.